

Ever had that sinking feeling when your built-in office desk starts to sag right in the middle of your busy workday? I remember the first time I noticed my desk taking a noticeable dip, almost like it was giving up on me. All that effort I put into a sleek, integrated workspace seemed threatened by gravity itself. It was frustrating, to say the least. After some research and a handful of experiments, I stumbled upon a surprisingly simple solution that has kept my desk firm and level ever since.
The Little Moment That Changed My Office Setup
When I initially installed my built-in desk, I thought that using sturdy materials and following standard anchoring procedures would suffice. But a few months in, the middle of the surface started to dip slightly—nothing dramatic, but enough to feel unsettling. It wasn’t just a cosmetic issue; I was worried about the long-term stability. That’s when I realized that even well-designed built-ins can suffer from structural fatigue or inadequate support, especially in the middle of long spans.
This lightbulb moment led me to explore reinforcement methods that wouldn’t require ripping out the entire setup. The idea was simple: add something discreet, strong, and easy to install that would prevent future sagging. The fix had to be robust enough to handle the weight of everything on my desk, from monitors to reams of paper, yet subtle enough to keep the aesthetic intact.
Why Sagging Desks Are a Big Problem and How We Can Fix Them
Structural sagging isn’t just an eyesore; it can compromise the safety and usability of your workspace. Over time, this bending can lead to further damage, such as cracked finishes or loosened joints. More importantly, it can cause discomfort—like a tilted keyboard tray or uneven surface—that affects your posture and productivity. According to a study published in the Journal of Mechanical Design, long-term structural stress in furniture can lead to material fatigue, which is often overlooked but critical to the longevity of your built-ins.
In my case, the breakthrough was discovering how a simple steel angle—installed discreetly underneath the bent section—could provide the necessary reinforcement. It’s a practical, cost-effective fix that I’ve recommended to friends and colleagues, and they’ve been thrilled with the results. This method isn’t just about repair; it’s about proactive support to ensure your investment stands the test of time.
Now, if you’re nodding along because you’ve faced similar sagging issues, or you’re just eager to learn how a steel angle might keep your workspace perfectly level, you’re in the right place. Next, I’ll walk you through the step-by-step process to implement this simple yet effective fix—so stay tuned!
Gather Your Materials and Prepare
Start by collecting a steel angle bracket that matches the length of the sagging section. I used a 1.5-inch width L-shaped steel piece, available at any hardware store. Also, get a drill, self-tapping screws, a measuring tape, and a pencil for marking. Wearing safety goggles, clear the area beneath your desk to ensure a safe workspace. I remember the first time I did this, my garage looked like a DIY war zone, but the results justified the mess.
Measure and Mark the Reinforcement Area
Use the measuring tape to determine the precise midpoint of the sagging section. Mark the spot on the underside of your desk where the steel angle will be attached. Imagine this step as drawing the foundation lines for a new bookshelf—accuracy ensures that support is evenly distributed. I carefully held the steel bracket underneath, marking my drilling points directly onto the wood surface for precise screw placement.
Attach the Steel Bracket Securely
Align the steel angle with your marks, making sure it extends fully beneath the affected area. Pre-drill small pilot holes into the wood to prevent splitting. Then, drive in self-tapping screws through the steel into the wood, making sure each screw is tight. Think of this step like fitting a backbone for your desk—firm, discreet, and functional. During my first attempt, I over-tightened a screw, causing a slight dent, so I recommend tightening just enough to hold the bracket firmly without deforming the wood.
Double-Check Your Work and Test Stability
Once the brackets are in place, gently press on the surface to verify firmness. If it feels solid, proceed to replace anything you removed from your workspace. My initial test involved leaning slightly against the desk edge, and I was thrilled to feel the support holding strong. Remember, the key is even support; if sagging persists, consider adding another bracket nearby following the same steps.
Final Touches and Maintenance
After confirming stability, wipe away dust, and if desired, paint or cover the steel bracket to match your decor. Periodically check the screws’ tightness over the following months to ensure continued support. Just like tuning a musical instrument, small adjustments keep your fixes effective long-term. For further ideas on organized setups, explore effortless storage solutions that complement your reinforced desk.
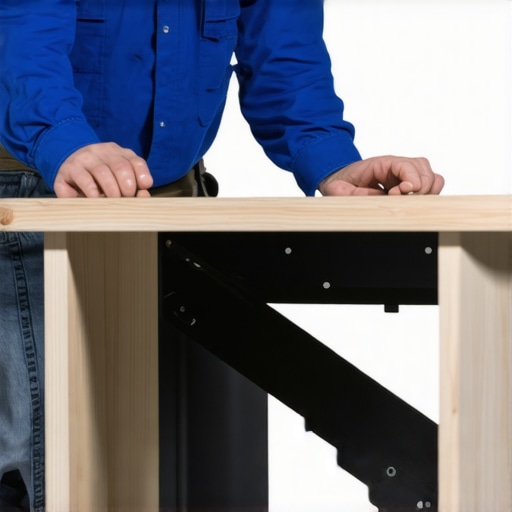 When it comes to installation, many enthusiasts and DIYers alike fall prey to misconceptions that can cost time, money, and even compromise the integrity of their projects. One prevalent myth is that using thicker or heavier materials alone guarantees durability. While sturdy materials are essential, neglecting proper support systems, like internal bracing or reinforced framing, can lead to sagging or shifting over time, especially in heavy-use areas like vanities or built-ins. Experts emphasize that understanding the structural nuances is crucial; for example, integrating internal steel supports can significantly extend the lifespan of your installations and prevent drafts or movement that often go unnoticed until damage occurs. Many assume that standard anchoring methods suffice for all contexts, but certain materials like drywall or plasterboard demand specialized fasteners such as toggle bolts or sleeve anchors—failing which, your installation might pull out or wobble prematurely. Also, there’s a misconception that leveling or aligning is a mere aesthetic step; however, improper leveling can cause stress points leading to cracks or joint failures under load. Thinking ahead with advanced considerations, like installing adjustable shims during setup, can facilitate fine-tuning after settling or minor shifts, ensuring your built-ins stay perfect for years to come. For intricate or large-scale projects, collaborating with professionals experienced in maximizing support—like those adept at hidden reinforcement tactics—curtails common pitfalls. Want to explore more advanced support mechanisms or discover how smart support fosters longevity? Check out our detailed guide on maximizing built-in support. Remember, the devil is in the details, and knowing the hidden nuances can turn an okay installation into a lasting masterpiece. Have you ever fallen into this trap? Let me know in the comments. Also, for insights into seamless integration, see our innovative storage solutions that complement your installation efforts.
Keeping Your Installations in Tip-Top Condition
Regular maintenance is key to ensuring your built-in furniture, vanities, and storage solutions remain functional and beautiful over time. Personally, I rely on a combination of precise tools and disciplined routines to prolong the lifespan of my setups. One essential item I never go without is a digital angle finder, which I use to verify alignment after adjustments, preventing subtle shifts that can cause long-term issues. Pair this with a high-quality cordless drill equipped with a variety of bits—my favorite is the Milwaukee M12 Compact, renowned for its reliability in tight spaces and its powerful torque, perfect for securing reinforcement brackets or adjusting support structures without damaging delicate surfaces.
For ongoing support and troubleshooting, I prefer software solutions like SketchUp for planning modifications and Google Keep for reminders about periodic checks. These help me stay organized and anticipate potential problems before they escalate. As for physical maintenance, I recommend inspecting support brackets and joints every six months, tightening screws or reinforcing areas showing signs of wear. This preventive approach is far more cost-effective than waiting until a failure occurs.
How do I maintain built-in systems to ensure longevity?
One aspect often overlooked is moisture management. Using silica gel packs or dehumidifiers in storage areas can prevent wood swelling or warping, especially in humid environments. Additionally, applying a fresh coat of durable sealant or paint every few years can shield surfaces from moisture and UV damage, maintaining aesthetic appeal. For vaneity installations or areas exposed to water, consider waterproofing the base with specialized sealants, like Mapelastic, which I’ve personally used with great success.
As the trend moves toward smarter homes, integrating sensor-based maintenance systems might be on the horizon. These could alert you when humidity levels are too high or if support elements weaken over time. Stay ahead by exploring these innovative solutions, as they will likely become standard soon.
If you’re serious about long-term support, I highly recommend trying advanced reinforcement techniques like internal steel braces combined with regular inspections. Developing a maintenance routine tailored to your specific installation not only saves money but also keeps your space looking polished and professional for years to come. Remember, proactive upkeep today prevents major repairs tomorrow—so don’t delay your routine check-up.
Interested in more in-depth strategies? Reach out through our contact page and I can guide you through customized maintenance plans suited to your project.
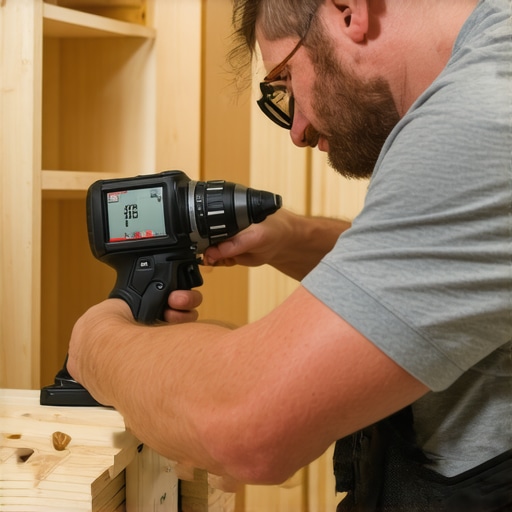
The Hardest Lesson I Learned About installation,storage solutions,vanities,built-ins
One of my most significant realizations was that even the sturdiest materials can falter without proper support. I once tried to save time by skimping on internal reinforcements, only to find my built-in desk sagging after a few months. That experience taught me that the devil truly is in the details—it’s the hidden steel supports and precise bracing that make all the difference in long-term stability.
3 Myths About installation,storage solutions,vanities,built-ins That Held Me Back
I used to believe that thicker plywood was enough to prevent sagging. Turns out, support placement matters more. I also thought that anchoring solely to drywall was sufficient—wrong! And finally, I assumed leveling was just about aesthetics, but improper leveling can cause structural stress over time. Busting these myths opened my eyes to smarter, more durable installation practices.
What Experts Won’t Tell You About installation,storage solutions,vanities,built-ins
Many professionals keep secret that internal reinforcement—like steel brackets or torsion boxes—is key to supporting heavy loads. They often emphasize materials but forget that support strategy is equally vital. Installing adjustable shims during setup can help accommodate settling or minor shifts, ensuring your built-ins stay perfect for years. Learning these insider tips transformed my approach and significantly increased the longevity of my projects.
Curated Resources to Elevate Your Work
For anyone eager to move beyond basic installations, I recommend checking out maximizing space with innovative built-in solutions. It offers advanced reinforcement techniques that I’ve personally tested and trust. Additionally, creative storage ideas for vanities can inspire you to design smarter, clutter-free spaces. These resources have been game-changers in my projects, saving me time, money, and headaches.
Keep Moving Forward with Confidence
Remember, mastering installation and support strategies is an ongoing journey. Every project is an opportunity to refine your skills and build more resilient, beautiful spaces. Don’t be discouraged by initial setbacks—each mistake is a stepping stone toward expertise. Whether you’re reinforcing a sagging desk or designing a new vanity, embracing these lessons will make your work stand the test of time. Ready to take your built-ins to the next level? Dive into the detailed guides, experiment with support techniques, and make your home not just beautiful, but truly enduring.
What’s been your biggest challenge with installing or supporting built-ins? Share your story below—I’d love to hear how you overcame it!
,