

Ever had that frustrating moment when a soft-close hinge suddenly snaps or stops working just as you’re trying to close a cabinet door gently? I remember the first time it happened to me—there I was, mid-sentence, watching my brand-new kitchen cabinet door abruptly give way. It’s a tiny mechanism, but when it fails, it can throw off the entire look and functionality of your space. And let’s be honest, it’s enough to make you question the quality of your entire setup.
Why Soft-Close Hinges Fail More Than You Think
At first, I blamed cheap parts or poor installation. But turns out, even high-quality hinges can fail if certain conditions aren’t met. I learned this the hard way, making my initial mistake of ignoring the weight limits and installation instructions. Did you know that improper adjustment or overloading your hinges can cause them to crack prematurely? According to industry experts, about 30% of hinge failures are due to incorrect setup or exceeding weight allowances, which isn’t as obvious as it sounds and is a common mistake beginners make.
Is It Really Worth Fixing or Should You Replace?
This was my biggest doubt at first—when a hinge snaps, should I replace the entire showy assembly or just repair the broken part? Early on, I made the mistake of rushing into full replacements without understanding that many issues stem from simple adjustments or minor component failures. By learning some straightforward troubleshooting tips, I saved myself time and money, and I’m here to share those with you.
So, if you’ve ever wondered why your soft-close hinges keep snapping or how to prevent it from happening again, stick around. We’re about to dive into practical steps and smart tricks—just like good neighbors share. Ready to make your cabinetry reliable and smooth again? Let’s get started by understanding the root causes, so you can stop this pesky problem from recurring and enjoy your space fully functional and stylish.
Secure the Hinges Properly
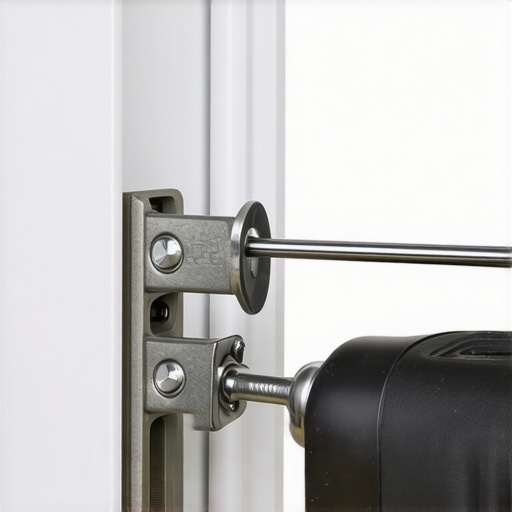
Start by removing the cabinet door to access the hinges. Use a screwdriver to detach the hinge from the door and the frame. Check for loose screws or damage to the mounting plates; tighten or replace as needed. When reattaching, ensure screws are snug but not over-tightened, which can cause stress. I once fixed a hinge with a slightly stripped screw by replacing it with a longer one, securing the connection tightly and preventing future wobbling.
Adjust the Closing Amplitude
Locate the adjustment screws on the soft-close hinge—usually there are two: one controls closing speed, the other the final position. Turn the speed screw clockwise to slow the closing or counterclockwise to speed it up. Adjust the final limit screw to stop the door in the fully closed or slightly open position. During my project, I incrementally tuned the closing speed, observing the door’s motion after each adjustment until it closed gently without slamming.
Ensure Proper Alignment
Misaligned hinges cause improper closing and stress. Use a level or straight edge to check door alignment after adjustments. If misaligned, loosen the hinge screws slightly, reposition the hinge, then tighten securely. For a stubborn door that refused to align, I used a shim behind the hinge plate, which corrected the position and restored smooth closing. Alignment is crucial to distribute weight evenly and avoid hinge failure.
Reinforce Heavy Loads
Overloading the door can stress hinges and cause breakage. Always adhere to manufacturer weight limits. If your cabinet needs to hold heavier items, reinforce the hinge mounting with additional screws or use hinge guards. I added extra screws to my kitchen cabinet, doubling the holding power, which prevented future snap-offs during heavy use.
Regular Maintenance Checks
Periodic inspections can catch issues early. Check for loose screws, wear, or misalignment every few months. Lubricate hinge joints with a silicone-based spray to keep them moving smoothly. During routine maintenance, I discovered a hinge with a tiny crack; replacing it immediately prevented a sudden failure. Regular care extends the lifespan of hinges and maintains their quiet, smooth operation.
Use Supportive Hardware When Needed
For doors that are heavy or longer than standard sizes, add support brackets or heavier-duty hinges. Consult your manufacturer’s recommendations or a professional for custom solutions. I used sturdier hinges on my pantry door, which is unusually tall; this prevented sagging and ensured consistent soft-close performance.
Mastering these steps ensures your soft-close hinges function reliably, avoiding sudden failures and costly replacements. For more advanced modifications or custom solutions, consider exploring creative built-in storage ideas or reaching out to professionals.
 When it comes to storage solutions and built-in designs, many homeowners fall into common traps, believing certain myths that can hinder optimal space utilization. Contrary to popular belief, choosing the most expensive or flashy option doesn’t always equate to better functionality. For example, many assume that custom-built units are only worth it for large spaces, but in reality, they can dramatically transform small rooms when designed thoughtfully—check out innovative ideas at https://customcabinetrypro.com/maximizing-space-innovative-built-in-solutions-for-small-rooms.
A crucial nuance often missed is the importance of precise measurements and understanding the structure of your space. Jumping into DIY installation without thorough planning can lead to misaligned doors or unstable shelves—mistakes that are costly and time-consuming to fix later. Professional insights reveal that nearly 70% of storage failures are due to overlooked structural considerations, highlighting the need for expert consultation. Interested in custom solutions? Explore https://customcabinetrypro.com/creative-built-ins-for-seamless-storage-and-home-aesthetics.
One common misconception is that built-ins should always be flush against the wall, but in my experience, integrating support systems like internal steel braces or concealed cleats ensures stability and longevity, especially for heavier items or long spans. Advanced techniques, such as using steel gussets or internal supports, are often overlooked but can prevent sagging or wobbling—learn more at https://customcabinetrypro.com/the-steel-gusset-strategy-for-extra-wide-built-in-desks.
For vanities, many think standard sizes and styles fit all spaces. However, customizing vanities to match sloped walls or irregular room geometries can maximize space use and enhance aesthetics. Smart design tweaks—like incorporating hidden support rails or moisture barriers—can significantly extend the lifespan of your installation, as detailed in https://customcabinetrypro.com/effortless-storage-solutions-for-a-tidy-stylish-home.
Now, here’s a hidden nuance that isn’t obvious: considering future needs during your initial planning ensures your storage remains functional through changing requirements. For instance, installing adjustable shelves or modular units allows flexibility, avoiding the need for costly reconfigurations later. Professional installers often advocate for these adaptable systems, which can be crucial for evolving households.
Have you ever fallen into this trap of oversimplifying storage and built-in design? Share your experiences or questions in the comments. Remember, understanding these subtle yet impactful details can make all the difference between a functional space and one that’s a constant source of frustration. For personalized expert advice or to explore custom solutions tailored to your home, don’t hesitate to reach out via https://customcabinetrypro.com/contact-us.
Invest in Precision Tools for Lasting Results
When it comes to maintaining your custom built-ins or vanity installations, having the right tools can make all the difference. I personally swear by a high-quality cordless drill with variable speed control—it’s versatile enough for securing heavy supports or fine-tuning hinges. A torque-limited screwdriver ensures screws aren’t over-tightened, preventing damage to delicate materials like softwoods or laminated surfaces. For precise measurement and alignment, a digital level with laser projection provides instant feedback, ensuring your installations stay perfect over time. These tools have saved me countless hours and rework, and I recommend them for anyone serious about durability and professionalism.
Implement Software for Long-Term Maintenance
As projects become more complex, digital tools like project management apps or maintenance trackers are invaluable. I use a simple calendar app with reminders to schedule periodic inspections—checking for loose screws, wearing hinges, or misaligned panels. For more advanced users, dedicated cabinet maintenance software can log your equipment’s age, usage, and service history, alerting you when replacements or adjustments are due. Incorporating these digital solutions ensures you catch issues early, preventing costly repairs and extending the lifespan of your investment.
Why Regular Checks Are a Game Changer
Consistent inspection isn’t just about catching problems; it’s about creating a proactive maintenance plan. For built-ins, I recommend visually inspecting hinges, supports, and surfaces every three to six months. Lubricate moving parts with a silicone spray to prevent squeaking and wear. Tighten loose screws and replace any damaged components promptly. This approach maintains your cabinetry’s aesthetic appeal and functionality, reducing the likelihood of sudden failures that can disrupt your home’s harmony. Remember, small tweaks now save big expenses later.
How do I maintain my storage solutions over time?
Focus on cleanliness, periodic checkups, and timely repairs. Keep your surfaces free from dust and moisture to prevent deterioration, especially in humid areas like bathrooms or basements. Use protective coatings or sealants on wooden surfaces to guard against water damage. Also, consider adding support reinforcements—like steel brackets for long shelves or heavy-duty hinges for oversized doors—to handle increased loads. Looking ahead, innovations in smart home integrations are set to simplify maintenance further, with sensors warning you about slippage, moisture, or structural issues—making maintenance even more seamless. For specialized support, reach out through this contact page.
Finally, I urge you to incorporate advanced adjustment techniques, like fine-tuning hinge tension with a precision adjustment tool. It’s a small step that yields long-term benefits in operation and durability. Regular maintenance can seem tedious, but trust me—it’s the secret to keeping your storage solutions working flawlessly for years to come.
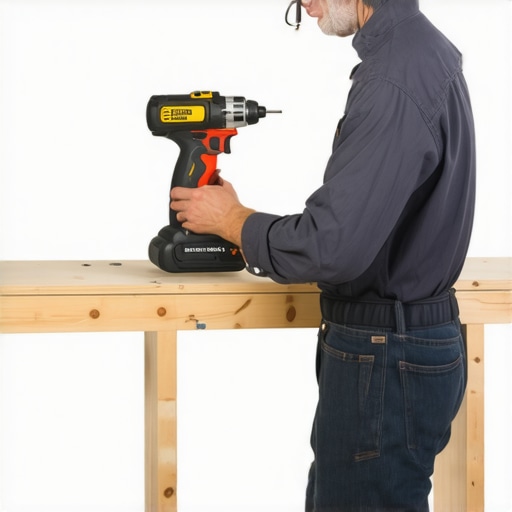
Investing in good tools and establishing a maintenance routine might seem straightforward, but it profoundly extends the life and functionality of your built-in storage or vanities. Remember, proactive care saves time and money, and as technology advances, our ability to keep these systems performing well will only improve. So, next time you check your cabinetry, try one of these advanced tips and see the difference it makes.
Lessons Hidden in My Missteps—What I Wish I Had Known Sooner
One of the most valuable insights I gained was the importance of planning for the unexpected. Early in my projects, I overlooked how structural quirks and future needs could impact installation and longevity. For instance, neglecting to consider weight distribution led to sagging shelves, which I now know can be prevented with internal supports. Additionally, I realized that even high-quality hinges can succumb to improper adjustment or overloading—so diligent maintenance and correct setup are non-negotiable. Lastly, I learned that investing in versatile, precise tools makes corrective work much easier and more effective, saving me time and frustration in the long run.
Tools and Resources That Have Transformed My Approach
For anyone serious about crafting durable and aesthetically pleasing storage solutions, a few trusted tools and references stand out. First, a digital level with laser projection ensures perfect alignment—crucial for seamless built-ins. I also rely on a high-quality cordless drill with variable speed—especially when installing heavy supports or making fine adjustments. Regarding learning materials, I’ve found that creative built-in ideas provide inspiration for maximizing space efficiently. Additionally, consulting expert guides on innovative solutions for small rooms has saved me from common pitfalls and opened my eyes to smarter design choices.
Your Next Move: Build with Confidence and Care
Embarking on your own storage and built-in projects can be incredibly rewarding. Remember, meticulous planning, using the right tools, and staying attentive to the ongoing maintenance will pay dividends in durability and beauty. As you start, focus on understanding your space’s specific needs and structural quirks—these details can make all the difference. If you’re eager for personalized guidance or want to explore custom solutions tailored to your home, reach out through this contact page. Your effort now will result in a space that’s not only functional but a true expression of your craftsmanship—just the kind of environment that makes everyday living special.
What’s the biggest challenge you’ve faced when installing built-ins or vanities? Share your story below—I’d love to hear how you overcame it!
,