

I’ll never forget the sound—a sharp, wooden groan followed by the distinct thud of my eight-year-old landing on the floor. I had just finished what I thought was a masterpiece of a built-in mudroom bench. It looked beautiful in the photos, but the moment a real human being put their full weight on it while tugging on a stubborn rain boot, the whole thing shifted like a tectonic plate. It wasn’t just embarrassing; it was a structural failure that made my professional-grade DIY look like a middle school shop project. We have all been there. You spend days measuring and painting, only to realize the entire unit rocks back and forth because you relied on gravity and a few finish nails to hold it together. Today, I am going to show you how to fix that for good using a stealth ledger. This is the secret to creating built-in storage ideas to declutter and enhance your home that actually stand the test of time.
Stop the Sway Before It Starts
The truth is, most people underestimate the sheer lateral force a person exerts when they sit. It’s not just downward pressure. We lean, we wiggle, and we push off the wall. If you are relying on floor gravity or a couple of flimsy plastic anchors, you are setting yourself up for a wobbly disaster. Early in my career, I made the classic mistake of thinking a bit of wood glue and a prayer would suffice. I was wrong. I spent years fixing the structural fix for wobbly entryway lockers and realized the same physics apply to your mudroom. A stealth ledger is a hidden strip of structural material, usually plywood or hardwood, physically lag-bolted into your wall studs before the bench is ever installed. This creates a rock-solid shelf for the back of the bench to rest on, transferring the load directly into the framing of your house. According to the Forest Products Laboratory, the shear strength of a properly driven fastener into a Douglas Fir stud can exceed several hundred pounds, which is far more than any decorative bracket could ever dream of. By using this method, you are applying the same principles used for the internal steel support for long floating desks to your mudroom seating. Have you ever spent a whole weekend building something only to have it dance the first time you used it?
Is a hidden ledger really worth the extra effort?
The skepticism is understandable because it adds an extra step to your installation. However, when you consider how to anchor mudroom benches to subfloors, you realize that the wall connection is often the most critical point of failure. Without a ledger, the bench wants to pull away from the wall every time someone sits down. I’ve seen it all, from why bench tops warp and the steel c-channel fix to the simple the leveling trick for mudroom benches on tile. The stealth ledger eliminates the need for bulky, ugly external brackets, keeping your design clean while ensuring that the bench is as sturdy as the house itself. It is the bridge between a wobbly piece of furniture and a true architectural built-in.
Build it Like a Bridge Instead of a Box
To create a bench that feels like a part of the house, you have to stop thinking of it as a piece of furniture and start thinking of it as a structural extension of the wall. When I first started, I assumed that if the bench sat on the floor, the floor would do all the heavy lifting. I was wrong. The floor just keeps it from sinking; the wall is what keeps it from falling apart. This is where the stealth ledger comes in. It’s essentially a horizontal 2×4 or a 3/4-inch plywood strip that acts as a hidden shelf. You mount this ledger exactly at the height where the underside of your bench top will sit. It’s a similar concept to the hidden support rail for floating master vanities, providing a continuous surface for the weight to distribute across.
Map Out the House Skeleton First
Before you even pick up a saw, you need to find your studs. I remember a job in a 1920s bungalow where the plaster was so thick my electronic stud finder just beeped in confusion. I ended up having to use a high-powered magnet to find the nail heads in the lath. If you miss a stud and just drive a screw into the drywall, you’re basically building on sand. Once you’ve located the wood, mark your level line. This is where you apply expert guide to flawless vanity installation tricks tips: never assume your floor is level. Always find the highest point of the floor and measure your bench height from there. If you don’t, one side of your bench will be floating in the air, and you’ll be left trying to hide a massive gap with base molding.
Choose a Material That Won’t Snap
Don’t use scraps for your ledger. I’ve seen people try to save five dollars by using leftover particle board, only to have the screws pull right through the fibers under a heavy load. This is exactly why particle board shelves sag and the plywood replacement is the only real answer for structural components. I prefer using 3/4-inch birch plywood or a solid piece of poplar. It’s dense enough to hold the threads of a fastener without splitting, and thin enough to remain ‘stealthy’ behind your face frames or under the seat. 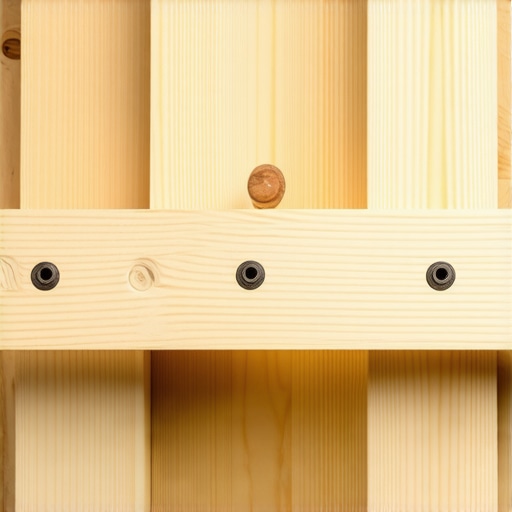
Drive Those Lag Bolts Home
Once your ledger is cut to length—usually about two inches shorter than the total width of the bench to allow for side-panel clearance—it’s time for the heavy hitters. You want 3-inch or 3.5-inch GRK structural screws or lag bolts. Standard gold screws are brittle; they are meant for pulling things together, not holding up humans. I learned this the hard way during a mudroom build for a family of five where a standard screw head literally snapped off while I was driving it. Now, I use the same approach as the lag bolt hack for garage ceiling joists to ensure that once that wood is on the wall, it isn’t going anywhere.
Tackle the Wall-Gap Nightmare with Scribing
Your walls are not flat. They have humps, dips, and bows that will make a perfectly straight bench look like it was installed by an amateur. This is where you use the scribing trick for installing vanities against out-of-square walls. By holding your ledger or the bench ends against the wall and using a compass to trace the wall’s profile onto your wood, you can trim away the excess. The result is a fit so tight it looks like the bench grew out of the drywall. It turns a DIY project into a high-end architectural feature that adds real value to your home.Many DIYers assume that if they just keep adding more screws, the structure becomes invincible. I call this the ‘Swiss Cheese’ mistake. If you drive five screws into a four-inch span of a wall stud, you aren’t making it stronger; you’re effectively perforating the wood, making it easier for the stud to split under tension. I’ve seen beautiful maximize your space with custom vanities expert design tips ruined because the installer thought quantity trumped placement. Instead of a dozen standard screws, use a few strategically placed structural fasteners. It is about load distribution, not just sheer force. Have you ever fallen into this trap where you thought more hardware was the answer? Let me know in the comments.
Stop Turning Your Wall Studs into Swiss Cheese
The common belief is that a fastener is a fastener, but in the world of high-end built-ins, that logic fails quickly. When we talk about innovative storage solutions to transform your bathroom, we have to talk about the tension on the wall. A contrarian view I hold is that you should actually use fewer, higher-quality fasteners rather than a barrage of drywall screws. Drywall screws are brittle; they are designed to hold gypsum board, not the lateral shear of a hundred-pound cabinet. By using structural lag screws, you maintain the integrity of the wall stud while providing superior pull-out resistance. This is the difference between a vanity that stays put for decades and one that starts to pull away from the drywall within a year.
Can your subfloor handle the weight of a heavy stone top?
This is the question most people skip during the planning phase. We often focus on the hidden support system for heavy marble vanity tops, but we forget what those supports are actually sitting on. If you are installing a double-sink vanity with a 3cm quartz or granite top, you are looking at several hundred pounds concentrated in a very small footprint. A study by the National Kitchen & Bath Association (NKBA) highlights that structural deflection—the tiny amount a floor bends under weight—is a leading cause of cracked grout lines and doors that suddenly bind. If your floor has any ‘bounce’ when you jump on it, you need to employ the hidden sub-base for leveling heavy media walls on carpet logic to stiffen the joists or create a weight-distributing plinth before the vanity even arrives. 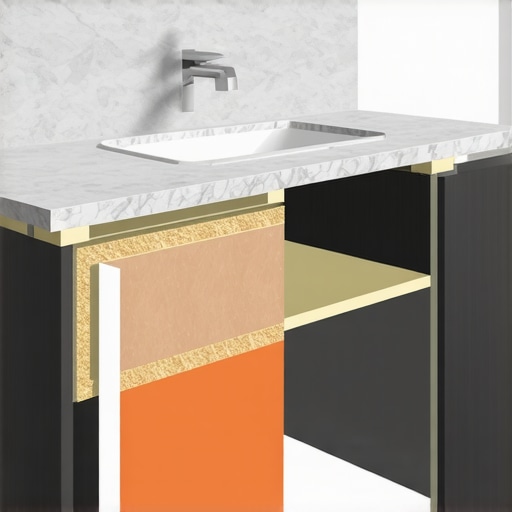
The Stability Myth: Why MDF Might Be Your Weakest Link
There is a massive debate about whether MDF is better than plywood because it doesn’t warp. While MDF is great for paint-grade finishes, it has zero structural ‘memory.’ Once an MDF shelf or cabinet floor sags, it is permanently deformed. This is exactly why particle board shelves sag and the plywood replacement is the only choice for the structural carcass of a built-in. If you want creative storage solutions for vanities to declutter in style, the foundation must be plywood to handle the humidity and weight.
The Environmental Trap That Rots Your Hard Work
The biggest ‘oops’ factor I encounter isn’t structural; it’s environmental. People install high-end units against cold exterior walls without thinking about the dew point. I once pulled out a ‘rock-solid’ built-in only to find the back panel covered in black mold because there was zero airflow. This is why I always recommend the moisture barrier trick for vanities against cold walls. Furthermore, you must ensure the internal support move for heavy stone vanities does not accidentally block access to your plumbing shut-off valves. Nothing ruins a custom build faster than having to take a reciprocating saw to your cabinetry just to fix a leaky faucet.I don’t care how good your eye is; you cannot compete with a self-leveling cross-line laser. When I am setting up built-in storage ideas to declutter and enhance your home, my Bosch GLL-30 is my best friend. It casts a perfectly level red line across every wall in the room, showing you exactly how much your floor drops from left to right. Without it, you are just guessing. I also swear by the FastCap AccuScribe. It is a simple tool, but it is the only way to master the scribing trick for built-in cabinets against uneven brick without losing your mind. Professionalism is not just about skill; it is about using tools that eliminate human error and ensure that your installation stays square for decades. 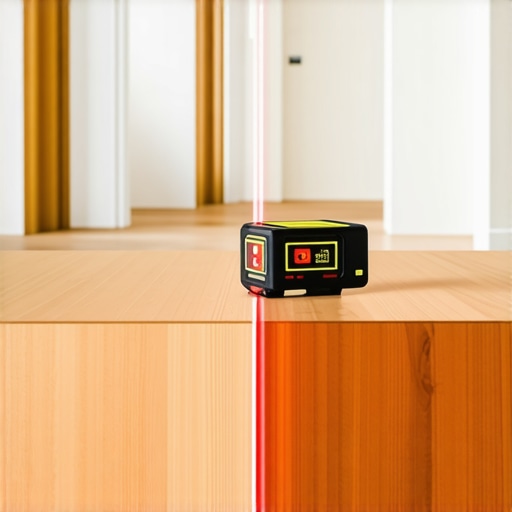
How do I maintain custom built-ins over time?
Maintenance is where most homeowners fail. Every six months, I tell my clients to grab a screwdriver and check their hardware. According to the Architectural Woodwork Institute (AWI), mechanical fasteners in active storage units are subject to vibrational loosening over thousands of cycles. This is why you see why cabinet doors sag and the three-hinge solution as a common fix—it is often just a loose screw. If you have moving parts, check for grit in the tracks. Knowing how to fix loose pull-out pantry tracks for good usually involves a simple cleaning and a drop of dry lubricant rather than a total replacement. If you notice a grind, do not ignore it. Addressing why your pull-out pantry is grinding and the track fix early prevents the ball bearings from flat-spotting, which would require a full hardware swap.
The Future of Storage is Modular and Smart
I predict we are moving toward adaptive built-ins. Looking at the top trends in vanity designs you need to know in 2025, we are seeing a massive shift toward units that incorporate hidden charging ports and modular panels. The goal is to maximize your space with custom vanities expert design tips that allow for internal reconfigurations as your storage needs change. We are also seeing a rise in innovative storage solutions to transform your bathroom that use moisture-resistant composite materials that mimic wood but survive a flood. Do not build something so permanent that it becomes obsolete when your lifestyle evolves. Instead, focus on a rock-solid structural carcass with flexible internal components. Go ahead and take ten minutes this weekend to check the level of your heaviest storage unit—if it is leaning even slightly, use a shim now before the frame warps permanently.
Three Harsh Realities About Built-ins I Had to Learn the Hard Way
I’ve spent twenty years chasing the ‘perfect’ installation, only to realize that perfection isn’t about avoiding mistakes—it’s about building in enough structural redundancy that the house itself would give up before your cabinetry does. One of the biggest lightbulb moments for me was realizing that every wall in an old house is actually a gentle curve. If you try to force a straight box against it, the box loses every time. That is why mastering 4 tactics for leveling cabinets on old sloping floors changed my entire workflow. I also learned that wood moves, but steel doesn’t. Whenever I’m worried about a span, I look toward the internal support move for heavy stone vanities to take the guesswork out of the equation. Finally, never trust a ‘stud’ that feels soft when the screw goes in; it’s likely water-damaged or a ghost of a lath. Precision and patience are your two best tools.
The Gear That Actually Holds My Projects Together
When people ask how I keep my builds from shifting, I point them to the GRK structural screw catalog—once you use them, you’ll never touch a drywall screw again. For layout, I cannot live without the Bosch self-leveling laser; it’s the difference between a bench that feels professional and one that feels like a slide. #IMAGE_PLACEHOLDER_E# If you are just starting out, I highly recommend checking out this step-by-step guide to vanity installation for beginners. It covers the fundamentals that even seasoned pros occasionally forget in the heat of a project.
Your Blueprint for a Rock-Solid Home
You now have the structural ‘secrets’ that separate temporary furniture from permanent architectural features. Building is about more than just utility; it’s about the peace of mind that comes when you sit down and nothing creaks. Use these built-in storage ideas to declutter and enhance your home to create spaces that don’t just look good on camera, but feel solid underfoot. It’s your turn to pick up the drill and transform your space with effortless storage solutions for a tidy stylish home. Have you ever discovered a ‘creative’ wall repair hidden behind an old cabinet? Let’s swap horror stories in the comments.