

I was standing in my kitchen at 3 AM, staring at a sliver of darkness that shouldn’t have been there. It was a gap. A wide, ugly gap between the top of my brand-new cabinets and the ceiling. My heart did a slow somersault. I’d spent thousands on those creative built-ins for seamless storage, only to feel like they were slowly detaching from the house. It’s a visceral kind of panic, isn’t it? You wonder if you missed a stud or if the house is literally breathing. Today, I’m going to help you stop that slow-motion separation and fix it for good.
That Sinking Feeling When Your Cabinet Separates from the Ceiling
When I first started installing my own units, I made the classic mistake of thinking a long screw and a bit of hope were enough. I didn’t account for the house actually moving. The reality is that why most floor-to-ceiling cabinets gap at the top often comes down to a phenomenon called truss uplift or simple settling. According to the National Association of Home Builders (NAHB), seasonal moisture changes in your attic can cause floor trusses to arch upward, pulling the ceiling away from your interior partitions. It’s not necessarily your fault, but it is your problem to solve. I’ve seen this happen in everything from kitchens to bedrooms, and it’s remarkably similar to why custom closets pull away from ceiling joists. It looks like a disaster, but usually, it’s just a fight between your wood and the weather.
Is this gap actually a sign of structural failure?
The short answer is: probably not, but it looks terrible. Most of the time, the pulling away is cosmetic, but if left unaddressed, the weight of the cabinets can start putting stress on the side-wall anchors. I remember ignoring a small gap in my first laundry room project, thinking it would settle back. It didn’t. Instead, the crown molding snapped and I had to repaint the whole ceiling. Have you ever noticed a gap appearing in your house that definitely wasn’t there when you moved in? I’d love to hear if you’re staring at a mystery gap right now. We’re going to look at how to bridge that space without rebuilding your entire wall.
Stop Chasing the Ceiling and Use a Floating Cleat
First, we have to accept a hard truth: your ceiling is never truly flat. If you try to force a cabinet upward to meet a dipping ceiling, you’ll rack the entire frame, which leads to doors that won’t close and hinges that scream under tension. Instead, I use what I call the suspension bridge approach. You need to anchor the unit firmly to the wall studs first—this is where how to anchor tool cabinets to wood stud walls techniques become invaluable, as the load-bearing principles are identical even for high-end kitchen units. I once worked on a 1920s craftsman house where the ceiling dipped nearly two inches in the center of the kitchen. In my youthful arrogance, I thought I could just fill the gap with a mountain of caulk and a prayer. It looked like a kindergarten art project gone wrong. The caulk cracked within a week, leaving a jagged black line that mocked me every morning. I had to rip it all down and learn the power of the riser board.
Scribe Your Way to a Seamless Finish
The real secret weapon in your arsenal is the scribe. You don’t want the actual cabinet box to touch the ceiling; you want a filler strip, often called a riser, to do the heavy lifting. You hold a piece of trim against the ceiling, set a carpenter’s compass to the widest point of the gap, and run the metal point along the ceiling while the pencil marks the trim. This is essentially the scribing secret for perfect built-ins on rounded drywall corners applied to a horizontal plane. When you cut along that line and slide the board into place, the gap vanishes instantly, even if your ceiling has the contour of a mountain range. 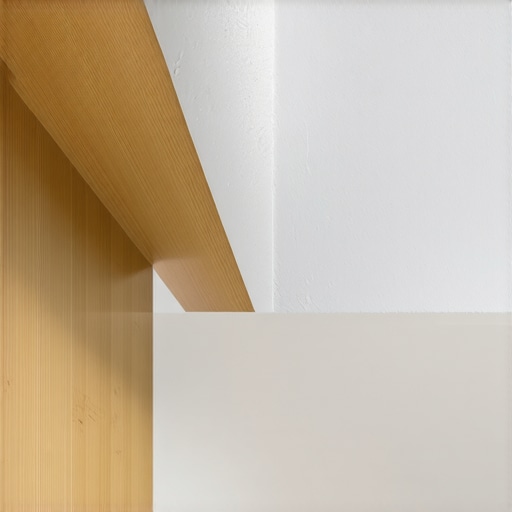
Manage Those Frustrating Out of Square Alcoves
In most houses, the corner where the wall meets the ceiling isn’t just uneven; it’s rarely a crisp 90-degree angle. If you’re struggling with corners that seem to be closing in on you, mastering how to fit built-ins into out-of-square alcoves is a game changer. The trick is to avoid making the trim flush with the cabinet face. By creating a small “reveal”—a slight step-back—you create a shadow line that tricks the eye into seeing a perfectly straight line, hiding the architectural flaws of the room. This approach is much more effective than trying to force two pieces of wood to meet perfectly in a crooked corner.
Reinforce the Top for Heavy Library Units
When you’re working with massive weight, such as floor-to-ceiling bookcases, the gap isn’t just a cosmetic annoyance; it can be a sign that the unit needs more stability. You often need the structural fix for floor-to-ceiling library units, which involves installing a hidden top-cap. This internal frame ties the unit directly into the ceiling joists without putting visible tension on the drywall. It provides a solid foundation for your built-in storage ideas to declutter and enhance your home, ensuring that as you load those shelves with hundreds of pounds of books, the unit stays exactly where you put it. Dealing with these gaps is less about brute force and more about the clever use of trim and structural geometry to make the house look better than it actually is.
I’ve seen too many DIYers (and even some pros) fall into the trap of thinking “sturdy” just means “heavier wood.” In reality, the most sophisticated builds I’ve done rely on geometry and specialized hardware rather than sheer bulk. Everyone says you need thicker plywood for those massive pantry shelves, but I’ve found that using 5 steel bracket fixes for heavy pantry shelves that shake is a far more elegant way to stop the bounce. It’s about managing the load path, not just piling on materials. Let’s dig deeper into the nuances that separate a weekend project from a lifelong installation.The Deadly Trap of Flushed-Out TrimA common mistake—the one that still keeps me up at night—is trying to make every joint perfectly flush. In a laboratory environment, maybe that works. But in a real home, the Forest Products Laboratory (FPL) notes that wood is hygroscopic; it is constantly expanding and contracting with humidity. If you don’t build in a “reveal”—an intentional 1/8th inch step-back—those perfectly flush joints will eventually shift and look like a mistake. It’s why mastering an expert guide to flawless vanity installation tricks and tips usually involves learning where to hide the movement rather than fighting it. Have you ever fallen into this trap? Let me know in the comments.
Why does a perfectly level vanity still look crooked?
It’s the optical illusion of the “leaning floor.” If your floor slopes (and they always do), a perfectly level cabinet will highlight the taper of the toe-kick. I’ve had clients swear I installed a unit tilted because the gap at the bottom was uneven. The pro move isn’t just leveling; it’s using a hidden sub-base for leveling heavy media walls on carpet or tile to create a consistent visual base before the cabinet even touches the ground. This is especially critical when you’re trying to how to stop floating vanities from dipping with steel plates, as the leverage of a heavy stone top will amplify any minor structural oversight. 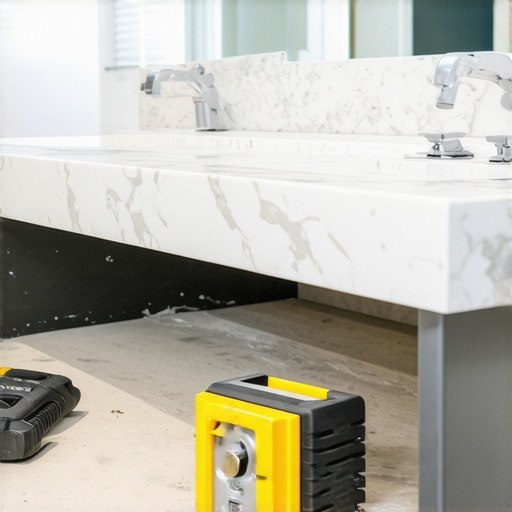 The biggest “oops” I see involves trusting those little plastic ribbed anchors that come in the box. If you’re hanging something more substantial than a picture frame, why plastic wall anchors fail for heavy shelving is a lesson you don’t want to learn when your dishes are on the floor. For the big stuff, like the hidden sub-frame move for supporting massive quartz top vanities, you need mechanical fasteners that bite into the framing, not just the drywall. Have you ever had a “perfect” installation go south because the house decided to shift?
I’ve realized that a great installation isn’t a “one-and-done” event; it’s the start of a relationship between your house and your furniture. To make that relationship last, you need the right kit. If you’re still using a 4-foot bubble level to hang your cabinets, you’re working too hard. I switched to a self-leveling cross-line laser years ago, and it changed everything. It’s the only way to catch the subtle ceiling dips we talked about earlier. When you’re trying to maximize your space with custom vanities expert design tips, having a constant, perfectly level reference line projected across the room prevents those cumulative errors that make a project look “DIY” in the worst way. 
How do I keep my custom built-ins from squeaking or sagging over time?
The secret isn’t just in the initial anchor; it’s in the seasonal “tune-up.” Every house breathes. According to Blum’s Dynamic Loading Standards, high-quality drawer slides are rated for up to 100,000 opening cycles, but that rating assumes the cabinet remains perfectly square. Once a year, I go through my units and stop drawer dragging with this under-mount slide adjustment. A simple quarter-turn of a screwdriver can compensate for the slight seasonal settling of your floor. If you start hearing a sharp “pop” when you close a door, check the hinges immediately—ignoring it is why your soft close hinges are snapping under the lateral pressure of a misaligned door. When you’re scaling up to bigger projects, like a full wall of library units, don’t just buy more wood. Think about the hardware. I’ve found that using vanity installation hacks that save time and money, like pre-drilling with a self-centering Vix bit, saves hours of frustration and prevents the splitting that ruins expensive face frames. Looking ahead to top trends in vanity designs you need to know in 2025, we’re seeing a massive shift toward “serviceable” furniture—pieces where the trim can be popped off to access plumbing or wiring without a sledgehammer. I’m betting that the next big thing in home storage is modularity—the ability to swap out the internals of your built-ins as your needs change from a nursery to a home office. For now, focus on the foundation. Grab a high-quality scribe tool and a decent laser; they are the two things that will elevate your work from “it’s okay” to “did a pro do this?” If you’ve got a sagging shelf right now, I want you to go out and try 5 steel bracket fixes for heavy pantry shelves that shake this weekend. You’ll be amazed at how much more solid your kitchen feels when the pantry doesn’t rattle every time you close the fridge.
The Costly Lessons Houses Taught Me About Movement
After years of wrestling with trim and crooked walls, I’ve realized that a great installation isn’t about fighting the house; it’s about outsmarting it. One of the biggest lightbulb moments I ever had was accepting that wood is a living material. If you try to make a joint perfectly flush against a wall that is destined to shift, you are setting yourself up for heartbreak. Instead, I now rely on a small reveal—that 1/8-inch offset—which acts as a visual safety net. It’s a technique I’ve used consistently when applying vanity installation hacks that save time and money while ensuring the finished product looks intentional, not forced. I also learned the hard way to never trust a ‘level’ ceiling. Always scribe your filler pieces to the specific contour of your home, even if it looks flat to the naked eye. Finally, remember that the hardware you choose is the backbone of the project; skipping the high-quality anchors is the fastest way to turn a dream kitchen into a structural headache.
Tools That Saved My Sanity and My Ceilings
If you want to move beyond basic DIY, you need to upgrade your toolkit with these non-negotiables. First, a self-leveling cross-line laser is worth its weight in gold. It projects a perfectly level line across every wall simultaneously, which is essential when you’re trying to maximize your space with custom vanities expert design tips and need to catch ceiling dips before the first screw goes in. Second, I never start a build without a dedicated carpenter’s compass for scribing. It’s the only way to get that professional, gap-free fit against uneven surfaces. Lastly, invest in a set of self-centering Vix bits. They ensure your hinges and hardware are perfectly centered every time, preventing the misalignment that causes doors to drag or flawless vanity installation tricks and tips to fail over time. I trust these tools because they eliminate the guesswork that leads to late-night frustration.
Your Home is Ready for This Transformation
Fixing that ugly gap at the top of your cabinets is more than just a cosmetic upgrade; it’s about taking control of your space and building something that lasts. Every house has its quirks, and every ceiling has its dips, but with the right scribing techniques and a bit of patience, you can achieve a high-end look without a professional price tag. These built-in storage ideas to declutter and enhance your home are within your reach if you take it one stud at a time. Don’t let a little architectural movement stop you from creating the seamless, beautiful home you deserve. Have you ever dealt with a ceiling gap that seemed to grow wider every winter? Let me know in the comments below!