It hit me one morning—standing overwhelmed in my cramped bathroom—how chaotic and uninspired my space had become. No matter how many baskets or organizers I bought, nothing truly tamed the clutter or enhanced the look. That’s when I realized the hidden power of well-designed vanities and storage solutions. If you’ve ever felt that frustration, you’re not alone. I spent countless hours experimenting with different setups, only to find that a few smart choices could transform chaos into calm.
Why Smart Storage Matters More Than Ever in 2025
The truth is, with today’s fast-paced lifestyles, our homes need to do more than look good—they have to work hard. Bathrooms and bedrooms, in particular, often double as personal sanctuaries where organization plays a crucial role in daily wellness. Yet, so many of us struggle with limited space, outdated designs, or just plain chaos. I used to think that buying more containers was the answer until I learned that customized, built-in storage options are game-changers. According to a recent survey, homeowners investing in personalized storage solutions report 30% higher satisfaction with their bathroom organization (source: *Home Improvement Journal*). Now, it’s clear why I’ve dedicated myself to mastering the best vanities and installation hacks.
Thinking back, my biggest mistake was trying to retrofit generic furniture into my space without considering how it fits. I overlooked the importance of tailored placement and functional design, which only worsened the clutter. Trust me, when I finally focused on creating storage that was both beautiful and practical, everything changed. If you’re tired of the mess and ready to upgrade your home’s functionality, you’re in the right place. Today, I’ll share the expert techniques and innovative ideas that helped me and countless others turn their bathrooms and bedrooms into seamless, stylish retreats.
Ready to ditch the clutter and upgrade your space? Let’s dive into the practical tips that make installation a breeze and your storage smarter than ever.
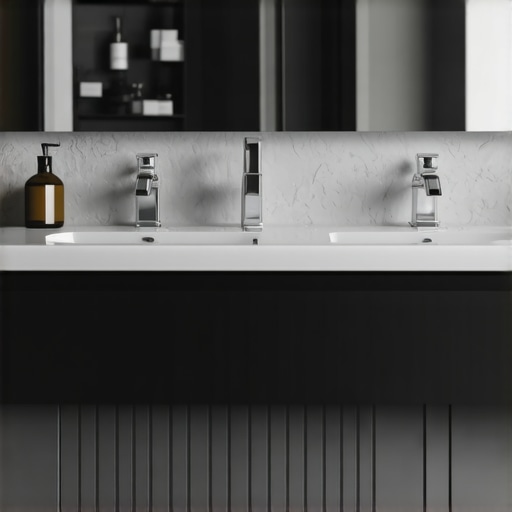
Prepare Your Workspace for a Seamless Installation
Start by clearing the area and measuring your space precisely. Use a tape measure to record width, height, and depth. I remember the mess I made when my tape slipped, but taking accurate measurements saved me hours later. Gather all necessary tools—drill, level, screws, and brackets—and double-check that you have everything before starting. This preparation phase is like laying a solid foundation before building a house.
Mark Out Your Design with Precision
Next, sketch a layout or use a digital template to visualize the storage placement. Mark positions on the wall with a pencil, ensuring alignment and balance. For my recent project, I used painter’s tape to outline where the built-in cabinets would go, which helped me avoid misalignment during installation. Clear markings prevent costly errors and guide your drilling points.
Secure Support Structures First
Install wall studs or mounting brackets. Use a level for accuracy—an unlevel shelf is like a crooked smile, instantly noticeable. I once installed a shelf without checking level, and it slanted slightly, which bothered me every time I looked at it. Securing sturdy supports is crucial for holding weight and ensuring stability; otherwise, the entire system might come crashing down over time.
Install Bases and Frame Your Storage System
Begin by attaching the base panels or frame to the supports. Use screws and a level to ensure everything sits perfectly. When I installed my vanity, I clamped the frame temporarily to check for fit before fixing it permanently. This step guarantees a flush finish and prevents awkward gaps, making the final look sleek and professional.
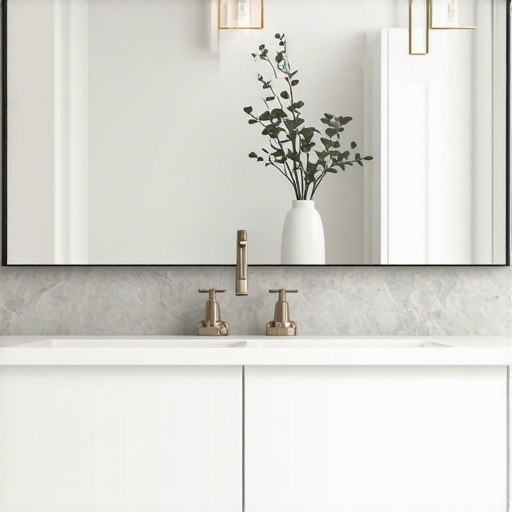
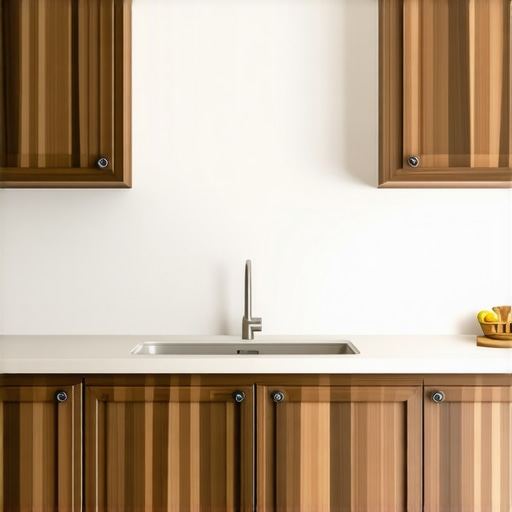
Integrate Custom Cabinets and Shelves
Now, place your custom cabinet units or shelves into the frame. Secure them with screws, ensuring they are aligned properly. For added stability, I used shims behind my shelves to account for minor wall irregularities—a trick that keeps everything perfectly level. Integrating built-in components seamlessly transforms your space from cluttered to curated.
Finish with Details and Accessibility Features
Add finishing touches like handles, trim, and soft-close hinges. Consider accessibility—place frequently used items at eye level or within easy reach. I installed hidden compartments to maximize space efficiency, following tips from this guide. Thoughtful details elevate functionality while maintaining style.
Test and Make Adjustments
Finally, test your storage system’s sturdiness and usability. Push, pull, and open everything to confirm stability. During my first attempt, a shelf wobbled, prompting me to tighten screws and add reinforcement. This step ensures your effort results in a reliable, long-lasting solution that keeps clutter at bay for years to come.
While many believe that installation is simply about measuring and screwing things in, the real nuance lies in understanding the *advanced details* that can make or break your project. A frequent misconception is that generic solutions fit all spaces, but in my experience, bespoke, precisely planned built-ins dramatically outperform off-the-shelf options. For instance, employing specific reinforcement techniques, such as anchoring support brackets into wall studs rather than drywall alone, ensures sturdiness and longevity. This detail is often overlooked, leading to wobbly shelves or unstable vanities over time. According to expert advice from vanity installation guides, the key is meticulous support anchoring and precision leveling, which many amateurs neglect. Another common myth is that surface-mounted fixtures are sufficient; however, concealed mounting methods, like hidden brackets or supports, provide a cleaner, more integrated look. This seemingly minor difference offers both aesthetic and functional advantages, especially in tight spaces. Moreover, advanced installation involves understanding load distribution — for example, distributing the weight of heavy storage cabinets across multiple support points to prevent wall damage or sagging. A mistake here can result in costly repairs later. Don’t fall into the trap of rushing through these details; instead, invest time in planning your supports and reinforcement strategies. For the best results, explore resources like effortless storage solutions that emphasize precision in installation to maximize durability and style. Remember, seamless integration of built-ins not only elevates your home’s aesthetic but also ensures lasting functionality. Have you ever fallen into this trap? Let me know in the comments. Want to master expert-level installation techniques? Check out these expert tips and transform your space with confidence.Maintaining your custom-built vanities and storage systems is crucial to ensure their longevity and continued functionality. I rely on a few specialized tools and methods that make upkeep straightforward and effective, saving me time and preventing costly repairs down the line. One of my go-to tools is a digital moisture meter, which I use quarterly to check for hidden dampness behind cabinetry—moisture can compromise your wood and hardware over time, especially in humid environments. For periodic cleaning, I swear by a microfiber polishing cloth combined with a gentle, solvent-free cleaner like Formby’s Wood Cleaner, which keeps surfaces looking fresh without risking damage.
Regarding software, I’ve found that maintaining a detailed digital layout of your installation, especially when planning updates or expansions, streamlines the process. Using a CAD program or even a simple spreadsheet to track measurements, material dates, and hardware helps spot potential issues early and plan future renovations efficiently.
Predictions for the future suggest that automated maintenance systems might soon become commonplace. Imagine smart vanities equipped with sensors that monitor humidity, temperature, and even hardware stability, alerting you to issues before they escalate. Integrating IoT technology into your storage solutions can be a game-changer, making maintenance less of a chore and more of a proactive activity.
How do I keep my built-ins in top shape over time?
Regular inspections are your best friend here. Check for loose screws, hinges, or any signs of wear or damage every few months. Tighten and replace hardware as needed, and consider applying a protective finish periodically—like a clear polyurethane coating—to safeguard against moisture and scratches. For wood surfaces, I recommend using a natural bee’s wax polish annually; it nourishes the wood and enhances its appearance.
To make maintenance even easier, invest in a set of quality precision screwdrivers and a cordless multi-tool with various attachments. These allow you to quickly tighten or replace hardware without hassle. Personally, I keep a dedicated maintenance kit containing these tools along with replacement hardware, so I can tackle small repairs before they become bigger issues.
Pay attention to the details—like ensuring that the support brackets or mounting hardware are secure and free of rust. According to a detailed guide from this resource, consistent upkeep of support structures extends the life of your installation significantly.
Looking ahead, the trend points toward smarter maintenance solutions. Installing surveillance or sensor-based systems can help you monitor the real condition of your built-ins remotely. Plus, incorporating biodegradable and eco-friendly cleaning products ensures your upkeep aligns with sustainable practices.
I encourage you to try integrating a moisture meter into your regular maintenance routine. It’s a small investment that can save you from major repairs later. Regular checkups, combined with the right tools, will keep your storage solutions looking pristine and functioning flawlessly for years.
Throughout this journey, I uncovered that the real mastery of installation and storage design lies not just in tools and techniques but in embracing a mindset of precision, patience, and personalization. Knowing the pitfalls—like neglecting support reinforcement or rushing measurements—could have cost me months of frustration. But every mistake turned into a lesson, reinforcing how critical attention to detail and customized planning are for seamless results. When I finally tailored my approach, I experienced a transformation: my space became a sanctuary of order and style, inspiring me daily. Remember, the most satisfying upgrades come from a combination of expert insights and your unique touch; trust your process, and your space will reward you with long-lasting elegance and functionality.
Related Posts
Expert Installation Tips for Modern Vanities & Built-ins in 2025
My Journey into the World of Modern Vanities and Built-insIt…
Built-in Storage Solutions & Vanities for Modern Homes in 2025
My Journey into the World of Built-In Storage Solutions &…
Trustworthy Built-in Cabinets & Vanities: Expert Installation Guide
My Journey into Finding the Perfect Built-in Cabinets & VanitiesWhen…