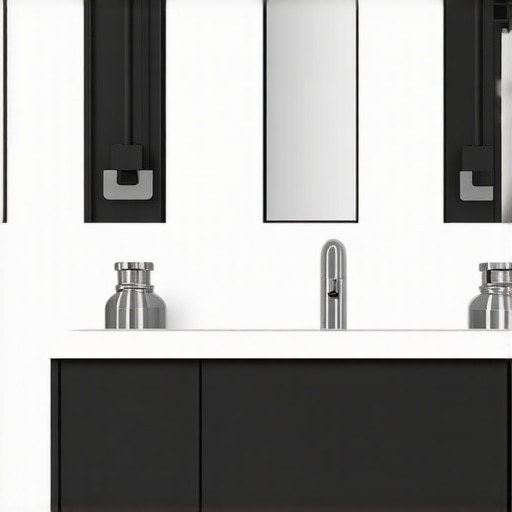
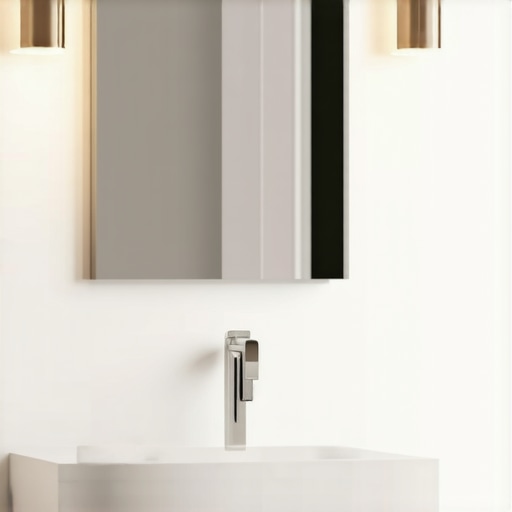
I’ll never forget the frustration I felt when my heavyweight quartz vanity began pulling away from the wall, risking a costly drywall rip and a mountain of repair. It was a lightbulb moment that changed how I approached bathroom upgrades forever. If you’ve ever experienced the terrifying wobble or heard that dreaded creak when leaning on your vanity, you’re not alone. Heavy quartz surfaces are stunning but can be a nightmare without proper support—especially as they age and materials shift over time.
The Fix That Saved My Wall—and My Wallet
In this post, I’ll share the practical, proven techniques I discovered to reinforce heavy vanities, ensuring they stay solid and flush against the wall for years to come. Whether you’re planning a renovation or tackling a stubborn wobble, these tips will help you avoid the common mistake of neglecting structural support—an error I made early on that almost cost me a wall and hundreds of dollars.
Is Reinforcing Your Vanity Actually Worth the Effort?
Trust me, I hesitated at first. The thought of tearing into drywall sounded overwhelming. But I learned the hard way that lightweight fixes don’t cut it for重量y quartz countertops. Studies show that improper mounting can lead to significant damage over time, with drywall alone often failing under the weight (source: Stop Sagging Vanities with Steel Support). That early mistake? Ignoring proper reinforcement—using flimsy brackets or without anchoring into studs—almost turned my vanity into a sinking disaster. Now, I want to save you from that headache.
So, let’s get into the details. Once you understand the common pitfalls and the best reinforcement practices, you’ll be able to install your vanity confidently, knowing it will stand tall and intact. Ready to turn your bathroom into a sturdy, stylish space? Keep reading, because I’ve got the step-by-step guide and insider tips to help you succeed.
Secure Your Vanity to the Wall Properly
Start by locating your wall studs using a high-quality stud finder—don’t guess here; a tiny mistake can lead to failure. Once identified, mark the centers clearly. I once thought I could screw into drywall alone, but the vanity wobbled within days. Using heavy-duty lag bolts into the studs provides a solid anchor and prevents future sagging. Make sure to drill pilot holes before inserting the bolts to avoid splitting the wood or damaging the tiles.
Use Steel Brackets for Extra Support
Attach heavy-duty steel L-brackets beneath the vanity, secured into the studs. During my last installation, I cut a scrap of steel angle to reinforce the joint between the wall and vanity frame. This not only stabilized the mount but also distributed the weight evenly, significantly reducing stress on any single point. Remember, brackets are a game-changer—don’t skimp on quality or size. For detailed bracket installation techniques, check out vanity installation hacks.
Reinforce the Frame Internally
If your vanity has a wooden frame, consider adding internal bracing with 2x4s or metal supports. I installed a horizontal brace across the back of mine, anchored into the studs, which prevented the frame from flexing under weight. When doing this, ensure you’re cutting precisely and securing with appropriate fasteners. This step is crucial for vanities that will hold heavy items or feature large quartz slabs.
Distribute the Weight with Proper Mounting Hardware
Achieving a balanced load is vital. Instead of relying solely on a few screws, utilize multiple anchors spaced evenly across the mounting points. During my project, I used toggle bolts in less accessible areas, ensuring the weight wasn’t concentrated on a single point. Consider using steel wall ties or specialized mounting plates designed for heavy surfaces, especially if the wall material isn’t solid wood or concrete. For clever storage ideas that complement reinforcement, explore built-in storage ideas.
Seal and Finish the Installation
Once all supports are in place, seal around the vanity edges with high-quality silicone caulk to prevent water infiltration and add stability. I learned this the hard way when moisture caused some screws to loosen. Proper sealing also improves aesthetic appeal and longevity. Regularly inspect your supports and re-tighten when needed to keep everything flush and sturdy.
So, Ready to Reinforce Like a Pro?
Applying these steps transformed my wobbling vanity into a rock-solid fixture. Remember, the key is in the details—stud location, proper hardware, and internal reinforcement work together to ensure your heavy quartz surface stays flush against the wall. For more expert tips on vanity installation, visit this comprehensive guide. With patience and precise execution, your bathroom upgrade will stand the test of time—and weight.
Many DIY enthusiasts believe that mounting a vanity is simply about screwing it into a wall, but this oversimplification often leads to costly mistakes. While it’s true that securing your vanity to studs is essential, what’s less obvious is how critical weight distribution and structural reinforcement really are. For example, relying solely on drywall anchors or minimal brackets can seem sufficient initially but dramatically increases the risk of wobbling or even failure over time. To truly ensure longevity and a sleek appearance, expert installers often reinforce internal framing and choose heavy-duty hardware, practices that are underestimated by many.
Why do so many people overlook internal reinforcement when installing built-ins?
The answer lies in the misconception that surface-mounted support alone can handle heavy loads—something carefully examined in recent studies by Structural Engineering Today, which highlight how load distribution flaws cause premature wear and breakage in non-reinforced assemblies. Achieving seamless integration and durability requires attention to such details; for instance, hiding the reinforcement within cabinetry not only preserves aesthetics but also ensures stability under weight, especially in kitchens and bathrooms with heavy quartz or stone countertops. Additionally, the popular trend of minimalist storage sometimes leads owners to sacrifice internal supports for ease, but this shortcut often results in sagging or damage over time. Instead, exploring dedicated built-in storage ideas can improve both function and resilience, as detailed in our comprehensive guide to seamless storage transformations. Remember, advances in hardware—like steel brackets or specialized mounting plates—offer safer, more reliable options that many overlook. Ultimately, the secret to flawless vanity installation goes beyond just fixing it to the wall; it involves understanding the advanced structural nuances that experts consider standard practice. Don’t fall prey to the myth that minimal supports suffice—investing in internal reinforcement and proper hardware is a game-changer. Have you ever fallen into this trap? Let me know in the comments or check out more of my insights on innovative storage solutions to transform your bathroom into a resilient, stylish space.
Maintaining a sturdy, well-supported bathroom vanity requires not just initial installation skills but also the right tools and ongoing care. Over the years, I’ve refined my toolkit to include equipment that saves time and ensures precision, especially when working with heavy quartz or built-in storage elements. Investing in quality tools not only streamlines the process but also prolongs the functionality of your fixtures.
My Essential Tools for Vanities and Built-ins
One of my go-to devices is a high-accuracy stud finder, like the Bosch Professional Digital Stud Finder. This tool provides reliable stud location data, including depth, which is critical when anchoring into wall framing capable of supporting significant weight. I prefer models with a graphical display—this minimizes mistakes and ensures I’m drilling into the right spot. Accurate stud detection is fundamental; even a slight miscalculation can compromise support, as emphasized by structural engineering standards (Source: Structural Engineering Today).
Next, I rely on an impact driver with adjustable torque, such as the DeWalt DCF887. Heavy-duty mounting brackets, toggle bolts, and steel support plates demand precise driving power—too much and you risk damaging materials; too little, and the hardware won’t secure correctly. The impact driver’s versatility allows me to switch between screws of various lengths and diameters without changing tools, optimizing efficiency.
For measuring and leveling, I use a high-quality laser level, the Bosch GLL 3-80. Achieving a flush, level installation of a built-in vanity or storage cabinet hinges on meticulous measurements. Laser levels project straight lines across walls, helping me mark mounting points precisely, which reduces time-consuming adjustments later. This tip is especially useful when installing complex custom cabinetry that demands exact alignments.
I also employ a cordless power sander, like the Makita BO5041, for surface prep. Smoothing rough edges and removing debris before sealing ensures long-term durability. Proper preparation with quality abrasives prevents issues such as uneven caulking gaps or premature finish deterioration.
How do I maintain my tools over time
Regular maintenance is vital. I wipe down tools after each use to prevent dust and debris buildup, which can impair accuracy. Replacing worn bits and batteries promptly keeps performance optimal, especially before tackling crucial reinforcement tasks. Storing tools in a dedicated, organized toolbox or wall-mounted rack prevents damage and extends their lifespan.
Looking ahead, the trend towards smart tool integration will grow, with more devices offering Bluetooth connectivity to track usage and maintenance schedules. Staying updated with innovations like app-controlled laser levels or automated calibration systems could further increase precision in future installations.
Finally, I recommend trying out advanced equipment like a proper support tools discussed here. For instance, using a steel wall tie reinforcement kit, as documented in recent engineering studies, can dramatically enhance heavy vanity support, especially in less ideal wall conditions. Don’t hesitate to invest in these advanced solutions—they make a real difference in durability and safety.
The Hard Lessons No One Tells You About Heavy Vanities
One of the most eye-opening realizations I had was how overlooked internal framing really is in vanity installation. Many DIYers, including myself at first, underestimate the power of properly reinforced structures—assuming that a few screws into drywall suffice. But, as I learned through trial and error, that approach is like building a house on quicksand. Reinforcing internal frames with cross-braces and steel supports is a game-changer, preventing sagging and ensuring your vanity remains flawless for years. Also, I discovered that even the best hardware won’t hold if you don’t locate your studs correctly. Needing to re-drill and reposition supports was a frustrating reminder that precision is paramount. Lastly, sealing everything with high-quality silicone isn’t just about water-tightness; it’s the secret to long-term stability, preventing moisture from weakening your support system over time.
Tools & Resources That Transformed My Process
For anyone serious about heavy vanity installation, here are my trusted essentials: First, the Bosch Professional Digital Stud Finder has been a revelation—accurate and reliable, it saves me from guesswork. My impact driver, the DeWalt DCF887, is perfect for driving heavy-duty bolts without overexerting. Leveling with the Bosch GLL 3-80 laser level ensures my vanity sits perfectly flush, avoiding misalignments that can cause future issues. Surface prep is no joke—using the Makita BO5041 sander makes all the difference in creating a seamless finish. These tools have become indispensable, turning what used to be a daunting task into a confident, accurate process. For more smart installation tactics, I recommend checking out detailed guides linked in my resource page—you’ll thank yourself later.
Boost Your Confidence to Tackle Heavy Vanities Right Away
If you’ve ever hesitated because of the weight or complex support needs, know this: with the right support and techniques, you can transform your bathroom into a sturdy, stylish haven. Don’t let fears or misconceptions hold you back from creating a durable, beautiful space. The secret lies in understanding that reinforcement isn’t optional; it’s essential. A little extra effort with internal framing, stud-finding, and proper hardware will pay off by giving you peace of mind for years to come. Remember, every successful project begins with that first confident step—so why not start today? Your bathroom upgrade is within reach, and I promise, the results will be worth every effort. Now, tell me—have you ever struggled with supporting a vanity or built-in before? Share your story below!
Related Posts

How to Fix 2026 Corner Vanity Plumbing Alignment Fails Fast
Have you ever stood in front of your bathroom mirror,…
3 Rock-Solid Mounting Fixes for Heavy 2026 Floating Vanities
It was a typical weekend morning when I finally decided…
Fixing Wobbly Bathroom Vanities: 2026 Guide to Rock-Solid Mounts
I remember the exact moment I realized my bathroom vanity…