

I still remember the sound of my first “professional” floating shelf installation sighing under the weight of three heavy cookbooks. It wasn’t a crash, just a slow, painful groan as the front edge dipped a full inch toward the floor. I had spent forty-eight hours measuring, sanding, and staining what I thought was a masterpiece, only to realize I’d essentially built a very expensive diving board for my kitchen clutter. It’s a gut-punching moment every DIYer or homeowner eventually faces: that beautiful, minimalist vision of a clean wall being ruined by the relentless pull of gravity. But that failure led me to the one technique that changed everything for me. It’s what the pros call the internal torsion box move, and if you want long-span shelving that doesn’t bow like a cheap pool noodle, it’s the only way to fly.
Gravity Doesn’t Care About Your Minimalist Aesthetic
The problem with most long floating shelves isn’t the wood; it’s the physics of leverage. When you have a shelf sticking out eleven inches from the wall with no visible support, the weight of the shelf itself is already working against the wall anchors. Add a few decorative vases, and you’re asking for a structural headache. I used to make the classic mistake of thinking that using thicker, heavier plywood would solve the sagging issue. In reality, I was just making the shelf heavier and more prone to pulling away from the studs. That’s a lesson I learned the hard way when a 72-inch unit in my living room started gapping at the ceiling line—a nightmare I’ve seen happen often in custom closet installations as well.
Is the Torsion Box Method Overkill for My Home?
You might be thinking this sounds like something reserved for high-end cabinetry or aerospace engineering. It’s a fair question. Why build a complex internal frame when a thick piece of oak and some long lag bolts should do the trick? Well, the truth is that even high-quality timber is susceptible to “creep”—the tendency of solid materials to move slowly or deform permanently under the influence of persistent mechanical stresses. According to research from the American Wood Council, the strength-to-weight ratio is the most critical factor in preventing long-term deflection in horizontal members. By creating a hollow-core “sandwich” with internal ribs, we gain massive structural rigidity without adding the dead weight that causes shelf wobble. Have you ever stepped back from a project only to realize the level was lying to you because the shelf itself was bending in the middle? Let me know if you’ve wrestled with that particular brand of frustration. Today, I’m going to show you how to stop the sag before it starts by mastering the internal brace strategy used in the sturdiest extra-wide pantry shelves.
Build a Skeleton That Fights Back
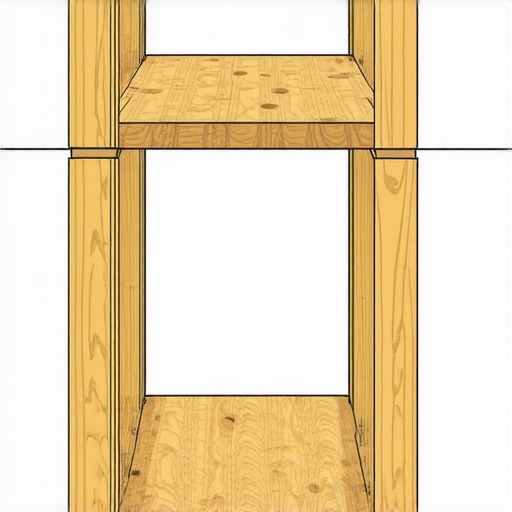
The core of a sag-free shelf isn’t a solid block of wood; it’s a hollow, rigid frame. Think of it like a commercial airplane wing: incredibly strong but mostly air. You start by ripping a “back cleat” from 2×4 or high-grade 3/4-inch plywood. This cleat is the foundation that will be lag-bolted directly into your wall studs. From this spine, you’ll extend “ribs” every 8 to 10 inches. I once tried to save time on a 7-foot media unit by spacing the ribs 16 inches apart—matching the studs—and the result was a shelf that felt like a trampoline. Now, I never go wider than 10 inches between ribs to ensure the shelf edging remains perfectly straight and the surface stays rock solid.
How to Skin the Frame Without Adding Bulk
Once your ladder frame is assembled, you “skin” it with 1/2-inch or 1/4-inch plywood. This is where the magic of the torsion box happens. By gluing and nailing these skins to the internal ribs, you’re creating a structure where the top skin is under tension and the bottom is under compression. This setup is significantly stiffer than a solid 2-inch slab of oak. It’s the same engineering logic used in long-span floating desks to prevent that unsightly mid-point dip. When I’m working on seamless built-in storage, I always use wood glue on every single rib surface; the glue bond is actually stronger than the wood fibers themselves.
The Secret to a Seamless Wall Connection
You can have the strongest shelf in the world, but if it’s poorly anchored, it’s just a very sturdy piece of debris waiting to fall. Most DIYers reach for those plastic expansion anchors, but plastic anchors are recipes for disaster when dealing with the leverage of a floating unit. Instead, you need to use 3-inch or 4-inch structural screws. These bite into the center of your studs with a grip that won’t quit. I remember a kitchen remodel where the homeowner insisted on mounting shelves over a tiled backsplash. I had to use a plywood backer strategy behind the tile to ensure we weren’t just squeezing the ceramic. It was a tedious afternoon of drilling, but those shelves haven’t budged an eighth of an inch in five years.
Leveling Hacks for Out of Square Walls
Walls are almost never perfectly flat. If you bolt your back cleat to a bowed wall, your shelf will follow that curve, making it impossible to slide the “box” over the frame later. I use thin wood shims behind the cleat to keep it dead straight, regardless of what the drywall is doing. This is a common trick when fitting cabinets to uneven ceilings or walls. If you find a gap between the shelf and the wall after installation, don’t panic. A quick bead of color-matched caulk or a small “scribe” piece of trim will hide the transition and make the shelf look like it grew out of the architecture. For extra-heavy loads, like a shelf meant for a massive stone bust, I’ve even integrated a hidden support rail similar to what we use for floating master vanities.
Stop Overbuilding Your Built-ins
There is a massive misconception in the DIY world that more wood equals more strength. I see it constantly: someone builds a massive media unit using 1-inch thick solid oak for every component. While it looks expensive, they’ve essentially created a structural anchor that is destined to fail. The problem is the weight-to-stiffness ratio. According to studies by the Forest Products Laboratory, the long-term creep of solid timber under its own weight is a leading cause of failure in horizontal spans. If you want a setup that lasts decades, you have to stop thinking about thickness and start thinking about geometry. This is why I always advocate for hollow-core construction or using internal steel supports for long floating desks rather than just buying thicker lumber.
Why do my perfectly leveled shelves still look crooked after a month?
This is the question that haunts every perfectionist. You used the laser level, you hit every stud, yet there’s a visible dip. The oops factor here is usually a failure to account for wall compression. Drywall is relatively soft; when you hang a heavy shelf, the bottom edge of the bracket actually crushes into the gypsum, tilting the shelf downward. To combat this, I’ve moved toward the structural fix for floor-to-ceiling units, which involves distributing that pressure across a wider surface area. Have you ever fallen into the trap of over-tightening your bolts only to watch the shelf tilt further? Let me know in the comments, because I’ve been there more times than I care to admit.
The Counter-Intuitive Power of Glue and Tension
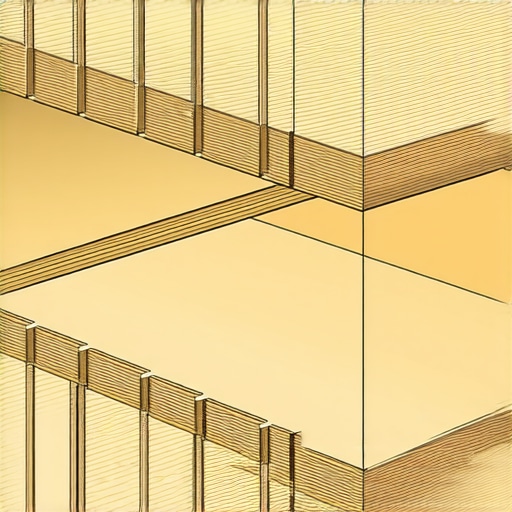
Most beginners trust screws to do all the heavy lifting. In reality, a screw is just a temporary clamp while the glue dries. In high-end seamless built-in storage, the structural integrity comes from the skin of the unit being under tension. This is why I never skip the glue on the internal ribs. If you rely solely on mechanical fasteners, you’re inviting a wobble that eventually shears the wood fibers. When I’m handling installations against out-of-square walls, I focus on creating a rigid box first, then shimming it to the wall, rather than trying to pull a flexible shelf into a curved wall. It’s a subtle shift in mindset—building the shelf to fight the wall, rather than letting the wall dictate the shelf’s shape. This level of planning is what separates a weekend project from a flawless vanity installation that won’t sag even when the weight of daily use adds up.
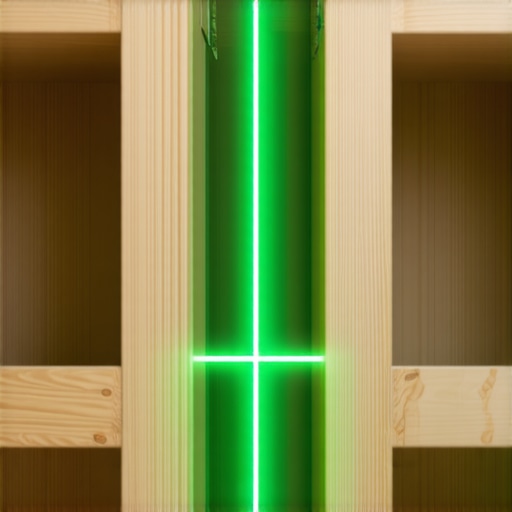
People always ask me why I’m obsessed with specific gear like the Festool Domino joiner or my Stabila self-leveling cross-line laser. It isn’t about being a gear snob; it’s about the reality of cumulative error. In a long-span installation, being off by a mere hair at the wall anchor point translates to a visible, one-inch dip at the edge of a deep shelf. When you are looking for an expert guide to flawless vanity installation tricks, you quickly realize that your eyes can be easily deceived by shadows or wall texture, but a laser beam won’t lie. I personally prefer a green-beam laser because it is significantly more visible in daylight-filled rooms than the traditional red versions. If you’re getting serious about built-in storage ideas to declutter and enhance your home, I cannot stress this enough: invest in a high-quality leveling tool before you buy your first piece of oak. I also use SketchUp to model my internal skeletons; seeing the rib spacing in a 3D environment helps me visualize potential stress points before I ever make a single cut with my miter saw.
How do I maintain my shelving and cabinetry over time?
Maintenance is far more than just surface dusting; it’s about proactively managing your home’s micro-climate. According to the USDA Forest Service’s Wood Handbook (General Technical Report FPL–GTR–190), wood is a hygroscopic material, meaning it is constantly exchanging moisture with the surrounding air to reach equilibrium. If your home’s humidity fluctuates wildly between seasons, that is exactly why your kitchen cabinet doors are warping or why your floating shelves might start to develop microscopic gaps at the wall. I recommend maintaining a consistent humidity level between 35% and 50% to keep the timber stable. Beyond air quality, you should check your lag bolts annually. If you live near high-vibration areas, such as a train track or a major thoroughfare, those vibrations can actually work structural screws loose over a five-year period. A quick check with a socket wrench to ensure everything is still torqued correctly can prevent a sagging disaster before it begins.
The Shift Toward Modular and Smart Storage
Looking at where the industry is headed, the traditional ‘static’ built-in is rapidly evolving. I am seeing a massive spike in requests for integrated technology and responsive accessibility. By 2025, top trends in vanity designs will almost certainly include built-in wireless charging surfaces and moisture-sensing ventilation fans hidden directly within the cabinetry structure. We are moving toward a design philosophy where our furniture actively works to preserve itself. If you are building your units today, I highly recommend routing a small, hidden channel for low-voltage wiring, even if you don’t plan on adding lighting immediately. You will thank yourself in three years when you decide to upgrade to creative storage solutions for vanities that feature internal LED illumination. My advanced tip for you this week: try the ‘back-bevel’ on your shelf edges. By cutting a slight 2-degree inward angle on the rear part of the shelf that meets the wall, you ensure a tight, crisp fit even if your drywall has a slight bulge. It is a subtle professional move that elevates a standard weekend project into a piece of architectural art.
Hard Truths from a Decade of Fighting Gravity
Over the years, I’ve realized that the difference between a shelf that sags and one that stays crisp for a decade often comes down to the things you can’t see. For one, never trust a stud finder blindly; always poke a small finishing nail through the drywall to confirm you are hitting the meat of the wood before committing to your lag bolts. Another lightbulb moment was realizing why particle board shelves sag and the plywood solution is actually about the orientation of the wood grain—always run your grain the long way for maximum stiffness. Finally, remember that the wall itself is part of your structure. If your drywall is crumbling, your shelf is doomed regardless of how well you built the torsion box. I now use a backer plate for almost every heavy installation to spread that pressure across the studs.
The Only Gear I Trust for Heavy Lifting
If you want to move beyond the wobbling DIY look, you need to stop guessing. My toolkit always includes a high-quality green-beam laser level because red beams are useless in a bright, sunlit kitchen or living room. I also swear by structural lag screws over standard construction screws; the shear strength difference is massive when you are hanging forty pounds of oak and heavy cookbooks. For adhesive, I exclusively use Titebond III; it has a longer open time which is vital when you are trying to skin a complex 8-foot internal skeleton without the glue drying too fast. If you are just starting your journey into permanent home upgrades, check out this step-by-step guide to vanity installation for beginners to get comfortable with basic anchoring before tackling a massive floating span.
#IMAGE_PLACEHOLDER_E#
Finally Own the Wall Space You Deserve
Mastering the structural integrity of long floating shelves isn’t just about creating storage; it’s about having the confidence to change your home’s architecture with your own two hands. Once you stop fearing gravity and start using engineering like the internal torsion box to your advantage, every empty wall becomes a canvas for your personal style. Don’t let the fear of a little dip or wobble stop you from creating that minimalist, high-end look you’ve been dreaming of. Use these vanity installation hacks that save time and money to refine your workflow on any heavy-duty project. Have you ever had a shelf project go perfectly only to have it start sagging a few months later? Let me know in the comments below what went wrong!