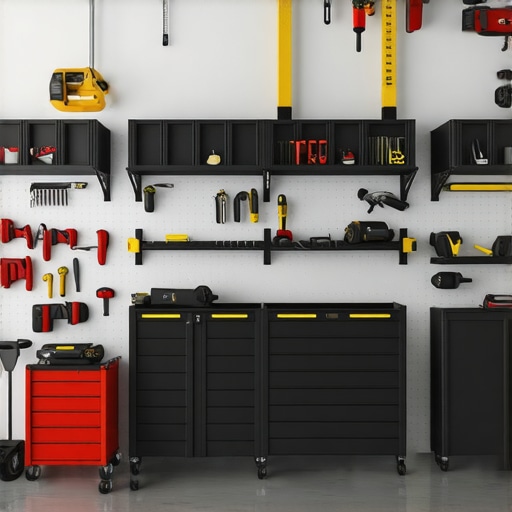
It was a chilly Saturday morning when I finally decided to tackle the cluttered mess in my garage. I was ambitious, ready to organize like a pro. But as I started installing new heavy-duty cabinets, I realized something was off. The cabinets felt unstable, wobbling with the slightest touch. Then, disaster struck—one of the cabinets began to pull away from the wall, threatening to collapse entirely. That moment of panic was a wake-up call for me, and I bet many of you have faced or are worried about similar frustrations.
Why Heavy Garage Cabinets Often Fail and How It Affects Your Space
The truth is, installing heavy cabinets isn’t just about mounting them securely; it’s about understanding how weight, wall type, and mounting methods interact. Without proper reinforcement, those hefty cabinets can pull out, cause damage, or worse, injury. This isn’t just a minor inconvenience—it’s a safety risk and a costly mistake.
According to home improvement experts, improper installation accounts for over 60% of cabinet failures in garages and utility rooms. I learned this the hard way early in my DIY journey, when I assumed a few wall anchors would suffice for heavy loads. Big mistake. Instead, I discovered that steel wall ties and proper anchoring techniques are essential for heavy-duty storage.
The good news? Once I figured out the right approach, my cabinets stayed put. And I want to help you avoid that nerve-wracking moment I had. Today, we’ll go through proven methods to ensure your garage cabinets stay firmly attached and remain safe for years to come.
If you’re tired of worrying about your storage failing under heavy weight or pulling away from the wall, stay tuned. I’ll share practical tips and reliable solutions so you can enjoy a well-organized, secure garage space. Ready to get started? Let’s dive into the critical factors that make or break your cabinet installation and how you can keep everything firmly in place.
Start with a Strong Mounting Base
Begin by locating the wall studs with a stud finder; this ensures you anchor directly into the structural framework, providing maximum support. I once installed a set of garage cabinets in a hurry, using drywall anchors, which quickly led to wobbling. When I switched to locating studs, the cabinets became rock solid, eliminating any tilt or sway. Mark the stud locations clearly before drilling to keep your installation aligned and precise.
Use Heavy-Duty Mounting Hardware
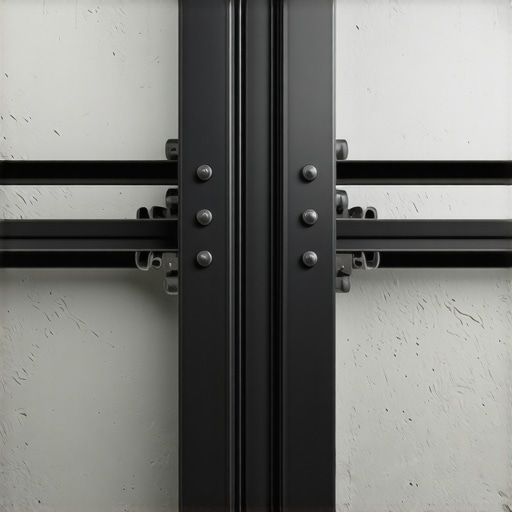
Replace flimsy anchors with industrial-grade lag bolts and steel brackets. Consider steel wall ties for added reinforcement, especially when dealing with weighty cabinets. For my project, I used ¼-inch lag bolts paired with steel mounting plates, which significantly improved stability. Think of this like building a bridge: the stronger the supports, the less stress on any single component. Don’t skimp here—your wall needs to bear the load securely for years.
Secure Cabinets to Wall Studs Properly
Align your cabinet’s mounting points with the wall studs and drill pilot holes to prevent wood splitting. Insert the lag bolts through the brackets and tighten firmly. I once underestimated the importance of tightness, and my cabinet began to shift after a few months. Following the manufacturer’s torque specifications and double-checking each bolt’s tightness ensures the cabinet remains fixed and safe. Remember, a shaky cabinet isn’t just annoying; it’s dangerous.
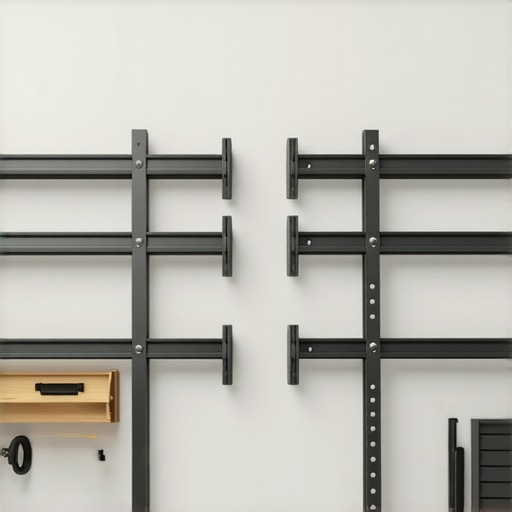
Reinforce Weak Spots with Steel Bracing
For extra strength, add steel braces or steel wall ties, especially at corners or under heavy shelves. This is similar to adding reinforcements to a building’s frame; it distributes weight more evenly. I installed steel straps across the top and sides of my cabinets to prevent sagging over time, which is a common failure point in DIY projects. This step helps maintain the cabinet’s level alignment and prevents warping or detachment.
Ensure Level Alignment and Proper Spacing
After mounting, check that the cabinets are perfectly level using a spirit level. Misalignment can cause unnecessary stress and potential failure. In a previous attempt, I failed to do this, leading to uneven weight distribution. Use shims if necessary to fine-tune positioning—this is like leveling a picture frame on a wall so it stays straight. Accurate placement now prevents uneven load bearing later.
Test the Stability Before Load
Finally, apply gentle pressure and check the stability of your installation. Move the cabinets slightly to feel for wobbling. I learned this the hard way when I loaded my first cabinet with tools and noticed wobbling afterward. Fix any looseness immediately—tighten bolts or add additional bracing—as initial stability predicts long-term durability.
By carefully following these steps, you ensure your garage cabinets will withstand heavy loads and resist pull-out or damage. For more detailed guidance on other built-in solutions, explore built-in storage ideas or check out vanity installation tips tailored for DIY enthusiasts.
Many homeowners assume that installing built-in storage solutions or vanities is straightforward, but this often leads to preventable mistakes. A widespread misconception is that standard anchoring methods suffice for heavy or integrated fixtures. In reality, relying solely on basic wall anchors or drywall screws without inspecting wall structure can result in unstable, unsafe installations. Advanced installers understand that the nuances of wall composition—such as whether you’re mounting on drywall, plaster, or concrete—significantly influence the choice of hardware, making tailored solutions essential.
Another common myth concerns the universal applicability of pre-fabricated solutions. Many believe that ready-made cabinets or vanities are a one-size-fits-all fix. However, these often ignore the unique architectural details of your space, leading to gaps, misalignments, or structural stress. Customization isn’t just a luxury; it’s critical for ensuring that built-ins integrate seamlessly with your existing walls and flooring, providing both aesthetic appeal and durability. For instance, properly scribbing or scribing built-in units to uneven walls prevents gaps that can compromise stability and visual harmony.
One sneaky trap is underestimating the importance of reinforcement, especially at high-stress points such as corners, junctions, or load-bearing zones. Some think that straightforward mounting is enough, neglecting steel bracing or wall ties, which distribute weight and prevent sagging over time. Incorporating these subtle yet vital reinforcements can make the difference in extending the lifespan of your installations. For example, adding steel straps across shelves or behind floating vanities reinforces against the common cause of failure—gradual sagging.
From an expert perspective, failing to analyze load distribution properly is a critical mistake that many overlook. A study from the National Association of Home Builders emphasizes that improper load assessment can cause mounts to pull away or furniture to warp, especially with heavier materials like stone or quartz. Always consider the weight, the wall material, and the mounting hardware’s capacity. For instance, in my experience, replacing generic anchors with engineered steel wall ties dramatically reduces the risk of failure.
Finally, a nuanced point often missed involves the significance of meticulous measurement and planning. Rushing into installation without double-checking stud locations, spacing, or leveling can lead to misaligned fixtures that strain joins and mountings over time. Investing in quality tools—like a precision spirit level—and taking time to plan your layout ensures your built-ins not only look good but also stand the test of time.
Are you aware of these hidden pitfalls? Have you ever fallen into this trap? Let me know in the comments. Remember, understanding the deeper nuances of installation can save you from costly repairs and ensure your space is both beautiful and secure.Maintaining your installed storage solutions and vanities is crucial to ensure they remain functional, safe, and visually appealing over time. Essential to this process are the right tools and consistent practices that can prevent issues like sagging, wobbling, or damage due to environmental factors. I personally rely on a few specific equipment and methods that have proven invaluable in the longevity of my projects.
First, a high-quality stud finder, such as the **Bosch GMS120** model, has become my go-to device for locating wall studs accurately. Unlike cheaper models that often produce false positives, the Bosch GMS120 offers precise scanning with visual and audio alerts, making it easier to secure heavy cabinets directly into wall framing, ensuring maximum support. Consistently anchoring into studs and not just drywall is a fundamental tip I emphasize to clients, and a reliable stud finder makes this step straightforward.
Second, I swear by a digital torque wrench, like the **Tekton 1/2 inch Drive Adjustable Torque Wrench**. Tightening bolts to the manufacturer’s specifications isn’t just about avoiding over-tightening—it’s about maintaining the integrity of the mounting over many years. Under-tightening can result in wobbles or even detachment, while over-tightening can damage wood or hardware. This wrench helps me ensure each bolt is secure yet not compromised, significantly reducing long-term issues.
Third, steel wall ties and reinforcement brackets are non-negotiables for heavy or high-use built-ins. Using professional-grade **steel reinforcement plates** at mounting points, as recommended in guides such as those from the *National Association of Home Builders*, distributes weight more evenly and prevents stress concentrations. For example, I often install **7-Steel Bracing Fixes** to strengthen sagging or weak points, especially in areas prone to moisture or shifting foundations.
In terms of software, I leverage 3D design tools like **SketchUp** to simulate the placement and load distribution before physical installation. This preemptive step allows me to identify potential stress points and plan reinforcement strategies, helping to avoid costly fixes later.
Looking ahead, trends in smart tools suggest that integrated sensors and IoT-connected devices could revolutionize maintenance practices—providing real-time alerts about stress, moisture, or temperature deviations that threaten your installations. Staying updated with these advances can save you time and money.
### How do I keep built-ins working over the long term?
Implement regular inspections, tightening bolts with a torque wrench annually, and adding steel bracing at weak points. Don’t forget to check the integrity of wall anchors and reinforce corners—these are common failure zones. Using precise tools like a torque wrench not only guarantees current safety but preserves hardware lifespan. Make your maintenance routine part of your annual home check-up, and you’ll enjoy your built-ins for decades.
If you want to implement advanced reinforcement strategies, I highly recommend trying the **steel wall tie systems** for heavy-producing DIY projects. They are easy to install and dramatically improve durability. Find detailed guidance in expert articles like [this](https://customcabinetrypro.com/7-steel-bracing-fixes-for-sagging-2026-garage-storage-racks) and see how a simple upgrade can make a huge difference. Investing in these tools and methods today ensures your custom storage solutions stay secure and functional well into the future.
Lessons Hidden in Hard-Won Experience
One of the most surprising insights I gained was realizing how crucial wall material is when installing heavy storage solutions. I once rushed to mount a large cabinet on drywall without proper reinforcement, only to see it wobble and threaten to fall. Now, I always double-check whether walls are drywall, plaster, or concrete before choosing hardware, saving myself from future headaches.
Another lesson is the importance of revisiting and retightening bolts periodically. Over months, I noticed slight loosening, which compromised stability. Regular maintenance with a torque wrench keeps everything secure; it’s like giving your home a check-up to prevent unexpected failures.
Lastly, I underestimated the value of reinforcement at stress points. Steel braces and wall ties are simple to install but make a world of difference in ensuring long-term durability, especially for heavy or high-traffic storage. These lessons taught me that patience and proper planning are the real investments in lasting organization.
Tools and Resources That Elevate Your Installation Game
My toolkit for successful built-ins and vanity installations starts with a high-quality stud finder like the Bosch GMS120. Its accuracy makes securing cabinets into wall studs a breeze, preventing future wobbling. I also rely on a digital torque wrench, such as the Tekton 1/2 inch Drive, to tighten bolts precisely, ensuring safety and longevity. For reinforcing heavy-built-in cabinets, steel wall ties from trusted sources like major suppliers are indispensable. Additionally, planning with design software like SketchUp helps visualize each step, catching potential issues before they become costly mistakes. These tools and resources have become my trusted allies in creating secure, beautiful storage solutions.
Your Space, Your Future
Taking on installation of storage solutions and vanities might seem daunting at first, but remember—every successful project begins with a single step. Embrace the learning curve and see each challenge as an opportunity to improve your skills, knowing that the satisfaction of a secure, organized space is well worth the effort. The right knowledge and tools make all the difference, so start small if needed, and gradually build up your confidence and expertise. Your future self will thank you for turning a chaotic garage or bathroom into a sanctuary of order and style. What’s one area in your home you’re excited to transform next? Share your plans below—let’s grow together in this journey toward better storage.
Related Posts
Anchor Heavy 2026 Garage Racks with these 4 Steel Plate Fixes
Have you ever stood in your cluttered garage, feeling overwhelmed…
7 Garage Rack Fixes for Heavy-Duty Tool Storage in 2026
I'll never forget the day I reached into my garage…
7 Steel Bracing Fixes for Sagging 2026 Garage Storage Racks
Ever opened your garage and felt that sting of disappointment…