

I still remember the sound of porcelain shattering. It was 3:00 AM, and my brand-new, oversized mirrored cabinet had finally lost its battle with gravity and those cheap, yellow plastic anchors. I stood there in my slippers, looking at a spiderweb of cracks in the sink and a gaping hole in my freshly painted drywall, realizing that the ‘standard hardware’ included in the box was a flat-out lie. If you’ve ever felt that sinking feeling in your stomach as you watch a heavy piece of furniture lean away from the wall, you know exactly what I’m talking about. We spend hours picking out the perfect storage, but we spend five minutes thinking about what’s actually holding it up.
You Can’t Rely on the Hardware in the Box
[IMAGE_PLACEHOLDER] When I first started tackling bathroom renovations, I assumed the manufacturer knew best. I figured if they provided four plastic sleeves and some screws, those would be enough to hold up a twenty-pound cabinet filled with glass shelves and heavy cologne bottles. I was wrong. These days, when I’m working on expert vanity installation projects, I throw that factory hardware straight into the trash. It’s not just about the weight of the cabinet itself; it’s the constant vibration of opening and closing the door and the leverage applied every time you pull on that handle. Early on, I made the classic mistake of thinking I could just ‘find a stud’ and be done with it. But in a small bathroom, the studs are almost never where you actually need the cabinet to be. I ended up with a cabinet that was off-center by three inches, looking absolutely ridiculous. That’s when I discovered that heavy mirror cabinets tilt because the top anchors are under constant tension, slowly chewing through the gypsum inside your walls. To truly optimize small bathroom spaces, you need a mount that isn’t just ‘good enough’ but is fundamentally rock-solid.
Will these metal anchors actually stay put?
It’s a fair question. When you look at a toggle bolt—a long screw with a pair of spring-loaded metal wings—it looks a bit like something out of a sci-fi movie. You might be skeptical that a little bit of metal can hold up a massive mirrored unit. However, the physics are on your side. While a standard screw-in anchor relies on the friction of the plastic against the drywall, a toggle bolt uses the entire surface area of the back of the wall. According to technical data from the fastener industry, a 1/4-inch toggle bolt can support roughly 90 to 100 pounds in 1/2-inch drywall—that’s nearly triple the capacity of most self-drilling anchors. Today, I’m going to show you the exact ‘trick’ I use to get these bolts into the wall without losing my mind or the hardware behind the drywall. We’re going to solve the problem of sagging cabinets and crumbling plaster once and for all. Have you ever had a shelf or cabinet pull right out of the wall after you thought it was secure? If so, you’re in the right place to make sure it never happens again. We’ll look at why this method is better than any installation hack you’ve tried before and how to get that flush, professional finish every time.
Get Your Measurements Right the First Time
Before you even touch a drill, you need to mark your territory. Unlike a standard screw that you can slightly angle if you’re off by a hair, a toggle bolt requires a massive hole that leaves zero room for error. I always use a laser level for this part. I remember a job in a guest bath where I eyeballed it, thinking my years of experience were enough to compensate for a slightly sloped floor. I ended up with a cabinet that looked like it was sliding off the wall, and I had to start over on a fresh sheet of drywall. When you are working through a step-by-step guide to vanity installation for beginners, precision is your best friend. Mark the mounting holes through the actual bracket of the cabinet while a helper holds it in place. This ensures the physical reality of the cabinet matches the marks on your wall perfectly.
Why That Massive Drill Bit is Necessary
This is the part that scares most DIYers. To get a 1/4-inch toggle bolt wing through the wall, you usually need a 5/8-inch or even a 3/4-inch drill bit. It feels like you’re sabotaging your home. Think of it like a ship’s anchor; the anchor has to be significantly wider than the chain to do any real work. If you try to force the wing through a hole that is too small, you will snap the spring mechanism, and the bolt will just spin into the wall cavity forever. When I’m teaching vanity installation hacks, I always emphasize that the hole size is non-negotiable. If you’re working with older homes, you might even need to adapt these steps for the secret to mounting heavy floating vanities on old lath and plaster, because that material requires a much slower drill speed to avoid cracking. 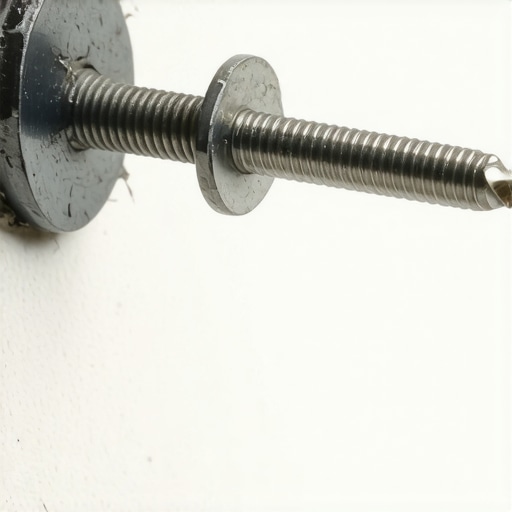
Thread the Bolt Before You Touch the Wall
Here is the ‘pro move’ that saves your sanity: you must thread the bolt through the cabinet’s mounting hole first, then attach the toggle wing on the other side. If you put the wing in the wall first, you’ll never find the hole again. I once spent forty minutes trying to fish a bolt into a wing hidden behind the wall before I realized I was fighting a losing battle. You want the ‘V’ of the wings to point toward the screw head so they fold flat as they enter the wall. If you’re figuring out how to anchor jewelry cabinets to bedroom walls without studs, this sequence is exactly what prevents the cabinet from crashing down mid-install.
The Snap That Means Your Cabinet Is Not Moving
Once you push the folded wings through the hole, you’ll hear a satisfying *clack* as they spring open against the back of the drywall. At this point, the cabinet is technically attached, but it’s still loose. The trick is to pull the cabinet toward you while you tighten the screw. This creates necessary tension, keeping the wings flat against the interior wall so they don’t just spin. This lack of tension is exactly why your heavy mirror cabinet is tilting in most cases—the installer didn’t get those wings seated flush. By using metal toggles, you’re essentially clamping the cabinet to the wall with the strength of the entire drywall sheet. It’s the same principle I use for expert vanity installation projects where I can’t find a stud but need to support a significant load safely.
Why Hitting a Stud Isn’t Always the Holy Grail
Most DIY forums will tell you that if you don’t hit a stud, your project is doomed. In my experience, that’s a half-truth that leads to lopsided cabinets. When I’m performing expert vanity installation projects, I often find that the single stud available is so far off-center that it creates an ‘eccentric load.’ This means the weight isn’t distributed evenly, causing one side of the cabinet to pull away while the other digs into the wall. Relying solely on a stud for a wide mirrored unit can actually cause the frame to twist over time. Instead of forcing a bad layout just to find wood, I prefer a hybrid approach: one solid connection to a stud if possible, and high-performance toggles for the rest. This creates a balanced ‘clamping’ effect that is far superior to a single off-center screw. This is especially true when you maximize your space with custom vanities where every inch of alignment matters for the aesthetic.
How Much Pressure is Too Much for Your Drywall?
The ‘Oops’ factor most people encounter is the ‘over-tighten trap.’ You feel the bolt getting snug, so you give it one more heroic turn. Stop right there. According to the Gypsum Association’s GA-216 manual, the structural strength of drywall relies entirely on the integrity of the paper facing. The moment you over-tighten a metal anchor and hear that tiny *crunch*, you have crushed the gypsum core. Once that core is pulverized, the anchor is no longer holding onto a solid substrate; it’s holding onto white dust. This is the primary reason heavy mirror cabinets tilt or sag even after they felt ‘tight’ during installation. You want the anchor to be firm, not buried. 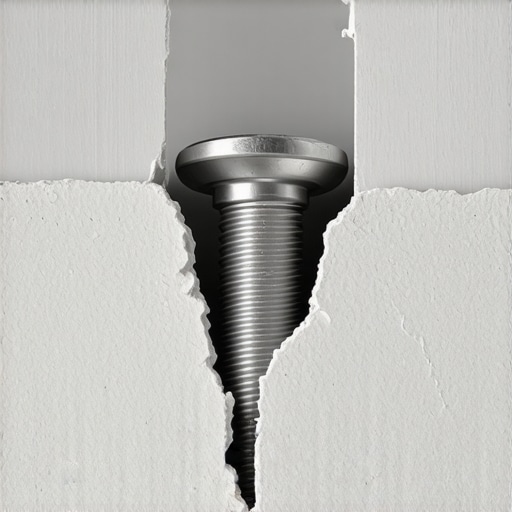
Another nuance involves the weight of the items you haven’t bought yet. People calculate the weight of the cabinet but forget the four liters of mouthwash and the heavy stone tray they’ll add later. When we look at smart storage solutions to optimize small bathroom spaces, we have to account for dynamic weight—the force of you leaning on the cabinet while looking in the mirror. If you don’t use a professional-grade toggle, that dynamic force will eventually cause ‘creep,’ where the hole in the drywall slowly enlarges until the unit fails. This same principle applies when you anchor jewelry cabinets to bedroom walls without studs; the secret is in the surface area of the anchor, not the raw torque of the screw. Have you ever fallen into this trap and heard that dreaded ‘crunch’ while tightening a bolt? Let me know in the comments below, because we’ve all been there at least once. For those dealing with even trickier surfaces, you might need to look into the secret to mounting heavy floating vanities on old lath and plaster, which is a whole different beast than modern drywall.
Keep Your Impact Driver Away from the Final Turn
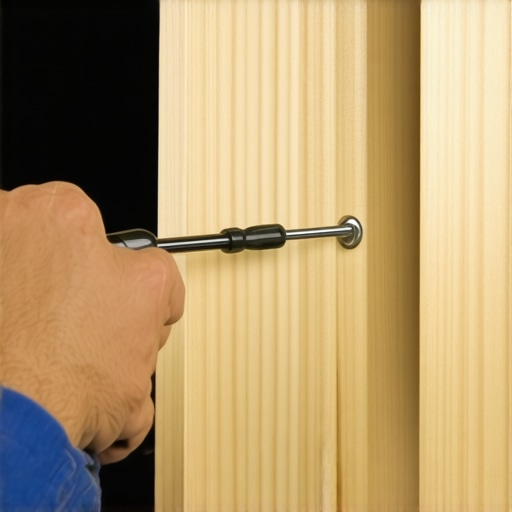
I know the temptation. You’ve got your cordless impact driver in hand, and you want to zip that toggle bolt home in three seconds. Don’t do it. While I love power tools for framing, they have no place in the final stage of a cabinet mount. The raw torque of an impact driver doesn’t give you the tactile feedback needed to feel the toggle wings bite into the drywall. I always switch to a manual ratcheting screwdriver for the last half-inch. This allows me to feel the exact moment the cabinet frame meets the wall surface. If you use too much force, you risk the same disaster I mentioned earlier: crushing the gypsum core. For those working with heavy materials, such as when heavy quartz vanities are cracking the cabinet frame, that extra bit of control is the difference between a lifetime of stability and a midnight disaster.
How do I maintain my bathroom storage for the long haul?
Installation is only the first half of the battle; the second half is fighting the relentless humidity of a bathroom. Every six months, I make a habit of checking the internal mounting screws. Wood expands and contracts, and even the most rock-solid toggle can benefit from a quarter-turn adjustment if the cabinet box has shifted. You should also keep an eye on your hardware’s movement. If you notice things getting loud, you might need a soft-close drawer tension fix to prevent the constant vibration from rattling your wall anchors loose. I also highly recommend a waterproof sealant move along the top edge where the cabinet meets the wall. This prevents steam from seeping behind the unit and softening the drywall—a leading cause of anchor failure in small, poorly ventilated baths.
The Future of Smart Wall-Hanging Systems
Looking ahead, we are seeing a massive shift toward modular, rail-based hanging systems. European manufacturers like Hettich have been leading this for years, but it’s finally becoming a staple in American 2025 vanity design trends. According to the Kitchen Cabinet Manufacturers Association (KCMA) A161.1 standards, these rail systems distribute weight across a horizontal plane rather than focusing it on four specific points. This makes innovative storage solutions much easier to install for DIYers because you aren’t fighting a single hole in the wall. I predict that within five years, the ‘standard hardware’ in the box will finally be replaced by these adjustable steel tracks, making the terrifying 3:00 AM crash a thing of the past.
Try the ‘Tug Test’ Tonight
If you’re worried about your current setup, I want you to try one thing: open your cabinet and gently apply downward pressure on the front edge of the bottom shelf. If you see the top of the cabinet pull away from the wall even a millimeter, your anchors are failing. Don’t wait for the ‘crunch’—grab a set of 1/4-inch toggle bolts this weekend and reinforce it before gravity takes over.
Three Realities of Wall Mounting You Won’t Find in the Manual
After years of fixing cabinets that literally walked off the wall, I’ve realized that good installation is 10% hardware and 90% respect for physics. First, forget the idea that ‘more is always better.’ Crowding four toggle bolts into a six-inch space actually weakens the drywall by turning it into a perforated sheet of stamps. Second, always account for the ‘lever effect.’ A medicine cabinet door swinging open puts significantly more strain on the top anchors than the unit does when closed. Finally, remember that your wall is a living thing. It breathes with the seasons, and your hardware needs to be seated well enough to handle that expansion. When you’re choosing the perfect vanity style for your bedroom or bath, always look at the mounting bracket design first; it tells you everything you need to know about the long-term stability of the piece.
Tools That Make the Difference Between Sags and Stability
[IMAGE_PLACEHOLDER_FINAL]
You don’t need a truck full of gear, but these three items are non-negotiable for my projects:
- High-Tensile Steel Toggles: Don’t settle for the zinc-plated ones if you can find stainless steel. They resist the bathroom’s humidity much better over decades.
- Long-Nose Locking Pliers: These are my secret weapon for holding the bolt under tension while I start the threads. It’s a total game-changer for solo installs.
- A Self-Leveling Cross-Line Laser: This ensures your marks are perfectly horizontal across the studs and the drywall gaps, which is essential for creative storage solutions for vanities that need to look sharp and professional.
Your Bathroom Deserves Better Than Cheap Plastic Anchors
There’s a unique sense of pride that comes from tugging on a newly installed cabinet and feeling it move the entire wall rather than just the hardware. You’ve moved past the ‘hope it holds’ phase and into the ‘professional grade’ phase of home maintenance. By mastering the toggle bolt trick for hanging heavy mirrored cabinets, you aren’t just saving your porcelain sink from a future disaster; you’re creating a space that is truly safe and functional for your family. If you run into a wall type that doesn’t seem to play nice with these methods, don’t hesitate to reach out via our contact page for specific advice. Now, go grab that drill—you’ve got this.
Have you ever had a project where the wall anchors just wouldn’t cooperate? Tell me about your most frustrating mounting mishap in the comments below!