

I still remember the Tuesday afternoon my kitchen decided to fight back. It wasn’t a loud explosion, just a slow, sickening creak that seemed to echo through the entire house. I had just finished stocking a beautiful, seven-foot-tall pantry with enough bulk flour and canned goods to survive a decade, thinking my standard wood screws were plenty strong. I was wrong. By the next morning, a half-inch gap had opened up at the top, and my heart sank. That was the moment I realized that when you are building massive floor-to-ceiling storage, you aren’t just doing carpentry; you’re fighting a war against gravity. Today, I want to share the exact method I used to save that pantry and every project since: the steel rail tactic. We are going to stop your cabinets from leaning and ensure they stay rock-solid for the life of your home.
Why wood screws alone are a recipe for disaster
In my early days, I made the mistake of thinking more screws equaled more strength. I’d drive a dozen fasteners into the studs and call it a day. But here is the reality: wood expands, shrinks, and eventually, those screws can pull through the back panel or even shear under a heavy load. If you’ve noticed why your built-in cabinets are pulling away from the ceiling, you already know the sinking feeling of structural failure. A fully loaded pantry can easily exceed 500 pounds, and placing all that weight on a few points of contact is asking for trouble. According to structural guidelines from the American Wood Council, the pull-out strength of a fastener is heavily dependent on the integrity of the substrate, which can be compromised by humidity and age. This is why a continuous steel rail is a game-changer; it distributes the weight across multiple studs, acting as a structural backbone rather than a series of fragile anchors.
Is the steel rail tactic actually worth the extra effort?
You might be thinking this sounds like overkill for a simple pantry. I thought so too, until I had to unload three hundred cans of soup just to shim a sagging unit. Using a horizontal steel track—similar to the systems used for sliding pantry walls—provides a level of security that wood just can’t match. It eliminates the ‘point-load’ problem entirely. If you’ve ever dealt with pantry shelves that shake or felt the unit wobble when you close the door, you’re already seeing the limits of traditional mounting. This tactic isn’t just about strength; it’s about making sure your heavy pantry drawers never jump their tracks because the cabinet box itself has shifted out of square. Have you ever noticed your built-ins leaning forward or heard a mysterious pop from the drywall behind your cabinets? Let’s fix that before the mess happens.
Find the studs or find a new hobby
The first rule of preventing a catastrophic collapse is acknowledging that drywall is nothing more than compressed dust. If you are mounting a massive pantry, you need to be deeply intimate with the location of every single stud. I use a high-end magnetic sensor to find the center of the timber, not just the edges. Once you have your vertical lines, the laser level becomes your best friend. In a project where I was installing massive library built-ins, I neglected to account for a slight dip in the subfloor. Within a week, the weight caused the entire unit to tilt just enough to jam the doors. Now, I snap a chalk line across the studs at the exact height where the steel rail will sit. This rail acts as a horizontal spine, ensuring that even if one stud is slightly bowed, the cabinet remains perfectly true.
Drive the steel rail into the skeleton of the house
Standard cabinet screws are great for hanging a light spice rack, but they aren’t enough for floor-to-ceiling units. You need a heavy-gauge galvanized steel track. This is the same logic used in sliding pantry walls to handle dynamic loads. You’ll want to pre-drill your rail every 16 inches to match your stud spacing. I prefer using 3-inch GRK rugged structural screws because they have a built-in washer head that won’t pull through the steel. When you drive these into the studs, you aren’t just attaching a part; you are integrating the cabinet into the house’s framing. I once saw a contractor try to skip this by using toggle bolts in the drywall—the result was a kitchen floor covered in broken plates and shattered glass. Don’t be that guy. 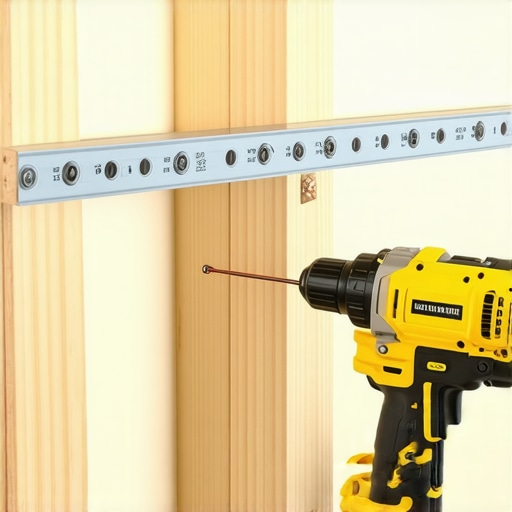
Secure the cabinet box to the metal spine
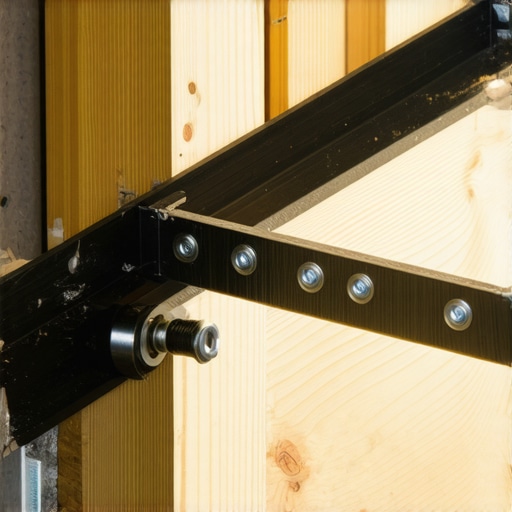
Once the rail is locked to the wall, you need to marry the cabinet to it. This isn’t just about resting the box on the ledge. You need to use internal brackets or bolt-through hardware that grips the rail from the inside of the cabinet. This creates a mechanical lock that prevents the top of the unit from ever pulling away. If you’ve ever followed a step-by-step guide to vanity installation, you know how crucial the back-brace is. For a pantry, multiply that importance by ten. You can even stop wobbly custom built-ins by adding these steel plates at the mid-point and the top. I remember a particularly stubborn 8-foot-wide unit that refused to sit flush; the second we engaged the steel rail tensioners, the gap disappeared like magic. It’s the difference between a unit that feels like furniture and one that feels like a part of the architecture. If you are dealing with particularly heavy loads, such as stone tops or integrated appliances, look into the hidden sub-frame move to ensure the vertical panels don’t buckle under the pressure. This method ensures that the weight is transferred directly into the floor and the wall studs simultaneously, creating a redundant support system that will outlast the house itself.
I’ve seen it a hundred times: a DIYer spends hours perfectly leveling a base, only to realize the top of their floor-to-ceiling unit has a massive, ugly gap against the wall. This happens because most people treat ‘level’ and ‘plumb’ as the same thing. They aren’t. In my experience, a perfectly level pantry on a wall that leans even a fraction of an inch will eventually fail. When you are fitting built-ins into out-of-square alcoves, you have to decide which ‘truth’ to follow—the bubble in your level or the visual lines of the room. I always prioritize the visual plumb. If you don’t, your cabinet might be technically level, but it will look like it’s trying to escape the room.
Why a perfectly level base might still ruin your project
Everyone tells you that a level base is the holy grail. But here is the contrarian reality: if your floor has a significant pitch, making the cabinet perfectly level can actually create structural stress. In older homes, forced leveling can leave huge voids under the toe kick that lead to the unit ‘settling’ and cracking your crown molding later. Instead of just shimming the front, I often use the leveling move for vanities on slanted bathroom floors, which involves scribing the actual base to the floor’s contour. This ensures the weight is distributed across the entire footprint, not just on a few plastic shims. Have you ever fallen into this trap where you fixed one gap only to create three more? Let me know in the comments.
How do you account for floor deflection in heavy pantry builds?
When you’re dealing with the massive weight of a fully stocked pantry, you have to think about ‘dead load’ versus ‘live load.’ According to the National Kitchen & Bath Association (NKBA) planning standards, floor systems are designed for specific deflection limits, but a concentrated 600-pound pantry can exceed these, causing the floor joists to slightly dip. This is why why your built-in cabinets are pulling away from the ceiling usually isn’t a screw failure—it’s a floor failure. To combat this, I always use a secondary support system, like the structural fix for floor-to-ceiling library units, which ties the unit into the ceiling joists as well as the wall studs. This creates a box that stays rigid even if the floor beneath it decides to move a few millimeters over the seasons.
One ‘oops’ factor that most pros won’t tell you about is the ‘chimney effect’ behind large units. If you mount a massive cabinet flush against a cold exterior wall without a gap, you are inviting condensation and mold. I always follow the moisture barrier rule for cabinets on cold outer walls by leaving a 1/4-inch air space or using a thin foil-faced insulation board. This nuance is especially critical for creative storage solutions for vanities in bathrooms where humidity is a constant battle. Neglecting this leads to warped back panels and that musty ‘old cabinet’ smell that no amount of cleaning can fix.
The hidden trap of over-tightened fasteners
Another common mistake is ‘cranking’ the screws until the back panel of the cabinet bows. Wood needs to breathe. When you use how to stop floating vanities from dipping with steel plates, the goal is a firm seat, not a crushing force. Over-tightening can actually snap the heads off your screws during seasonal humidity shifts. If you’re a beginner, I recommend following a step-by-step guide to vanity installation but adding a small fender washer to your structural screws. This distributes the pressure and prevents the fastener from pulling through the relatively soft plywood back. By focusing on these built-in storage ideas that prioritize structural integrity over simple aesthetics, you ensure your project looks as good in ten years as it does the day you finish.
Your job isn’t done just because the doors are on and the paint is dry. In my experience, the first six months are the ‘settling period’ where the wood and the house frame finally agree on their new relationship. I’ve seen perfectly installed units develop a slight rattle or a sticky drawer simply because the seasonal humidity shifted. To prevent these minor annoyances from becoming structural failures, you need a long-term maintenance mindset. This starts with a biannual check of your primary load points. If you know how to fix loose pull-out pantry tracks, you should be applying that knowledge preventatively. I set a calendar reminder every October and April to inspect the steel rails and re-torque the structural screws. It takes ten minutes, but it saves a thousand-dollar repair later.
How can I maintain my massive pantry units over time?
Maintenance is mostly about managing movement. When a pantry is fully loaded, the stress on the hinges and slides is constant. I recommend using a dry PTFE lubricant on your tracks once a year. Unlike WD-40, which attracts dust and creates a gunk-like abrasive paste, a dry lubricant keeps things sliding smoothly without the mess. You should also keep an eye on your hardware alignment. If you notice a door starting to clip the frame, don’t wait. Usually, why cabinet doors sag is a simple matter of a loose mounting plate screw. According to the Blum Technical Manual for CLIP top hinges, these components are tested for 200,000 cycles, but that rating is predicated on the cabinet remaining square and the screws staying tight. A single loose screw can throw the entire weight distribution off, leading to the dreaded snap you see when soft close hinges are snapping under unexpected torque.
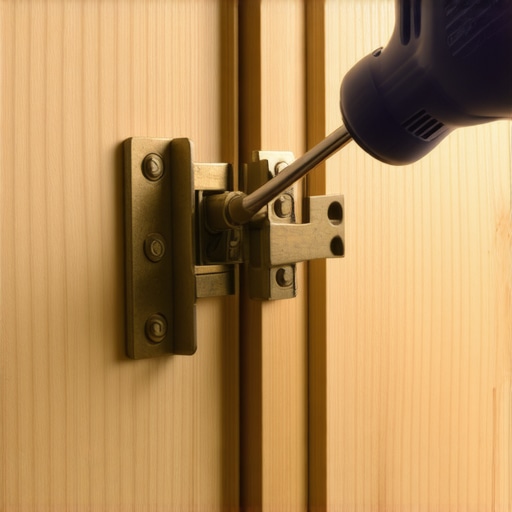
The one tool I refuse to lend out is my digital torque screwdriver. Most DIYers—and even some pros—rely on ‘feel,’ but when you are driving fasteners into a steel rail through a plywood backer, precision matters. Over-tightening can crush the wood fibers and actually weaken the connection. I also keep a 48-inch Stabila level dedicated specifically for checking my built-ins once a year. If I see a shift of more than an eighth of an inch, I know it’s time to investigate the subfloor or the wall studs. For those working on built-in storage ideas to declutter and enhance your home, remember that the most beautiful design is useless if it’s no longer level. I predict that within the next five years, we will see ‘smart’ mounting brackets with built-in strain gauges that alert your phone if a cabinet starts to pull away from the wall—but until then, my level is the only truth I trust.
As we look toward the future of home organization, I believe we are moving away from permanent, static built-ins and toward modular internal skeletons. We’re already seeing this with high-end innovative storage solutions to transform your bathroom, where the decorative ‘skin’ can be swapped out while the structural steel frame remains bolted to the studs. It’s a more sustainable way to build, and it makes maintenance significantly easier because the structural components are easily accessible. If you’re ready to take your carpentry to the next level, I encourage you to try my ‘re-torque’ method this weekend: go through your heaviest unit and check every structural screw. You might be surprised at what has loosened over the last season. If you find a gap, don’t just ignore it; use a hidden steel plate fix to lock it back into place before the wood takes a permanent set.
Lessons Bought with a Sledgehammer and a Sagging Subfloor
Over the years, I’ve learned that a pantry is never just a pantry; it’s a living weight that interacts with your house. One thing experts rarely mention is the ‘settle’—that micro-movement that happens weeks after you fill the shelves. If you didn’t account for floor deflection, why your built-in cabinets are pulling away from the ceiling becomes a painful reality rather than a theory. I’ve also learned that magnetic stud finders are superior because they find the actual screws in the wood framing rather than just density changes. Finally, always seal the back of your unit before installation; if you don’t, the wood might warp or expand under seasonal humidity changes, leading to those mysterious pops you hear at night.
The Heavyweight Hardware I Keep in My Truck
I don’t leave structural integrity to chance anymore. My toolkit always includes 3-inch rugged structural screws because their shear strength is vital for built-in storage ideas to declutter and enhance your home. I also swear by heavy-gauge steel tracks; they are the same components used to stop wobbly custom built-ins in high-end commercial installs. For anyone starting out, I recommend reviewing a step-by-step guide to vanity installation for beginners to master the basics of leveling and plumbing before tackling these massive 500-pound pantry units.
Why Your Next Build Deserves This Level of Over-Engineering
Choosing to use the steel rail tactic is about building for the next twenty years, not just the next twenty months. It’s the difference between wondering if those midnight creaks are structural and knowing that your cabinets are literally fused to the house’s skeleton. When you implement creative storage solutions for vanities and pantries with this mindset, you aren’t just organizing—you’re engineering. Have you ever seen a cabinet start to pull away from the wall after a heavy winter? Let me know in the comments below.