

I stood there, coffee in hand, watching my masterpiece slowly succumb to the laws of physics. I had spent three days fitting shelves into a massive six-foot alcove, thinking a few side cleats would be enough. I was wrong. Within a week, those shelves had a sad smile that would make a bridge engineer weep. It is a classic DIY heartbreak. You want that sleek, wall-to-wall look, but standard shelving material just isn’t meant to span that much open air without a backbone. I have been there, and I have made the mistake of trying to hide the sag with flimsy L-brackets that looked like an eyesore and did absolutely nothing to help. Today, we are going to talk about the structural header move. This isn’t just about making things look pretty; it is about engineering your built-in storage ideas to declutter and enhance your home so they actually last. We are going to solve the wide-span wobble once and for all by hiding a structural beam right inside the front edge of your shelf.
Stop Your Wide Alcove Shelves from Sagging Forever
When you are dealing with a wide alcove, the biggest enemy is deflection. Most of us grab a piece of 3/4-inch plywood and assume it is stiff enough. But wood is essentially a bundle of straws; it wants to bend under its own weight, let alone a stack of books. According to data from the USDA Forest Products Laboratory, the load-bearing capacity of a shelf drops exponentially as the span increases, meaning a 72-inch shelf is significantly more prone to failure than two 36-inch shelves. Early in my career, I tried to over-screw the back cleats, thinking that would hold the front edge up. Spoiler alert: it didn’t. The front just dipped while the back stayed straight, creating a tilted shelf that made everything slide toward the floor. If you have ever dealt with how to fit built-ins into out-of-square alcoves, you know the frustration of getting everything level only to have gravity ruin it later. The structural header is a 1×2 or 2×2 piece of hardwood or high-grade plywood glued and screwed vertically to the front edge. It acts like a mini I-beam. It is the same logic I used when learning the heavy-duty plywood gusset for wide closet shelves to handle heavy wardrobes.
Is a structural header really worth the extra effort?
I get it. You just want to cut the wood and be done. You are probably wondering if you can just buy thicker wood instead. But even a 2-inch thick slab can sag over six feet if it is not reinforced correctly. The header move allows you to keep a slim profile while gaining the strength of a much beefier unit. It is the difference between a shelf that holds your favorite novels and a shelf that eventually collapses and takes the drywall with it. Have you ever noticed your shelves starting to bow, or are you just starting a project and want to avoid my early-career disasters? It is much easier to build it right the first time than to try and retro-fit a fix once the paint is dry. We are going to dive into how to mill these headers and hide them so no one ever knows your shelving is essentially a structural bridge. It is the secret to making those wide-span dreams a reality without the nightmare of a mid-night crash.You do not need a degree in civil engineering to see why a flat board fails, but you do need to think vertically. When I am prepping a wide alcove build, I always start by milling my own headers. A standard 1×2 of solid oak or maple is my go-to because hardwood does not compress as easily as soft pine or MDF. You are essentially turning your shelf into a ‘T’ or ‘L’ shape. This vertical profile resists the downward force that causes the middle to dip. It is similar to how 4 internal steel stiffeners that stop massive bookcase shelves work, but using the material itself as the reinforcement. I usually rip my headers to exactly 1.5 inches. Anything more and you start losing valuable vertical storage space; anything less and you are just adding decorative trim that will not hold a candle to the weight of a heavy encyclopedia set.
Glue and Clamp Before You Ever See a Screw
I learned the hard way that screws alone are just temporary fasteners. I once rushed a project for a media room, relying solely on three-inch wood screws to hold a six-foot span together. By the time the client had loaded it with heavy vinyl records, the screws had slightly enlarged the holes in the plywood, and the header began to pull away. Now, I treat the glue-up as the most critical phase. You want a continuous bead of high-quality wood glue along the entire front edge of the shelf. Clamp the header every six inches to ensure there are no gaps. This creates a monolithic bond. If you have ever looked into the internal torsion box move for long floating shelves, you know that the strength comes from the skin being perfectly bonded to the core. This is the lite version of that principle.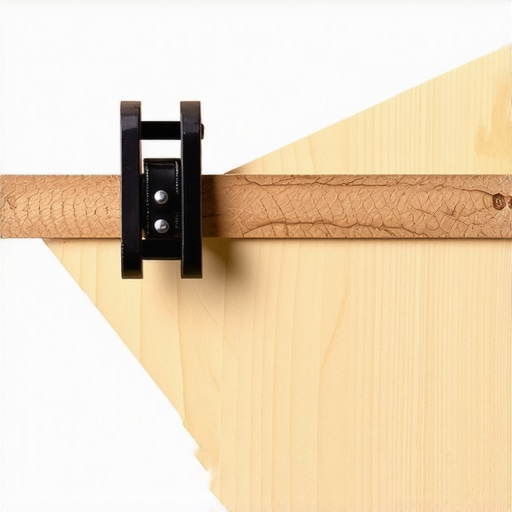
Sinking the Hardware for a Seamless Look
Once the glue is tacky, I drive 2-inch trim-head screws through the header and into the shelf. I counter-sink them just enough so I can hide the heads later with a bit of wood filler or a plug. This is vital because if the screw heads are proud, your finish will look amateur. If you are aiming for creative built-ins for seamless storage and home aesthetics, the transition between the shelf and the header should be invisible once painted. I always recommend sanding the joint flush while the glue is still slightly flexible; it saves you a massive amount of time later. This isn’t just about strength; it is about making sure your built-in storage ideas to declutter and enhance your home look like they were carved out of the wall itself.
Integrate Your Side Cleats with Precision
The header does not just sit there; it needs to be supported at the ends. This is where most DIYers trip up. They cut the side cleats the full depth of the alcove and then wonder why the header does not fit right. You need to notch your side cleats or stop them short to account for the thickness of the header. I always cut my side cleats about 1.5 inches shorter than the shelf depth. This allows the header to sit flush against the wall at the sides, transferring the load directly into the wall studs via the cleats. When you are figuring out how to fit built-ins into out-of-square alcoves, having that header run full-width while the shelf sits on the cleats gives you a tiny bit of cheat room to hide walls that are not perfectly 90 degrees. It is a structural safety net and an aesthetic lifesaver rolled into one.
The most common myth I see in the DIY world is that throwing thicker wood at a weight-bearing problem automatically solves structural weakness. Everyone says to just upgrade to 1-inch plywood for those long spans, but in my experience, a reinforced 3/4-inch shelf with a vertical header outperforms a 1-inch slab every single time. Why? Because thickness only adds linear strength, while a vertical header adds geometric rigidity. It is the difference between a flat sheet of paper and one you have folded into a fan. When you understand this, your built-in storage ideas to declutter and enhance your home become bulletproof. I have seen massive 1-inch shelves bow just as badly because the builder ignored the ‘creep’ factor—the way wood fibers slowly stretch over years of constant weight. According to researchers at the AIMS (American Institute of Manufacturing Sciences), the long-term deformation of unreinforced wood under load can be nearly double the initial deflection seen on day one. If you are not planning for that future dip, you are building a shelf with an expiration date.
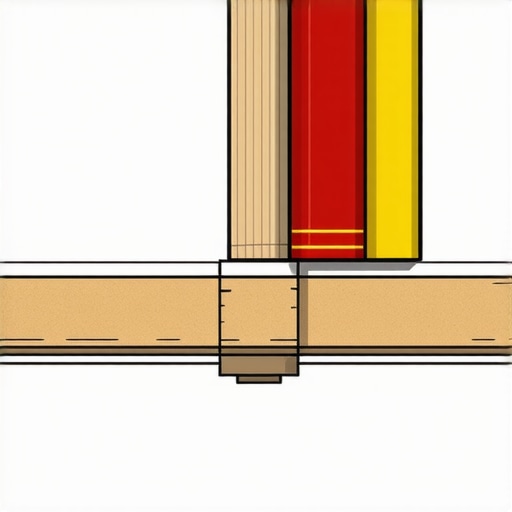
Can you really trust a thick slab to stay flat without a hidden sub-frame?
If you are building for the long haul, especially when dealing with heavy materials like stone or massive book collections, the answer is usually no. This is where the hidden sub-frame hack for massive library built-ins comes into play. You think the shelf or vanity top is the hero, but the internal structure is doing all the heavy lifting. One massive trap I see professionals and DIYers alike fall into is ‘Swiss-cheesing’ their supports. People think driving twenty screws into a cleat will make it stronger, but you are actually just shredding the wood fibers and creating multiple failure points. This is a common reason why particle board shelves sag and the plywood solution is always the superior choice for longevity—plywood has cross-grain strength that resists that ‘shredding’ effect. This principle is even more critical when you maximize your space with custom vanities expert design tips, where the weight of a quartz or marble top can easily exceed 150 pounds. If you do not use the hidden sub-frame move for supporting massive quartz top vanities, you are essentially waiting for the cabinet sides to buckle. For those wanting the ultimate high-end look, you can even stop floating shelf sag with internal torsion box engineering. It is about working with the physics of the material, not fighting it with more bulk. Have you ever fallen into this trap where you thought more wood meant more strength, only to see it sag a year later? Let me know in the comments. We are pushing for creative built-ins for seamless storage and home aesthetics where the goal is strength without the unnecessary bulk.
Once you move past the basics of shelf-stiffening, you realize that the difference between a project that looks good and one that functions flawlessly for twenty years is the precision of your tools and your maintenance routine. I never walk into a job site without my digital angle finder and a high-end scribe. If you are aiming for creative built-ins for seamless storage and home aesthetics, you have to acknowledge that no wall is truly flat. I use a dedicated scribing tool with a brass compass because it allows me to transfer the exact wave of a wonky drywall surface onto my wood. It is the only way to achieve expert-guide-to-flawless-vanity-installation-tricks-tips without leaving huge, ugly gaps filled with caulk. For my bathroom projects, I also swear by a pinless moisture meter. Before I even think about innovative storage solutions to transform your bathroom, I check the subfloor and the studs. If the moisture content is above 12%, you are asking for wood movement that will snap your beautiful joints within six months. 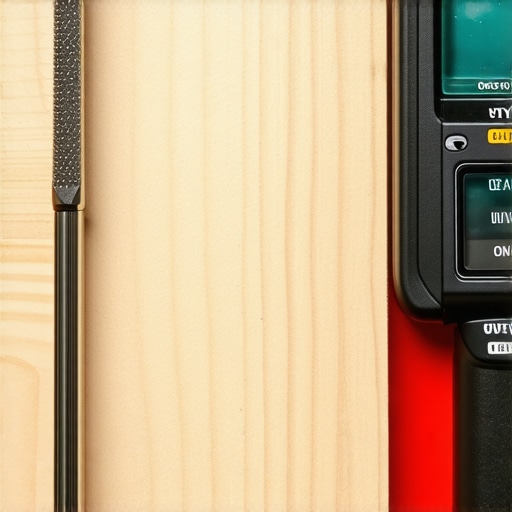
How can you ensure your built-ins survive the next decade of heavy use?
Maintenance is the part of the job everyone forgets until something starts to creak. Every six months, I recommend doing a ‘hardware audit.’ This means opening every drawer and checking the slides for grit or alignment issues. If you have noticed your storage failing, it might be time to learn why cabinet doors sag and the three-hinge solution. Wood is a living material; it expands in the summer and shrinks in the winter. According to the NKBA (National Kitchen & Bath Association) professional standards, a high-quality installation should maintain a level tolerance within 1/8 inch over an 8-foot run. If yours is shifting more than that, you might have structural settling that requires more than just a screwdriver to fix. For those of you dealing with kitchen setups, checking for hidden leaks is paramount, as moisture is the silent killer of base cabinetry. If you are already seeing issues, you might need to look into why your vanity plumbing is leaking into the cabinet base before the wood rot becomes irreversible. I predict that in the next five years, we are going to see a massive shift toward LiDAR-based measurement apps that will allow DIYers to create perfect 3D maps of their alcoves with just a smartphone. This will take the guesswork out of vanity installation hacks that save time and money, making professional-level precision accessible to everyone. But for now, stick to the basics: glue, clamp, and measure thrice. My advanced tip for you this week? Try using a ‘story pole’—a simple piece of scrap wood where you mark all your heights and widths—instead of a tape measure for your next project. It eliminates the risk of misreading a tiny line on a metal tape and ensures every shelf is perfectly parallel.
Lessons from a Decade of Fighting Gravity
It is tempting to think that once the shelf is up and the books are loaded, the job is done. But I have learned that wood behaves like a very slow-moving liquid over time. Over three to five years, a shelf will settle into its final shape, and if you did not use a structural header, that shape is almost always a sad ‘U’. One of my lightbulb moments was realizing that the same physics governing why cabinet doors sag and the three-hinge solution apply to long horizontal spans; every vertical reinforcement acts as a spine. I also learned that people notice a 1/8-inch dip much faster than they notice a slightly thicker shelf edge. Finally, always check your work from a seated position across the room. That is when the sags become most visible to your guests, and where your structural header will truly prove its worth.
The Gear That Makes My Projects Bulletproof
I do not leave for a job without a few specific items that ensure a long-term result. First, Titebond III wood glue is non-negotiable because its longer open time is essential when you are wrestling with 72-inch headers and dozens of clamps. To get those perfect fits in older homes, I rely on a Starrett 505A ProSite Protractor; it makes figuring out how to fit built-ins into out-of-square alcoves feel like a precise science rather than a guessing game. I also highly recommend reading ‘The Anarchist’s Design Book’ by Christopher Schwarz. It changed how I think about simple, robust joinery for creative built-ins for seamless storage and home aesthetics, proving that you do not need complex dovetails to create something that lasts a century.
Build for the Future Version of Your Home
There is a specific kind of peace that comes from loading up a wide shelf with heavy hardcovers and knowing it will not budge an inch. You are not just making a place for your things; you are improving the very bones of your house. When you execute these built-in storage ideas to declutter and enhance your home with a structural mindset, you are creating a legacy of quality. Don’t be afraid to take that extra hour to mill and glue a proper header. It is the secret sauce that separates a weekend project from a professional-grade installation. Have you ever had a shelf start to ‘smile’ at you a few months after you built it? Let me know your biggest DIY shelf disaster in the comments below!