

It was 2 AM, and I was staring at a beautiful, new pedestal sink that wobbled every time I brushed my teeth. I had spent hours aligning the plumbing, but every time I leaned in to check my reflection, the whole basin groaned. I had followed the instructions to a T, or so I thought. The real culprit? Those flimsy plastic wall plugs that come free in the box. I used to think the porcelain pedestal leg was doing all the heavy lifting, but that is a rookie mistake I will never repeat. In reality, that leg is more of a decorative support, and the real stability comes from how you pin that basin to the wall. Today, I am going to show you why the heavy-duty toggle move is the only way to get that rock-solid feel without tearing out your drywall to install 2×4 blocking. [image placeholder]
Stop the Wobbly Sink Nightmare Once and for All
Installing a pedestal sink is a rite of passage for any DIYer who wants to optimize small bathroom spaces, but it is often a recipe for frustration. Unlike a traditional cabinet where you have a wide base and multiple points of contact, a pedestal sink is a top-heavy beast. If your wall isn’t reinforced with wood blocking behind the plaster, you are essentially trying to hang a 60-pound rock on a sheet of paper. I learned this the hard way years ago when I tried to use standard toggle bolts on a soft wall, only to have the sink start pulling away within a month. It is a similar struggle to when homeowners try to secure built-in cabinets to walls with no studs. You need a solution that spreads the load behind the wall, creating a sandwich effect that the sink simply cannot pull through.
Does this heavy hardware actually matter for my bathroom?
You might be skeptical. You might think, it is just a sink, surely the floor supports it? But according to industry standards from major manufacturers like Kohler, the basin must be securely fastened to the wall to prevent movement that leads to catastrophic plumbing leaks. In fact, most pedestal basins are made of vitreous china, which is incredibly heavy and brittle. If that basin shifts even a quarter-inch, you risk cracking the porcelain or snapping a P-trap connection. I used to ignore the fine print until a client’s sink literally slid off the pedestal because the wall anchors failed. Trust me, the extra ten dollars for high-end toggle anchors is the best insurance policy you will ever buy. It is even more critical than finding tactics for leveling vanities on sloping tile floors because a wobbly sink isn’t just an eyesore, it is a flood waiting to happen. Have you ever felt that terrifying give when leaning on your bathroom sink? If so, you are exactly where I was before I mastered this technique.
Get the Marking Right the First Time
To start, you need to treat the sink and pedestal like a puzzle. Set the pedestal roughly where the drain is and hoist that heavy basin on top. You have to be careful here because it is a delicate balancing act. Use a level across the top of the basin to ensure it is not leaning forward or to the side. Once it is perfectly flat, take a pencil and trace the mounting holes on the back of the sink directly onto the wall. This is exactly where most people fail because they move the sink while marking. I remember a job in a tight bathroom where I didn’t have enough light; I marked the holes slightly off, and when I went to bolt it in, the sink sat at a noticeable slant. I had to patch the wall and start over. Don’t be me. Use a bright work light and a sharp pencil to get a crisp center point.
Ditch the Kit Hardware for Real Steel
Most pedestal sinks come with a mounting kit that includes two lag screws and flimsy plastic anchors. If you are lucky enough to hit a stud, the lag screws are fine. But if you are between studs, those plastic anchors are essentially useless for a heavy basin. Instead, grab some 1/4-inch heavy-duty snap toggles. These aren’t your grandpa’s floppy metal toggles that fall behind the wall if you unscrew the bolt. Snap toggles have a plastic strap that holds the metal channel in place, allowing you to remove the bolt and the sink without losing the anchor. This is a game changer for a step-by-step guide to vanity installation for beginners because it gives you room for error during the final fit. 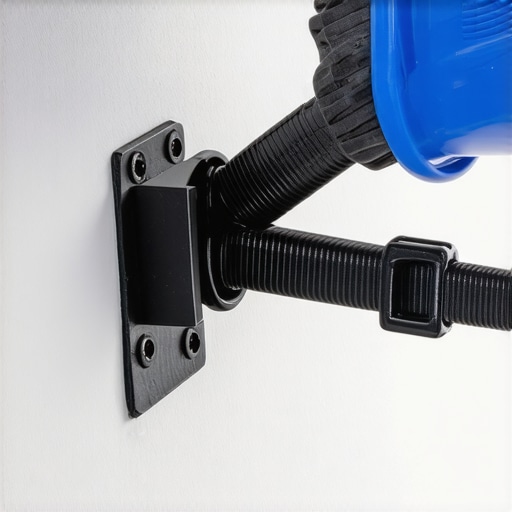
The 1/2 Inch Hole and the Snap-Toggle Trick
You will need to drill a 1/2-inch hole through your drywall or plaster where you made your marks. It feels wrong to drill such a big hole for a relatively small bolt, but the metal channel needs that space to flip open behind the wall. Once the hole is drilled, slide the metal channel through, pull the straps tight so the metal is flat against the back of the wall, and slide the plastic cap flush against the front surface. Snap off the excess plastic straps. Now, you have a threaded metal hole permanently mounted in your wall. This is far more secure than trying to anchor heavy closet organizers to crumbling plaster with standard screws. It turns the wall into a solid mounting plate rather than just a thin skin.
Set the Basin and Create the Sandwich
Now comes the heavy lifting. Slide the pedestal back into place and lift the basin onto it. Align the holes in the porcelain with the snap toggles in the wall. Thread your 1/4-inch bolts through a stainless steel washer, then a rubber washer, then through the sink, and into the toggle. The rubber washer is vital; it prevents the metal bolt from cracking the vitreous china when you apply pressure. Tighten them by hand first to make sure you aren’t cross-threading. If you encounter any floor issues during this stage, you might need to check out how to fix wobbly vanity legs on uneven tile to ensure the pedestal is actually sharing the load. Tighten the bolts until the sink is snug against the wall, but do not overtighten. You want a firm sandwich where the wall is squeezed between the metal toggle in the back and the sink in the front. This creates a rock-solid mount that won’t budge even if someone accidentally leans their full weight on the basin.Most DIYers—and even some pros—operate under the dangerous assumption that the porcelain pedestal leg is a structural pillar. I am here to tell you that the pedestal is essentially a decorative sleeve for your plumbing. If you rely on that leg to hold the weight, you are one floor-settling event away from a cracked basin. In my years of experience, I’ve found that the most stable setups treat the wall anchors as the primary support and the pedestal as a secondary stabilizer. This is a level of detail often overlooked in a standard step-by-step guide to vanity installation for beginners, where the focus is usually just on getting the parts to fit together rather than long-term structural integrity. 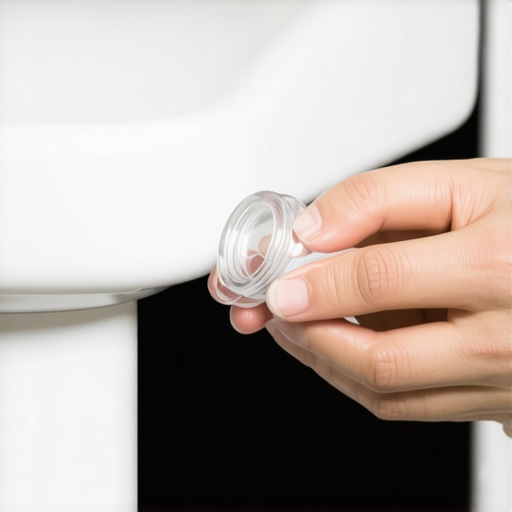
The Critical Silicone Buffer You Are Probably Missing
One of the biggest mistakes I see is the ‘dry stack’ method, where the basin simply sits on the pedestal. Because vitreous china is never perfectly flat, you end up with point-loading—where all the weight sits on one or two tiny high spots. Over time, the vibration of daily use causes these points to grind against each other, creating a fine white powder and eventually a wobble. The pro move is to apply a thick bead of clear 100% silicone to the top of the pedestal before setting the basin. This acts as a gasket, distributing the load evenly and ‘gluing’ the two pieces into a single unit. It is a similar principle to using the waterproof shim move for vanities on wet room floors; you are creating a stable interface that accounts for material imperfections.
Is mechanical fastening really necessary if I use high-grade adhesive?
I get asked this constantly by people who want to avoid drilling into expensive tile. The answer is a hard yes. While adhesives are great for lateral stability, they cannot handle the vertical shear force of a person leaning on the sink to wash their face. According to technical bulletins from the American Society of Plumbing Engineers (ASPE), mechanical fasteners are the only approved method for securing heavy wall-hung fixtures because adhesive bonds can fail under the constant humidity and temperature cycles of a bathroom. Relying on glue alone is a shortcut that often leads to the same issues seen when vanity plumbing leaks into the cabinet base because the sink shifted just enough to break the P-trap seal.
Avoid the Deadly Overtightening Trap
The ‘Oops’ factor in pedestal installations almost always involves the wrench. There is a very thin line between ‘snug’ and ‘shattered.’ I once watched a helper give a mounting bolt one final ‘insurance’ turn, only to hear a sound like a gunshot. The basin had developed a hairline fracture right through the mounting hole. Vitreous china has zero flexibility. This is why I always use vanity installation hacks that save time and money, like using oversized rubber washers on both sides of the porcelain. These washers act as shock absorbers, allowing you to get the sink tight against the wall without the metal bolt ever touching the china. Have you ever fallen into the trap of over-tightening a fixture and regretted it? Let me know in the comments. By focusing on these nuances—the silicone gasket, the mechanical toggle, and the rubber buffer—you transform a wobbly nightmare into a fixture that feels like it’s part of the house foundation. It’s the difference between a ‘handyman special’ and a professional-grade installation.Once the sink is up and the silicone has cured, your job isn’t quite finished. To get that truly professional result, I never rely on the cheap tools that come in a generic household kit. I personally swear by the Wera Joker ratcheting wrenches for those impossibly tight spaces behind the pedestal. They have a unique limit stop that prevents the wrench from slipping off the nut, which is a lifesaver when you are working blind behind a porcelain shroud. It is the same level of precision I use when I am figuring out smart bathroom vanity wiring hacks to keep everything flush. If you are serious about DIY, stop using adjustable wrenches that chew up your mounting hardware; invest in a set of dedicated flare nut wrenches for your supply lines to avoid the rounded-off edges that lead to leaks. Professional grade tools allow for the micro-adjustments needed when you are trying to expert guide to flawless vanity installation tricks without scratching your new finish. 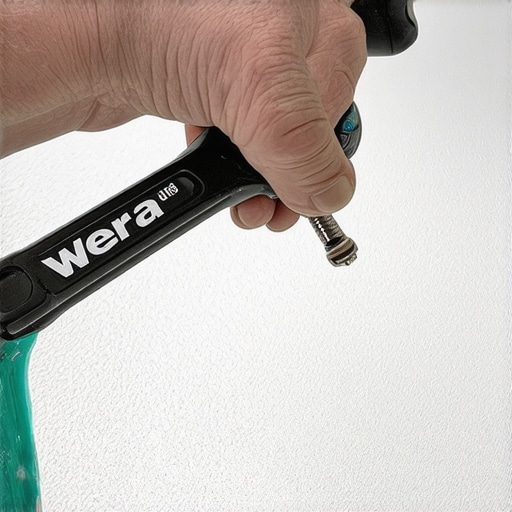
How do I keep my pedestal sink and bathroom fixtures stable for decades?
Maintenance is the part of the job most people ignore until they see a puddle. Every six months, I make a habit of checking the base of the pedestal. If the silicone seal at the floor has cracked, it means there is subtle movement. You need to address this immediately by cleaning out the old caulk and reapplying. This prevents moisture from seeping into the subfloor, a problem I often see when people skip the waterproofing fix for high-use vanities. Also, check the mounting bolts behind the sink. Don’t crank them, just give them a gentle nudge with a wrench to ensure vibration hasn’t loosened the toggles. According to the National Kitchen & Bath Association (NKBA) Planning Guidelines, ensuring a minimum 15-inch clearance from the center of the sink to any side wall isn’t just about comfort; it’s about giving yourself enough room to perform this critical maintenance without banging your elbows. If you have tight quarters, you might need to look into smart storage solutions to optimize small bathroom spaces to keep the area around the sink clear for access and regular inspection. Keeping an eye on these connections is as vital as knowing vanity installation hacks that save time and money in the long run. Looking ahead, I predict we are moving toward smart mounting systems. We are already seeing prototypes for adjustable internal wall brackets that allow for micro-leveling after the sink is already hung—think of it as a much more advanced version of the step-by-step guide to vanity installation for beginners we use today. Materials are also shifting; high-performance composites are starting to replace heavy vitreous china, making the heavy-duty toggle less of a struggle and more of a standard safety feature. This trend mirrors the shift toward innovative storage solutions to transform your bathroom where lightweight durability is king. Your next move? Don’t just walk away from your new sink once the water is running. Go back in 48 hours, after the silicone has fully set, and check those wall bolts one last time. This simple second look is what separates a DIY project from a permanent home improvement. It is a strategy I apply to everything, even when I am learning how to fix wobbly vanity legs on uneven tile. Give that sink a firm, confident nudge; if it feels like part of the wall, you have won.
Hard-Won Lessons from My 2 AM Plumbing Disaster
Looking back at my early mistakes, the biggest lightbulb moment was realizing that the wall is the anchor, not the floor. I once spent an entire Saturday trying to shim a porcelain base only to realize the wall was the problem; if I had followed an expert guide to flawless vanity installation tricks earlier, I would have saved eight hours and a lot of ibuprofen. Another vital lesson: porcelain doesn’t bend, it breaks. I’ve seen seasoned pros rush the marking phase and end up with a sink that feels like a seesaw. Take your time with the pencil and never trust a ‘level’ wall without checking it yourself.
The Gear That Keeps My Sink Installations Rock Solid
To get these results, I rely on a few non-negotiables that aren’t in your standard toolbox. First, Toggler brand Snaptoggles are the only anchors I trust for hollow walls because they provide a massive bearing surface that spreads the weight. I also use 100% clear silicone for that critical pedestal gasket to stop the micro-wobble. If you are also looking for creative storage solutions for vanities, keep your tools organized in a dedicated plumbing bag so you aren’t hunting for that 1/4-inch wrench when your hands are full of heavy porcelain. Finally, always keep a headlamp in your kit; shadows are the enemy of accurate marking in small bathrooms.
Take Control of Your Bathroom Stability
You don’t have to live with a basin that groans or shifts every time you wash your hands. By stepping away from the cheap hardware in the box and using the ‘sandwich’ method with heavy-duty toggles, you can master a pedestal sink installation that feels like it’s built into the home’s foundation. It’s about building for the long haul, not just the next ten minutes. Have you ever heard that terrifying ‘crack’ sound while tightening a bolt? Tell me your DIY horror stories or successes below!