

I still remember the sinking feeling in my stomach when I saw the first dark stain creeping up the side of my brand-new mudroom locker. It was a Tuesday in February, and the kids had left a pile of slushy boots right against the baseboard. I’d spent three weekends building those units, but in that moment, I realized I’d made the ultimate rookie mistake: I built them like they were going in a dry bedroom, not a high-traffic splash zone. If you’ve ever spent hours on a project only to watch it warp, you know exactly how much that hurts. Today, I am going to show you how to avoid that heartache with a moisture-proof base hack that keeps your cabinetry bone-dry, even in the messiest winters.
Building something that looks good is one thing, but building something that lasts is what separates the weekend warriors from the pros. I used to think a couple of coats of high-quality paint would act like a raincoat for my wood. I was wrong. Water finds its way into the smallest cracks, and before you know it, you are dealing with swelling, mold, and a very expensive repair job. This is especially true if you are integrating seating, which is why I always recommend using the hidden ledger trick for rock-solid entryway seating to ensure everything stays level while you address the base.
Your Mudroom Base Needs More Than Just Paint
The secret to a long-lasting locker system isn’t just the wood you see on the outside; it is what sits between the floor and your cabinet. When I started out, I made the mistake of letting my MDF side panels touch the tile directly. Big error. MDF is basically a sponge for slush. Now, I always implement the moisture-proof base tactic for basement built-ins in every mudroom project I touch. By creating a sub-base of PVC or pressure-treated lumber, you create a physical barrier that moisture simply cannot cross. This is the same principle I use when I need to how to stop mudroom bench rocking with a stealth ledger, ensuring that the structural integrity starts from the ground up. According to data from the Insurance Institute for Business & Home Safety, even minor, consistent moisture exposure can degrade residential building materials within just 48 hours, making this hack a necessity rather than an option.
Is this extra step really worth the trouble?
I hear this all the time: ‘But I live in a dry climate, do I really need a waterproof base?’ My answer is always a resounding yes. Whether it is a spilled water bottle or a wet umbrella, moisture is inevitable in an entryway. If your walls aren’t perfectly straight, you’ll also want to look into how to secure mudroom lockers to uneven textured walls to make sure the whole unit is rock solid. Have you ever pulled up a piece of old trim and found a science project growing underneath? That is what we are trying to avoid here. We are going to dive into the step-by-step process of building these ‘indestructible’ bases so your hard work survives for decades. Tell me, have you ever noticed your baseboards looking a little soft or discolored in your entryway?
Ditch the Plywood for a Bulletproof Sub-Base
Think of your mudroom lockers like a house built on a pier. In areas where water is a constant threat, you don’t want the structural wood sitting in the ‘tide’ of melting snow. Instead of letting your cabinet gables run all the way to the floor, you need to build a separate sub-base that acts as a pedestal. This pedestal is what takes the abuse while your pretty cabinetry stays high and dry. This technique is similar to how we handle 5 moisture-proof bases for bathroom cabinets on wet floors, ensuring that even if the floor is soaked, the wood is protected. By isolating the ‘show’ wood from the ‘work’ floor, you extend the life of your project by decades.
Pick the Right Material for the Job
Standard plywood or MDF are great for the lockers themselves, but for the base, you need something that doesn’t drink water. I prefer 3/4-inch PVC board or pressure-treated 2x4s. PVC is essentially plastic lumber; it won’t rot, swell, or grow mold, making it the MVP of mudroom construction. You can cut it with standard woodworking tools, and it holds a screw surprisingly well. When you assemble your sub-base frame, use stainless steel screws to prevent rust streaks from developing over time. If you are worried about aesthetics, don’t be—you will cover this sub-base with a decorative toe kick later, which can be easily replaced if it ever gets damaged without compromising the whole unit. 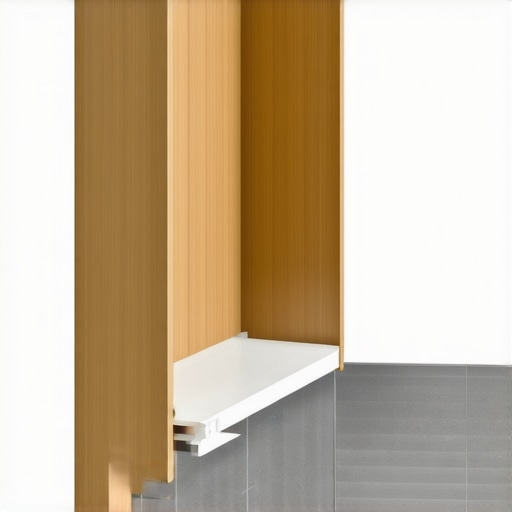
Level Your Base Before the Cabinets Arrive
Entryway floors are notorious for being out of level, especially if they are tiled or sloped toward a drain. If your base isn’t perfectly flat, your lockers will lean, and your doors will never hang straight—a nightmare for anyone trying to achieve a professional look. I once installed a beautiful double vanity in a client’s basement. I used standard toe kicks because the floor looked dry as a bone. Ten days later, their water heater sprung a tiny leak. By the time I got back, the bottom three inches of the vanity were swollen like a cheap burger bun. If I had used 4 moisture-proof base fixes for rotting bathroom vanity cabinets, that $2,000 unit would have been fine. Now, I never risk it. For sloped floors, I often employ the leveling leg strategy for sloped garage floors to get a rock-solid foundation. You want to identify the highest point of the floor first and set your base height to match that, shimming the low spots until your long bubble level reads dead center.
Seal the Deal with a Moisture Barrier
When you are mounting your lockers, especially against exterior walls, you need to worry about more than just the floor. Condensation can build up behind the unit when warm house air hits a cold wall. This is why I follow the moisture-barrier rule for cabinets on cold outer walls. I like to leave a tiny 1/8-inch gap between the bottom of the toe kick and the tile. I then fill this gap with a bead of high-quality, 100% silicone. This creates a flexible, watertight gasket that stops slush from creeping under the base. For the best results on uneven surfaces, using the leveling trick for mudroom benches on tile will save you from having to shim every individual locker gable later on. This tiny detail is the difference between a project that looks good for a year and one that looks good for a lifetime.
One common myth that drives me crazy in the woodworking community is the belief that ‘marine-grade’ plywood is a magical cure-all for wet entryways. Don’t get me wrong, it’s an excellent material, but I have seen $150 sheets of marine ply delaminate simply because the installer ignored the edge grain. Even the best wood can’t fight capillary action if the design is flawed. This is where many DIYers mess up their step-by-step guide to vanity installation for beginners logic; they assume the material does all the heavy lifting, when in reality, it’s the physical isolation from the floor that provides the real protection.
The Weight Load Trap Most Builders Ignore
The ‘Oops’ factor I see most often in professional-looking mudrooms is a total neglect of dynamic weight loads. We aren’t just talking about hanging a few light coats. Think about the combined weight of three heavy backpacks, winter gear, and a grown adult sitting down to pull off stubborn boots. If you have ever looked into the hidden sub-frame move for supporting massive quartz top vanities, you will know that heavy tops require more than just standard side-panel support. Without a reinforced internal frame, that beautiful bench will eventually bow, causing your doors to rub and your joints to scream under the pressure.
Should you rely on heavy-duty adhesives or mechanical fasteners?
A lot of advanced builders ask if they can just ‘glue it and forget it’ to avoid unsightly screw heads. In high-moisture zones like a mudroom or bathroom, that is a recipe for disaster. Adhesives can eventually break down or become brittle under constant humidity cycles. According to the Kitchen Cabinet Manufacturers Association (KCMA), structural failures in residential cabinetry often stem from poor weight distribution and environmental stress rather than the fastener itself. This is why understanding why cabinet doors sag and the three-hinge solution is so important—it is about the frame’s ability to stay perfectly square under a constant load. 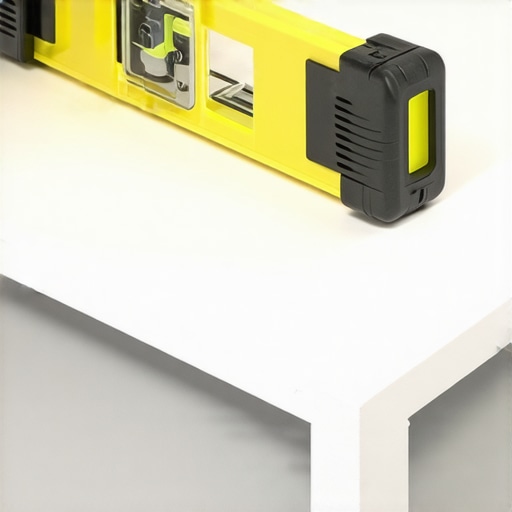
When you are aiming for effortless storage solutions for a tidy stylish home, the real nuance is found in the ‘stress gap.’ If you anchor your built-ins too tightly against a wall that isn’t perfectly plumb, you are essentially pre-stressing the wood. Over a single season, as the house settles and the wood expands, that internal stress turns into visible cracks or binding drawers. Have you ever fallen into this trap where you built something ‘too’ solid and watched it snap or warp? Let me know in the comments, and let’s troubleshoot those builds together.
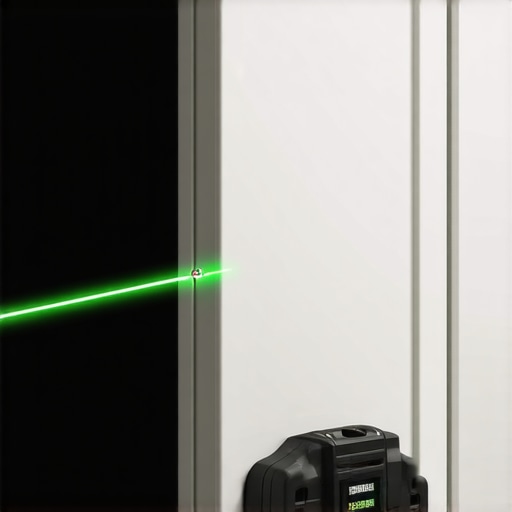
When I talk about the right tools, I am not just being a gear head for the sake of it. In my shop, the Bosch GLL3-330CG laser level is my best friend. Trying to find a true level across an eight-foot mudroom span with a standard four-foot bubble level is how you end up with crooked doors. Precision is everything, especially when you are applying the structural fix for wobbly entryway lockers 2 to a unit that needs to withstand daily abuse. I also swear by the Festool Domino DF 500 for joinery; the mechanical strength it provides is far superior to pocket screws, which can sometimes pull through softer materials if the kids decide to use the locker shelves as a ladder. If you want creative built-ins for seamless storage and home aesthetics, you have to invest in the accuracy of your foundation.
How do I maintain my custom built-ins to avoid future repairs?
Maintenance is the part of the project no one likes to talk about, but it is what keeps your investment from looking like junk in five years. I perform a ‘hardware audit’ every six months. Wood moves with the seasons, and those tiny vibrations from doors slamming can loosen screws. If you notice your doors are slightly out of alignment, don’t wait. Check for signs of stress, or you might find yourself wondering why your soft close hinges are snapping 2 out of the blue. I also keep a small bottle of matching touch-up paint and a fine-tip brush handy. Filling in those tiny nicks from vacuum cleaners or heavy boots immediately prevents moisture from getting under the paint film and causing the wood to swell. According to the Architectural Woodwork Institute (AWI) Standards, Section 10, maintaining a consistent indoor relative humidity between 25% and 55% is critical to prevent permanent dimensional changes in high-end cabinetry. I actually keep a small hygrometer in my mudroom just to keep an eye on things.
For those looking for a professional finish on the edges, I always recommend the ‘scribe and slide’ method. Even the best builders struggle with walls that look straight but aren’t. By using the scribing hack for fitting built-ins against stone fireplaces, you can adapt the same logic to your mudroom walls. It ensures that there are no unsightly gaps for dust and moisture to collect. Looking ahead, I predict a major shift toward modular internal components. People want effortless storage solutions for a tidy stylish home, but they also want the ability to swap out a shoe cubby for a larger boot rack as their family grows. We are seeing more ‘smart’ integration too—think motion-activated LED strips routed directly into the gable ends. My advice? Try the ‘hidden ledger’ trick on your very next bench build; it is the single most effective way to guarantee a seat that won’t creak or sag, no matter how many people pile onto it.
What My First Swollen MDF Unit Taught Me
Looking back at my early projects, I realized that the biggest mistakes weren’t visible on day one. I learned that relying on paint as a primary waterproof barrier is a fantasy; real protection comes from physical separation. One ‘lightbulb moment’ for me was discovering that even a tiny gap between the floor and the unit, filled with the right material, prevents the capillary action that destroys wood from the inside out. When you’re planning your built-in storage ideas to declutter and enhance your home, always prioritize the foundation over the finish. I also learned that wood needs to move; if you anchor it too rigidly, you will see the joints pop during the first dry winter. It is far better to allow for slight seasonal expansion while keeping the base completely isolated from standing water.
The Tool Kit That Guarantees a Pro Finish
If you are serious about your build, you need more than just a hammer and a prayer. I personally trust a few specific resources to keep my work within professional tolerances. First, the AWI Standards are my go-to for understanding how wood reacts in different climates. For the actual physical work, I never start a project without my Bosch laser level. It ensures that when I follow an expert guide to flawless vanity installation tricks tips, every line is dead-on. I also recommend keeping a high-quality 100% silicone on hand—avoid the cheap ‘painter’s caulk’ for floor-level seals as it simply will not hold up to the foot traffic or moisture of a busy entryway. If you are looking for creative storage solutions for vanities declutter in style, these same high-precision tools will be your best friends. #IMAGE_PLACE_E#
Build an Entryway That Outlasts the Seasons
Starting a custom project can be intimidating, but the peace of mind that comes from a moisture-proof foundation is worth every extra hour in the shop. By isolating your cabinetry from the floor and walls, you are ensuring that your hard work remains a centerpiece of your home for decades. Whether you are maximizing space innovative built-in solutions for small rooms or building a massive mudroom suite, focus on the details that no one will see, because those are the details that keep the unit standing. Your mudroom lockers are more than just storage; they are the hardworking hub of your family’s daily life, and they deserve a foundation that can handle the grit and the slush. What is the messiest thing your mudroom has to survive every year—snow, mud, or maybe just a mountain of sports gear? Let me know in the comments below!