

I remember the sound. A slow, agonizing creak in the middle of the night that sounded like a ship’s hull complaining against a storm. I lay in bed, heart racing, knowing exactly what it was. My floor-to-ceiling library, the one I had spent three weekends meticulously building, was finally losing its battle with gravity. I’d used 3/4-inch plywood and plenty of wood glue, thinking it was enough for my collection of heavy hardcover art books. It wasn’t. By morning, the middle shelf looked like a wet noodle, and I was left staring at a disaster waiting to happen. That failure taught me a painful lesson: when you are dealing with massive spans, wood alone is a gamble you’ll eventually lose. Today, I’m going to show you how to avoid my mistake by using the hidden steel bracket—a total game-changer for anyone wanting that high-end, wide-span look without the embarrassing dip in the middle. We are going to dive into the world of internal reinforcement and show you exactly how to implement a hidden sub-frame that will keep your shelves level for decades.
Stop the Sag Before Your Books Hit the Floor
Most of us start our DIY or renovation journey with a lot of optimism and a basic understanding of joinery. We see those beautiful, wide-open shelves in design magazines and think, “I can do that with a few extra screws.” But physics doesn’t care about your aesthetic goals. Why particle board shelves sag is a question of simple load-bearing limits; even high-quality plywood has its breaking point when the span exceeds 36 inches. My early mistake was relying on the vertical strength of the gables without considering the horizontal tension. If you want a shelf that spans five or six feet without a center support, you need more than just wood; you need a structural partner. By integrating internal steel stiffeners, you’re essentially giving your shelves a spine. According to structural guidelines from the American Wood Council, wood products can experience “creep,” where they continue to deflect over time under a constant dead load, often reaching double the initial sag. Steel doesn’t have that problem.
Are these heavy-duty brackets really necessary for home libraries?
I get it—you’re worried about the extra cost and the complexity of the installation. You might be wondering if you can just get away with a thicker piece of oak or a hidden cleat. While a hidden plywood header can help for smaller spans, once you cross into “massive” territory, steel is the only thing that offers peace of mind. I’ve seen beautiful floor-to-ceiling units literally pull away from the wall because the shelves bowed so badly they distorted the entire frame. Have you ever noticed a slight curve in your shelving and just hoped it wouldn’t get worse? If you’ve faced that sinking feeling (pun intended), you aren’t alone. Transitioning to steel reinforcement isn’t just about strength; it’s about the freedom to design without limits. Let’s look at how we actually get these brackets into the wood without anyone ever knowing they are there.
Pick Your Steel Based on the Load
The first step isn’t at the workbench; it’s at the metal supplier. For most library spans between 48 and 60 inches, a 1/4-inch thick steel flat bar is your best friend. It’s thin enough to stay hidden but rigid enough to defy gravity. If you’re going even wider, you might consider an L-bracket or a small C-channel. Using 4 internal steel stiffeners that stop massive bookcase shelves is the difference between a library that looks professional and one that looks like a DIY disaster. Think of the steel as a skeleton; the wood is just the aesthetic skin. Without that bone structure, the wood will eventually fatigue and stretch under the constant weight of heavy hardcovers.
The Secret is in the Bottom Groove
To hide the reinforcement, you need to route a channel into the underside of the shelf. I use a plunge router with a straight bit that matches the width of the steel bar. You want the groove to be just slightly deeper than the thickness of the metal—usually about 5/16 of an inch for a 1/4-inch bar. This allows the steel to sit recessed so it won’t scratch the shelf below it. This technique is very similar to the internal torsion box move for long floating shelves, where the strength is moved inside the piece rather than sitting on top of it. 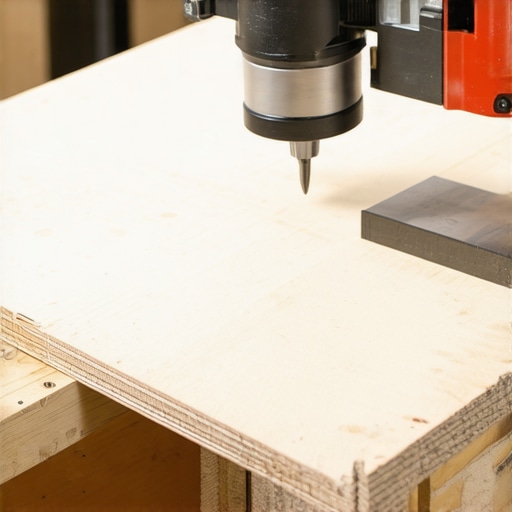
Lock the Steel to the Wood with More Than Luck
I once tried to just friction-fit a steel bar into a 48-inch shelf for a floating unit. I thought the weight of the books would hold it in. It didn’t. Every time someone walked by, the metal would vibrate against the wood, creating a haunting metallic hum that drove the homeowner crazy. I had to pull the whole thing apart. Now, I always bed the steel in a bead of high-strength construction adhesive or epoxy. This ensures the wood and steel act as a single composite unit. This is the same principle used in the steel plate fix for sagging fireplace mantel shelves where the bond between the two materials is what provides the actual structural integrity.
Transfer the Load Directly to the Studs
Reinforcing the shelf is only half the battle; you also have to make sure the unit doesn’t pull away from the wall. You are essentially creating a hidden sub-frame hack for massive library built-ins by connecting these reinforced shelves to a vertical ladder frame. If your shelves are sagging, it’s often because the horizontal tension is pulling the side gables inward. By using the steel to keep the shelf perfectly flat, you stop that inward pull. If you’ve ever wondered why your built-in desk is bowing and the middle leg fix is necessary, it’s because the span exceeded the material’s ability to stay rigid. Steel solves this by redirecting that downward pressure out toward the vertical supports.
Anchor the Sub-Frame to Solid Lumber
When you finally mount the unit, don’t rely on simple drywall anchors. You need to hit the studs with heavy-duty cabinet screws. This is especially true for the structural fix for floor-to-ceiling library units because the cumulative weight of the books and the steel can reach hundreds of pounds. Just like when you are learning how to stop floating vanities from dipping with steel plates, the goal is to create a rigid connection that doesn’t allow for even a millimeter of movement. If the frame is rock solid, the shelves will be too.The common wisdom in the woodworking community is that thickness equals strength. If a shelf sags, just double up the plywood. However, I’ve found this to be a massive misconception that often leads to bulky, unattractive units that still eventually bow. In reality, adding more wood often just adds more dead load—meaning the shelf is struggling to carry its own weight before you even put a single book on it. This is why creative built-ins for seamless storage and home aesthetics rely on engineering rather than sheer bulk. The true secret to a 60-inch span isn’t a two-inch thick shelf; it’s the tension provided by that internal steel spine we discussed earlier. One oops factor I see constantly is the failure to account for seasonal wood movement. If you epoxy a steel bar into a deep groove without any breathing room, you might wake up to a cracked shelf when the winter air dries out. The USDA Forest Products Laboratory notes in their Wood Handbook that wood is anisotropic, meaning it moves differently in various directions. Steel doesn’t move with humidity. If you don’t use a flexible adhesive like a high-end polyurethane construction sealant, the wood will literally pull itself apart trying to move around the rigid steel. This is a common reason why your built-in cabinets are pulling away from the ceiling and the fix becomes necessary—the internal stresses are simply too high for the fasteners to handle.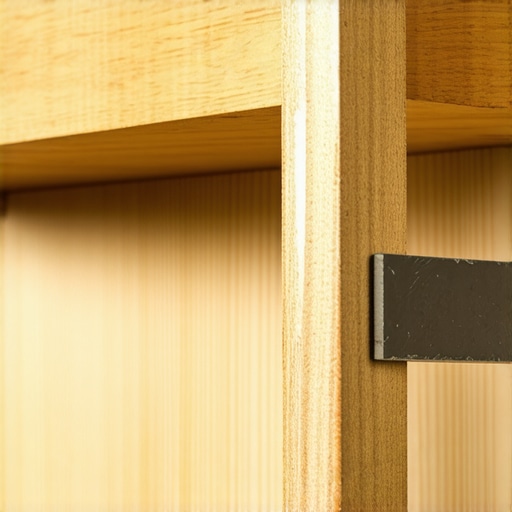
Does moisture affect how steel behaves inside your library shelving?
While the steel itself won’t expand with humidity, the environment where you install it matters immensely. If you are building these units against an exterior wall, you must follow the moisture barrier rule for cabinets on cold outer walls. Condensation can form inside the routed groove if there’s a significant temperature gradient, potentially rusting the steel and staining your wood from the inside out. I always recommend painting the steel bar with a rust-inhibitor before it goes into the shelf. It’s an extra ten minutes of work that prevents a weeping shelf five years down the line. We see similar issues with the internal torsion box trick for extra long floating shelves—if you trap moisture inside a sealed cavity, you’re asking for trouble. Have you ever fallen into this trap or noticed your shelves sweating in the winter? Let me know in the comments. By focusing on these hidden nuances, you ensure your library isn’t just a weekend project, but a permanent part of the home’s architecture.
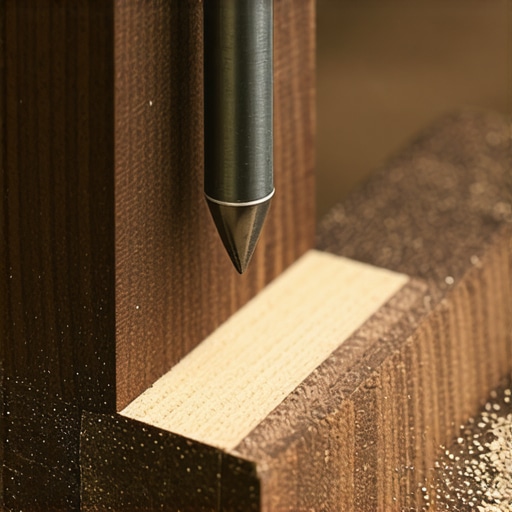
I’ve found that the real work begins long after the glue dries. If you want those massive shelves to stay as crisp and level as the day you installed them, we need to talk about long-term maintenance and the precision tools that make it possible. I personally never touch a library project without my Amana Tool carbide-tipped bits. Why? Because a dull bit creates friction heat, and heat causes wood fibers to compress rather than cut, which eventually compromises the bond of your epoxy or adhesive. When you are striving for creative built-ins for seamless storage and home aesthetics, that level of granular detail is what separates a true heirloom from a structural hazard.
I also keep a digital moisture meter in my pocket during every stage of the build. According to the technical data found in Eric Meier’s The Wood Database, the modulus of elasticity—how much a board will deflect under pressure—can change dramatically with just a 2% shift in moisture content. If you install your steel reinforcement when the wood is at its peak seasonal expansion, you’re essentially locking in a future disaster. Keeping the wood stabilized before the steel goes in is the professional secret to a shelf that never groans.
How do I keep my library looking new for years?
The secret to longevity isn’t found in a magic furniture polish; it is found in the hardware. Every six months, I recommend doing a quick level check. I literally take a 4-foot Stabila level to the longest spans in the room. If I see even a 1/16th of an inch dip, it’s an early warning sign that the load has shifted or the wall has settled. This is why I always try to stop wobbly custom built-ins with 4 hidden steel plate fixes that allow for minor structural adjustments over time. If you’ve already implemented the internal torsion box trick for extra long floating shelves, you know that the internal structure is doing the heavy lifting, but the wood skin still needs to breathe and be monitored for seasonal movement.
Looking toward the future of custom cabinetry, I suspect we will soon see pre-tensioned carbon fiber rods replacing steel in high-end units. They offer incredible rigidity with almost zero weight, which would drastically reduce the dead load on the wall studs. For now, though, stick to the tried-and-true steel flat bar, but never skip the rust-inhibitor spray. My best advice for those ready to level up? Grab a piece of scrap plywood this weekend and practice routing a perfectly centered 5/16-inch groove. Once you master the hidden spine, you’ll never look at a standard 36-inch shelf limit the same way again.
The Subtle Signs Your Built-ins are Losing the War Against Gravity
Over the years, I’ve realized that a shelf doesn’t just fail all at once; it’s a slow surrender. One of the biggest lightbulb moments for me was understanding that even if a shelf looks flat today, the cumulative weight of a library can cause ‘creep’—a permanent deformation that no amount of flipping the board will fix. I used to think I could just ‘over-engineer’ with three layers of plywood, but all I did was create a heavy, bulky mess. Now, I lean on engineering principles, like the ones used for why particle board shelves sag and the plywood solution, but with that added steel spine. Another hard-earned lesson? Never trust a wall is perfectly flat. Always leave a tiny bit of play in your steel channels to account for the house settling over time.
The Shelf-Saver Toolkit I Never Leave Home Without
If you’re serious about mastering these massive spans, you need to look beyond the basic hardware store aisle. I personally rely on the Sagulator, an online load-limit calculator that helps you predict exactly how much a shelf will deflect before you even cut your first board. For the actual routing, I stick with Amana Tool’s solid carbide down-cut bits; they leave a surgical finish in the groove that makes the steel-to-wood bond much stronger. I also recommend checking out The Wood Database by Eric Meier if you want to understand why different species react differently to load and humidity. These are the same high-level insights you’ll find when exploring built-in storage ideas to declutter and enhance your home with professional-grade results.
Build Your Legacy on a Foundation of Steel
Building a custom library is about more than just storage; it’s about creating a space that feels grounded and permanent. When you use these hidden reinforcement techniques, you’re not just following a trend—you’re ensuring that your home’s architecture remains as sharp and impressive decades from now as it does the day you finish. Don’t be intimidated by the metalwork; it’s the secret ingredient that allows for truly creative built-ins for seamless storage and home aesthetics without the unsightly center supports that ruin a design. You have the tools and the knowledge now to stop wobbly custom built-ins before they even start. So, grab that router and start planning that massive span you’ve always wanted.
Have you ever had a shelf reach its breaking point, or are you planning a massive library build right now? Let me know about your projects in the comments below!