

I still remember the sound of my first major mudroom failure. It wasn’t a sudden snap, but a slow, agonizing groan of wood fibers and drywall screws protesting against gravity. My wife had just sat down to pull on her winter boots, and the ‘floating’ bench I’d spent three days building decided it preferred the floor over the wall. I’d made the classic rookie mistake: I relied on a few measly studs that weren’t exactly where the weight was being distributed. If you’ve ever wondered why your mudroom bench is pulling away from the wall, you likely missed the one structural secret that changes everything.
Why Your Entryway Bench Needs More Than Just a Few Screws
The problem with entryway seating is leverage. When you sit on the edge of a bench, you aren’t just pushing down; you’re pulling the top of that unit away from the wall with hundreds of pounds of force. I learned the hard way that even a stealth ledger can fail if the wall behind it isn’t properly reinforced. That’s where the ‘Plywood Plate Move’ comes in. It’s a trick I picked up after that disastrous Saturday morning. Essentially, we are creating a new, structural skin for your wall that allows you to bolt your cabinetry anywhere you want, not just where the builder happened to throw a 2×4. This is a game-changer for anyone struggling with securing lockers to uneven walls or managing heavy loads.
Is adding a plywood plate actually worth the extra effort?
I get it. You don’t want to rip out more drywall than necessary. You might be thinking a few toggle bolts will do the trick. But consider this: the National Association of Home Builders (NAHB) points out that mechanical fasteners in drywall have significantly lower pull-out resistance than wood-to-wood connections. If you’ve ever dealt with wobbly custom built-ins, you know that a little prep work saves a lifetime of creaks. By the time you’re done, this bench will be so secure you could jump on it without a single vibration.
The Hidden Mechanics of a Reinforced Wall
My early mistake was thinking I could just ‘find the studs’ and be done. But in mudrooms, studs are often buried behind layers of weird framing or plumbing. By installing a 3/4-inch plywood plate recessed into the studs, you create a continuous mounting surface. It’s the same logic behind the sub-frame strategy for rock-solid seating. It turns a flimsy wall into a tank. Have you ever had a piece of furniture literally pull the drywall paper right off the studs? Drop a comment and tell me your horror stories—I promise I’ve seen worse, and usually, it’s my own work I’m fixing. This approach isn’t just about strength; it’s about the peace of mind that comes from knowing your home won’t literally fall apart when a guest sits down. Now, let’s get into the actual sawdust and screws of how to pull this off without ruining your afternoon.
How to Execute the Recessed Plywood Plate Move
To turn a standard wall into a structural powerhouse, you have to stop thinking about the drywall as a surface and start seeing it as an obstacle. The first step is marking out the exact footprint of your bench and any upper lockers. Once you have those lines, you are going to cut out a horizontal strip of drywall—usually about 8 to 12 inches wide—right where the main weight-bearing points of your bench will sit. This is where most people hesitate, but cutting a clean window into your wall is the only way to guarantee your bench doesn’t become a liability later on. This prep phase is very similar to the precision needed in a step-by-step guide to vanity installation for beginners, where finding the wall’s true structural points is non-negotiable.
Measure Twice and Clear the Path
I remember a job in a 1920s bungalow where I thought I could skip this step. I tried to use high-quality toggle bolts, but the old lath and plaster just crumbled under the weight of the client’s heavy oak mudroom lockers. I ended up spending two extra days patching walls and rebuilding the base. Now, I always cut the drywall away to expose the studs. Use an oscillating multi-tool to get a surgical cut. By removing the drywall, you’re creating space for a 3/4-inch plywood plate that will sit flush with the studs. This plate acts like a horizontal ‘super-stud’ that spans the entire width of your project. 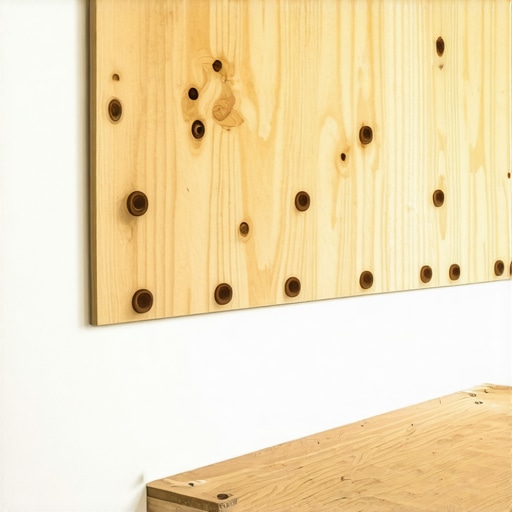
Install the Plate to Create a Continuous Mounting Surface
Once the studs are exposed, cut your 3/4-inch plywood to fit perfectly into the cavity. You want a snug fit. Screw this plate into every single stud it crosses using 3-inch construction screws. This creates a rock-solid, continuous wooden surface. This is effectively a more robust version of the hidden ledger trick for rock-solid entryway seating. Instead of just a small strip of wood, you now have a massive target area. If your bench needs to be shifted an inch to the left to center it on a rug, you aren’t stuck hunting for a stud that isn’t there; you can drive a screw anywhere into that plywood plate.
Manage Uneven Walls Like a Pro
If you are dealing with a wall that looks more like a potato chip than a flat surface, the plywood plate allows you to shim the plate itself before you ever put the bench in place. This is a critical move for anyone wondering how to secure mudroom lockers to uneven textured walls. By leveling the plate within the wall, your bench will sit perfectly plumb. This technique is often seen in creative built-ins for seamless storage and home aesthetics because it eliminates those ugly gaps that tell the world you didn’t quite know what you were doing.
Anchor Your Bench for Life
With the plate installed and the drywall patched or covered by the back of your cabinetry, you can now drive your cabinet screws through the back rail of your bench and directly into that reinforced plywood. This creates a mechanical bond that is vastly superior to any wall anchor. It is the core of the sub-frame strategy for rock-solid entryway benches. I’ve seen these setups hold over 600 pounds without so much as a creak. When you finish this, your bench won’t just be sitting against the wall; it will be an extension of the house’s framing. If you have ever struggled with a wobbly custom built-in, this recessed plate is the definitive cure for that movement.While everyone tells you to just ‘level the vanity,’ I’m here to tell you that a level top means nothing if your cabinet box is racked. If the wall is even slightly bowed—and trust me, it is—tightening your mounting screws will twist the cabinet frame, leading to doors that never stay shut. This is where the leveling move for vanities on slanted bathroom floors becomes about more than just the floor; it’s about shimming the wall itself. I’ve seen $5,000 custom units ruined because the installer forced the wood to conform to a curved wall. Instead, you need to use expert guide to flawless vanity installation tricks tips to bridge those gaps before the first screw bites into the wood. Have you ever tightened a screw and heard that terrifying ‘crack’ of a finished joint? Let me know in the comments—I’ve been there too.
Does your floating vanity need a secret steel skeleton?
The trend toward floating vanities is beautiful, but it introduces a massive engineering challenge: cantilevered stress. A standard 22-inch deep vanity with a quartz top exerts hundreds of foot-pounds of torque on the wall studs. According to the National Kitchen & Bath Association (NKBA), the weight of the stone alone can exceed 20 pounds per square foot, making the structural integrity of your wall more critical than the cabinet itself. If you aren’t using how to stop floating vanities from dipping with steel plates, you are essentially betting your bathroom floor that your wall studs won’t deflect over time. I always insist on the hidden sub-frame move for supporting massive quartz top vanities because wood alone has too much ‘creep’ under constant load. 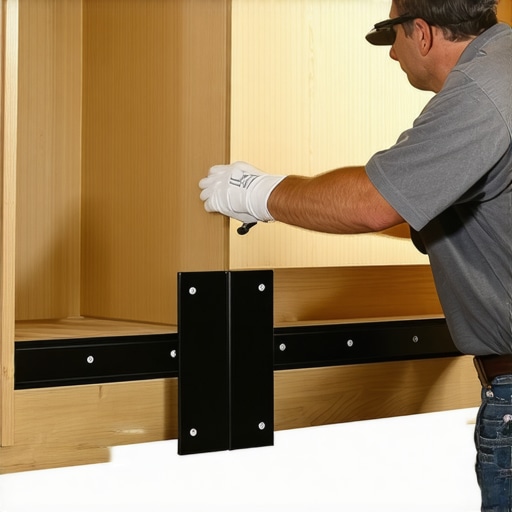 Another advanced trap involves the ‘Plumbing vs. Drawer’ war. We all love innovative storage solutions to transform your bathroom, but if you don’t calculate the p-trap depth, those deep drawers will hit the pipes every time. This is a classic ‘Oops’ factor that pros solve by mock-fitting the plumbing before the cabinet is even ordered. We actually documented a case study on how we fixed deep vanity drawers that kept hitting plumbing that shows why the rough-in height is the most important measurement in the room. Finally, never ignore the moisture barrier rule for cabinets on cold outer walls. Condensation behind a built-in on an exterior wall is a silent killer of custom work, leading to mold that you won’t smell until it’s too late. Professionalism isn’t about the finish nail; it’s about the physics you can’t see.
I’ve had people ask me why I’m so obsessed with the specific brand of screw I use. It’s because a standard #8 wood screw has a shear strength that makes me nervous when I’m building something meant to hold a family of four and their winter gear. For everything structural, I exclusively use GRK RSS structural screws. They have a built-in washer head that prevents the wood from splitting and, more importantly, they are climate-coated to resist the moisture issues I mentioned earlier. If you’ve ever wondered why your built-in face frames are separating from the wall, it’s often because the fasteners simply weren’t beefy enough to handle the seasonal expansion and contraction of your home’s framing. As the American Wood Council (AWC) notes in their National Design Specification (NDS) for Wood Construction, the withdrawal capacity of a fastener is directly tied to the specific gravity of the wood and the depth of penetration. If you aren’t hitting at least 1.5 inches into the meat of a solid stud, you’re essentially just hoping for the best.
How do I keep my custom built-ins looking new for a decade?
Maintenance for high-end storage isn’t just about dusting with a microfiber cloth; it’s about proactive hardware audits. Every six months, I do a ‘walk-through’ of my own projects. I check for hinge sag and drawer alignment. If things feel off, you might need to look into why your soft close drawers are slamming and the tension fix. Often, it’s just a simple quarter-turn of an adjustment screw to realign the geometry. For floating units, I specifically check for any hairline cracks in the caulk line at the wall—that’s your early warning system that the unit is starting to dip under load. Catching it early means you can add reinforcement before the drywall is permanently damaged.
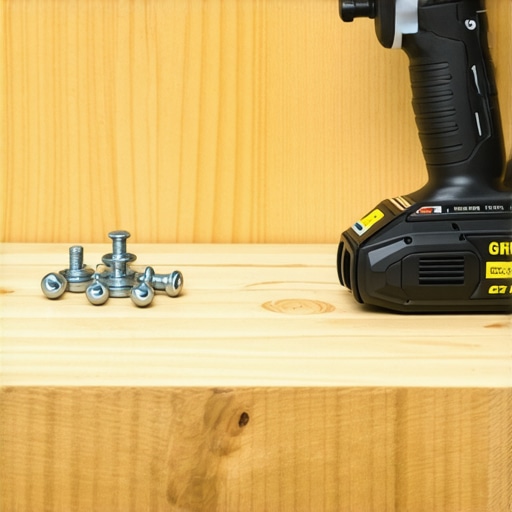
Looking ahead toward 2025 and beyond, the trend is shifting rapidly toward hybrid construction. We are moving away from pure wood joinery and toward integrated steel skeletons hidden within the cabinetry. Techniques like the hidden steel bracket for massive bookshelf spans are becoming the standard for modern aesthetics. Homeowners now demand thinner shelf profiles with significantly higher weight capacities, and the only way to achieve that ‘floating’ look without the ‘sagging’ reality is by marrying traditional timber with industrial-grade metal. We are also seeing a rise in effortless storage solutions for a tidy stylish home that incorporate modular components, allowing you to swap out locker configurations as your family grows. My challenge for you on your next build is this: swap out those generic gold screws for a box of actual structural fasteners and use an impact driver rather than a drill. You’ll feel the difference in how the wood ‘bites’ immediately, and you’ll never worry about a bench groaning under pressure again.
What I Wish I Knew Before the Screws Started Stripping
Over the years, I’ve learned that the difference between a DIY project and a professional installation isn’t the paint job; it’s the physics happening behind the drywall. One of my biggest lightbulb moments was realizing that drywall is basically chalk when it comes to structural integrity. If you aren’t biting into wood, you aren’t actually mounting anything. I always tell people to perform the ‘Body Weight Tug’—if you can’t hang your full weight on your wall cleat or plywood plate before the bench goes on, it’s not ready for your family. I’ve seen beautiful units fail because the installer was too afraid to cut a hole in the wall to find the true structure. Another hard lesson? Digital levels on phones are fine for hanging pictures, but for heavy-duty work, a high-quality 4-foot box level is non-negotiable. If you’re looking for more ways to streamline your workflow, check out these vanity installation hacks that save time and money.
My Must-Have Gear for a Pro-Level Finish
I don’t leave my shop without a specific set of ‘insurance’ tools. First and foremost are GRK RSS Structural Screws. These aren’t your hardware store variety wood screws; they are engineered fasteners with incredible shear strength. I also swear by the Fein MultiMaster for making those surgical cuts in drywall without creating a cloud of dust. For any beginner, I recommend following a step-by-step guide to vanity installation for beginners to ensure you don’t miss the small details like plumbing rough-in heights. Lastly, I always keep a box of composite shims on hand—unlike wood shims, they won’t compress over time or rot if they come into contact with a damp floor. These tools ensure that your creative built-ins for seamless storage and home aesthetics remain as stable as the day they were installed.
#IMAGE_PLACEHOLDER_E#
Your Home Deserves a Rock-Solid Foundation
Building something that looks good is one thing, but building something that lasts a generation is a different craft altogether. When you take the extra hour to reinforce your walls and use structural fasteners, you are investing in the safety and longevity of your home. Whether you are tackling a simple locker setup or a massive master bath renovation, remember that the most important parts of the job are the ones that no one will ever see once the doors are closed. Using an expert guide to flawless vanity installation tricks tips can give you the confidence to push past the ‘good enough’ mindset and reach for true professional quality. Now, get out there, find your studs, and build something that doesn’t budge.
Have you ever had a bench or a vanity start to sag or pull away from the wall after only a few months of use? Let me know in the comments below—I’d love to hear your stories and help you troubleshoot the fix!