

I still remember the gut-wrenching sound of that first hairline crack. It was a Tuesday morning, and I had just finished what I thought was a minimalist masterpiece: a sleek, floating teak bench in our primary suite. I sat down, heard a sickening pop, and watched as the grout line between the bench and the subway tile opened up like a hungry mouth. I had made the classic amateur mistake. I assumed that three-inch lag bolts driven into standard pine studs would be enough to counteract the massive leverage of an 18-inch deep seat. Spoiler alert: they were not. We all want that airy, modern look of a cantilevered bench, but very few people talk about the terrifying physics involved in making it actually safe. If you have ever felt that heart-stopping flex when you sit down to put on your shoes, you know exactly what I am talking about. Today, I am going to walk you through the structural plate move, a technique that turns a flimsy wall into a rigid backbone capable of supporting hundreds of pounds without a single leg touching the floor.
I Learned the Hard Way That Studs Are Not Enough
In those early days, I relied on reinforcement tactics that worked fine for cabinets but failed miserably for seating. A vanity just sits there, but a bench has to survive a person dropping their full weight onto it. When you have a cantilevered surface, the top of your bracket is trying to pull out of the wall while the bottom is trying to crush into it. Standard drywall simply cannot handle those compression forces. This is why many massive quartz-top vanities eventually develop that dreaded gap at the backsplash. I’ll be honest: my first ‘successful’ install actually lasted about three months before the bench started to tilt. I was so proud of how clean it looked, but I was ignoring the hidden reality of leverage. Every time someone sat down, those screws were working themselves loose just a fraction of a millimeter. That is the danger of the ‘hope and a prayer’ method. If you are planning a remodel, do not let the aesthetic blind you to the engineering requirements. The Plate Move is not just about strength; it is about peace of mind.
Is this structural overkill really worth the extra mess?
You might be thinking that better toggle bolts would solve the problem, but the short answer is no. According to the International Residential Code (IRC), components must be designed to resist specific concentrated loads, and while they do not always single out benches, the safety logic is the same. Relying on a single point of contact is a recipe for disaster. The structural plate move involves nesting a 1/4-inch steel plate or a custom 3/4-inch plywood sandwich directly against the studs before the finish wall goes up. It is the difference between a bench that feels ‘fine’ and one that feels like part of the house’s foundation. Have you ever sat on a floating bench and felt that tiny, heart-stopping flex? Let me know in the comments, because I have been there, and I know exactly how to fix it. [image_placeholder_1]
The Secret Physics of the Cantilever
Before we pick up a drill, we have to talk about why the structural plate move is so effective. When you distribute a load across a larger surface area—specifically across multiple studs via a horizontal plate—you eliminate the pivot point that causes wood to crush and screws to strip. I have used this same logic for hidden T-bracket moves for entryway benches with 100% success rates. It is about creating a unified system rather than isolated anchors. By the time we are done, you will see why supporting double sink vanities without center legs uses the same foundational logic. We are not just hanging a shelf; we are re-engineering the wall itself to handle the modern demands of a high-end bathroom.
Open the Wall Before You Open a Can of Worms
To execute a proper structural plate move, you cannot take shortcuts with the drywall. I learned this when I tried to ‘surgical’ my way into a small patch behind a bench, only to realize I didn’t have enough room to swing a hammer. You need to cut out a section of drywall that spans at least three studs. Think of this like open-heart surgery for your bathroom; you want a clear view of the ‘ribs’ (the studs) before you start reinforcing the ‘heart’ (the mounting point). This is the same preparation I use for the plywood plate move for secure entryway bench anchoring. Once those studs are exposed, check for any plumbing or electrical lines. There is nothing that kills the mood of a remodel faster than a structural screw piercing a copper pipe. Use a level to mark exactly where your seat height will be, then measure up and down six inches. This twelve-inch vertical zone is where the magic happens.
How to Build a Sandwich That Holds Three Hundred Pounds
The core of the plate move is creating a ‘structural bridge’ between your studs. If you are using 3/4-inch ACX plywood, you want to notch the studs so the plywood sits flush with the face of the framing. This ensures that when you put the drywall back on, you don’t have a weird hump in the wall. I once skipped the notching on a project in Farmington Hills, thinking I could just shim the rest of the wall to match. It was a disaster that required hours of extra mudding to hide. Now, I always use a router or a circular saw set to depth to let that plate into the studs. This creates a solid wood surface that allows you to bolt your brackets anywhere, not just where the studs happen to be. It is the same logic used when we maximize your space with custom vanities, giving us total freedom for hardware placement. 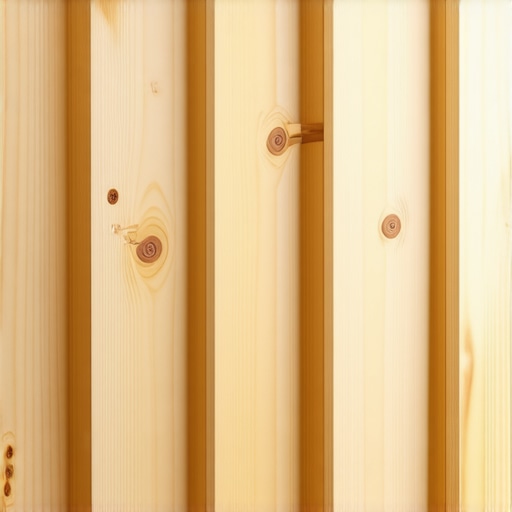
Forget Lag Bolts and Choose Structural Screws Instead
Most guys reach for 3/8-inch lag bolts because they look tough, but they are actually prone to snapping under the lateral shear of a heavy bench. I switched to RSS structural screws years ago and never looked back. These screws have a built-in washer and high-tensile strength that allows them to flex slightly without shearing off. When you are securing your heavy-duty brackets through the tile, through the plate, and into the studs, these fasteners act like tendons. This level of mechanical grip is essential to stop wobbly custom built-ins from pulling away from the wall over time. I remember a specific install where the client was a former linebacker; I used twelve of these structural screws into a double-layered plate. He sat down, bounced a bit, and the wall didn’t even whisper. That is the gold standard.
The Importance of a Waterproof Seal Over Your Hardware
Because we are often doing this in wet areas, the plate move requires an extra layer of protection. Once your plywood or steel plate is installed and the drywall is patched, you must apply a liquid waterproofing membrane over the entire area. I’ve seen beautiful benches ruined because moisture seeped through the screw holes and rotted the structural plate from the inside out. Following the waterproofing fix for high-use vanities is non-negotiable here. You want to create a continuous ‘envelope’ that keeps your structural work bone-dry. This is especially true if you are planning to enhance your home with sleek built-in vanities that might share a wall with the shower. By the time the tile goes on, your bench should feel like it is anchored to the bedrock of the house.After you have mastered the structural plate move, you might think the hard part is over. But here is where I see most pros and DIYers alike hit a wall—literally. Everyone tells you that more storage is always better, but in my experience, that is a total lie that leads to cluttered, unusable spaces. We often focus so much on the cubic feet of a cabinet that we forget how we actually interact with it. A deep, cavernous vanity is just a dark hole where hair dryers go to die. Instead of chasing volume, you should be chasing access. This is why I often steer clients toward smart storage solutions to optimize small bathroom spaces that prioritize tiered pull-outs over deep shelving.
Is your floating vanity actually crushing your tile?
One of the most nuanced mistakes I see involves over-torquing the mounting bolts. When you use those heavy-duty structural screws I mentioned earlier, it is tempting to crank them until the bracket is fused to the wall. However, if you are working with large-format porcelain or marble tile, you are creating a massive point of compression. If the tile is not 100% back-buttered with thinset, that pressure will eventually cause a spiderweb crack right behind your bench or vanity. It is a silent killer. This is a primary reason why your heavy quartz vanity is cracking the cabinet frame—the house moves, the wood expands, but the stone and tile stay rigid. According to the American Wood Council’s Manual for Engineered Wood Construction, wood can expand or contract significantly with just a 4% change in moisture content. If you have not left a breathing gap or used the right shims, something is going to snap.
Stop trusting your level on old bathroom floors
I have a rule: the level is a guide, but the plumbing is the truth. I once spent three hours perfectly leveling a built-in wardrobe in an old Tudor-style home, only to realize the ceiling was so slanted that the unit looked like the Leaning Tower of Pisa. Sometimes, you have to cheat the level to make the unit look right to the human eye. This is a core part of my expert guide to flawless vanity installation tricks. If you align a perfectly level vanity against a floor that drops two inches over six feet, every drawer will look crooked. 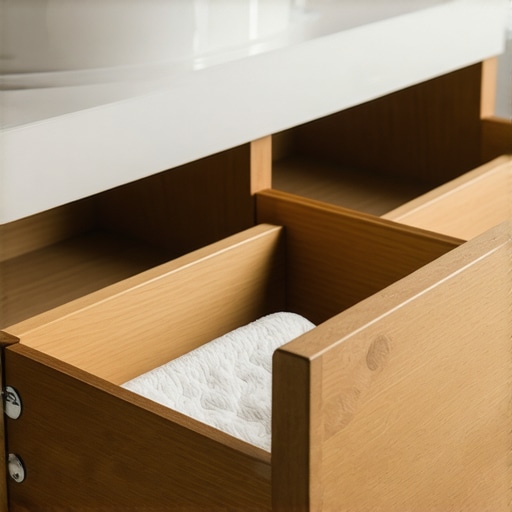 The Oops factor often comes down to seasonal shifts. I have seen beautiful floor-to-ceiling units that looked perfect in July, but by January, they were pulling away from the ceiling because the house settled in the cold. You must account for this by using scribed filler strips that allow the unit to float slightly within its opening. If you bolt every single side to the framing, you are essentially trying to stop the house from moving—and the house always wins. Whether you are building effortless storage solutions for a tidy, stylish home or a massive media center, you have to build in fail-safes for movement. Have you ever fallen into this trap where you built something beautiful only to have it creak or gap every time the seasons changed? Let me know in the comments. This is exactly why your floating desk is tilting or why those gaps appear; it is not just the weight, it is the lack of give in your engineering.To fight the seasonal shifts I mentioned, you need more than just a standard level; you need a high-end laser. I never walk onto a job site without my 360-degree green beam laser level. It allows me to project a perfectly level line around the entire room, which is the only way to ensure vanity installation hacks that save time and money actually result in a professional finish. If you’re relying on a bubble level for a six-foot-long built-in, you’re essentially guessing. I’ve seen ‘level’ benches that were off by half an inch from one side of the room to the other simply because of user error with a spirit level.
How do I keep my custom built-ins working like new?
Maintenance is the most overlooked part of the custom cabinetry world. We spend thousands on the build and then forget that wood is a living material. Once a year, you should be getting under your units with a set of Allen wrenches. Tighten the mounting bolts that secure your innovative storage solutions to transform your bathroom. According to technical documentation from hardware giant Blum, their high-end drawer slides are rated for 100,000 opening and closing cycles, but that durability assumes the tracks are free of dust and the fasteners remain snug. If you feel a drawer starting to catch, don’t pull harder—check the screw tension on the rail. 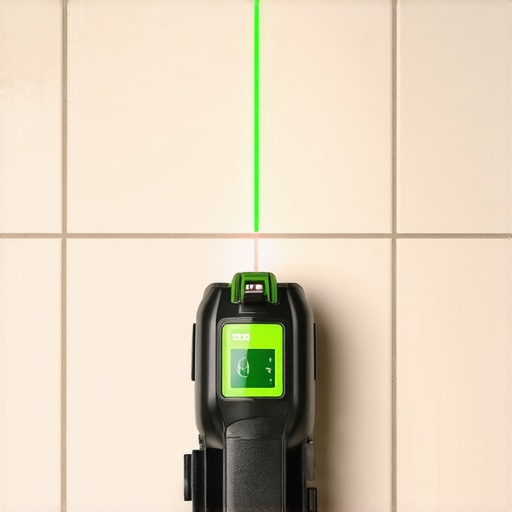
Why Your Impact Driver Beats a Standard Drill
If you’re still using a standard drill for structural screws, you’re making life harder than it needs to be. A high-torque impact driver is non-negotiable when you are driving 4-inch GRK screws through a structural plate and into a stud. The hammering action prevents the head from stripping, which is the last thing you want when working inside a finished cabinet. This precision is what allows for creative storage solutions for vanities to declutter in style without damaging the delicate veneers. I personally use a sub-compact impact driver because it fits into the tight 12-inch gaps typical of modern built-ins.
Why Invisible Tech is the Future of Bathrooms
Looking ahead to 2025 and beyond, we are seeing a massive shift toward ‘invisible’ utility. Homeowners no longer want to see an outlet or a charging cable. I am now installing built-in charging stations inside drawers as a standard feature. If you are following a step-by-step guide to vanity installation for beginners, start thinking about how to route electrical through the back of the cabinet before you bolt it to the wall. The trend is moving toward completely flush, touch-to-open surfaces that eliminate the need for handles entirely. My advice? Go check your heaviest drawer right now; if it doesn’t glide with the flick of a finger, it’s time to apply a dry silicone lubricant to those tracks before the friction starts eating your wood.
After years of tweaking my process, I have realized that the most beautiful bathroom designs are only as good as the skeleton hidden behind the tile. I have moved away from the standard hardware store kits and toward a more integrated approach that treats the wall and the bench as a single unit. It is about more than just avoiding a collapse; it is about the feeling of absolute stability when you use your space every single day.
Lessons I Learned the Hard Way in the Workshop
- Leverage is a cruel teacher: A floating bench acts like a giant crowbar on your wall studs. If you do not reinforce the internal structure, you are effectively asking three or four screws to hold back hundreds of pounds of prying force.
- Drywall is not a structural element: I once tried to mount a vanity over double-layer drywall without a plate, thinking the extra thickness would help. It did not. You must have wood-to-metal or wood-to-wood contact to ensure your top trends in vanity designs you need to know in 2025 actually stay on the wall.
- The ‘Bounce Test’ is non-negotiable: Before the tile goes on, I mount the brackets and literally hang my own body weight from them. If I see even a millimeter of movement in the studs, I go back and add more blocking. It is much easier to fix a stud now than to fix a cracked tile later.
The Tools I Trust to Get the Job Done
Building something that lasts requires more than just basic hand tools. To get professional results, I rely on a specific kit that ensures precision and strength. First, a high-quality 360-degree green beam laser is essential for keeping everything perfectly level across long spans. I also never start a structural job without a box of RSS structural screws; their shear strength is far superior to standard lag bolts. For the finish work, a dedicated scribing tool is my secret weapon for fitting creative built-ins for seamless storage and home aesthetics against walls that are never as straight as they look. Finally, I always keep a bottle of dry silicone lubricant on hand to keep drawer slides moving like silk for years to come.
Ready to Transform Your Bathroom Design
Taking the leap into custom, floating elements can be intimidating, but the aesthetic payoff is incredible. When you master the physics of the structural plate move, you gain the freedom to design without limits. You can create airy, open spaces that feel twice as large as they actually are, all while knowing that the engineering is rock solid. Whether you are looking for built-in storage ideas to declutter and enhance your home or a centerpiece floating bench, the key is to start with the structure and let the beauty follow naturally. Don’t be afraid to open those walls and build the foundation your home deserves.
Have you ever experienced that heart-sinking moment where you felt a ‘solid’ piece of furniture flex or move under weight? Let me know in the comments how you handled it!