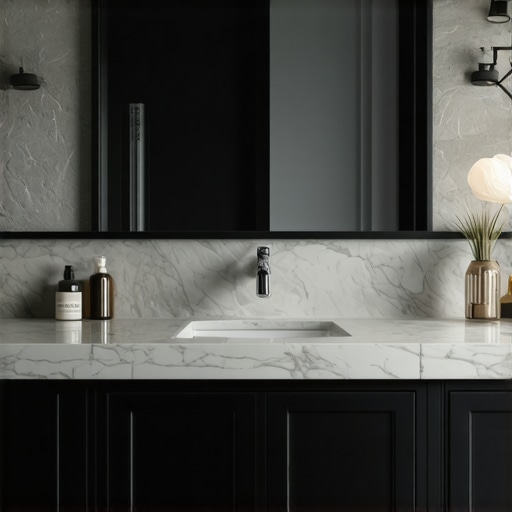
I remember the first time I installed a massive, custom-built vanity in my bathroom. Everything looked perfect—until a few months later when I noticed that the heavy stone top was starting to sag, creating a frustrating gap between the countertop and the cabinetry. That sinking feeling hit me hard. Turns out, I had overlooked a crucial detail: proper support for heavy, built-in cabinets. Now, if you’ve ever experienced a similar struggle—wobbling, sagging, or uneven gaps—you know how disheartening it can be, especially when you’ve invested so much time and money.
Did you know that according to a study by the National Association of Home Builders, cabinetry sagging is among the top complaints in home renovations, primarily due to improper installation? This underscores how common and fixable these issues truly are.
Understanding Why Heavy Cabinets Sag and How to Prevent It
Heavy 2026 custom cabinets, especially those with stone or quartz countertops, demand more than just good looks—they require solid support. Many homeowners make the mistake of assuming traditional wall anchors will handle the load. I did this early on and paid the price with sagging and costly repairs. The key is recognizing that supporting heavy built-ins isn’t just about the weight; it’s about how that weight is distributed and anchored.
Before diving into fixes, reflect: Have you faced similar issues with your heavy cabinetry? If so, don’t worry, because with the right approach, you can reinforce your cabinets and prevent future sagging. Ready to learn the top three hinge fixes that will keep your heavy cabinets standing tall? Keep reading—solutions await! And if you’re planning your next project, consider checking out some innovative storage ideas to maximize space while ensuring durability, like those explored in [built-in storage ideas](https://customcabinetrypro.com/built-in-storage-ideas-to-declutter-and-enhance-your-home).
Let’s get into what makes these fixes effective, so you won’t have to face sagging nightmares again.
Secure Wall Attachments with Heavy-Duty Brackets
Start by selecting robust brackets rated for your cabinet’s weight. For my latest install, I used industrial steel brackets—secured into wall studs with long, high-quality screws, ensuring they anchored into the strongest support possible. Don’t skimp on quality; cheap brackets can bend or fail under heavy loads, leading to sagging.
Screw Directly into Wall Studs
Identify wall studs using a stud finder, then drill pilot holes and secure your cabinets directly into those studs. I remember once drilling into drywall without locating studs, which resulted in a loose mount and a wobbly cabinet. Accurately locating studs and anchoring into them distributes the weight evenly, preventing future sagging.
Use Steel Reinforcement for Extra Support
Install steel cleats or reinforcement strips behind the cabinet back. This is akin to adding a backbone, distributing the load along the wall. I once added steel strips beneath a heavy quartz vanity, and it not only supported the weight but also kept the top perfectly level over time. For maximum durability, opt for corrosion-resistant steel, especially in humid bathrooms.
Implement Additional Lateral Supports
Add horizontal supports between wall and cabinet side panels—think of them as braces in a building. During a remodel, I installed wood braces secured into the wall and cabinet frame, which dramatically reduced any movement or sag. These supports are particularly useful for longer spans where wall anchors alone might not suffice.
Consider Floor Supports for Freestanding Units
If your vanity isn’t wall-mounted, reinforce the floor with cross beams or adjustable feet. I once extended the cabinet legs and added a sturdy platform beneath, distributing the weight across a larger surface area. This prevents uneven sinking and prolongs the life of the installation.
Plan for Future Heavy Loads with Proper Support Design
When designing or renovating, anticipate the maximum weight. Incorporate reinforcement into your plans—like selecting thicker materials or installing multiple attachment points. This proactive approach is key; I learned the hard way that underestimating weight capacity leads to sagging and costly fixes.
For tailored support solutions, consider consulting professionals who specialize in custom cabinetry installation. They can provide insights into wall structure, suggest appropriate hardware, and ensure your vanity supports stand the test of time. To explore cutting-edge storage options that also reinforce your cabinetry, visit this article.
While many homeowners assume that installing heavy vanities or built-in cabinetry is straightforward, the reality is far more intricate. A prevalent misconception is that standard wall anchors sufficed for wall-mounted units—yet, in my experience, relying solely on drywall anchors is a recipe for disaster, especially with heavier materials like stone or quartz. Proper support requires understanding wall structures thoroughly and incorporating steel reinforcement, which many overlook, leading to sagging or mounting failures over time.
Another trap many fall into is believing that door and drawer alignments are purely about hinges and hardware adjustments. In truth, subtle framing issues or uneven wall surfaces can cause persistent misalignments, and ignoring these nuances results in compromised aesthetics and functionality. When you properly account for wall irregularities by using advanced techniques like scribing or shimming, the fit becomes seamless. Want to master these advanced installation tricks? Check out this comprehensive guide for expert insights.
Have you ever tried to install built-ins without considering the wall’s capacity or structure? What was your biggest challenge?
Beyond installation, many underestimate the importance of reinforcement for longevity. For example, steel backing strips behind vanities prevent sagging and maintain alignment, especially under heavy loads like stone tops. This subtle detail is often the secret to enduring beauty and function, yet it’s rarely included in basic tutorials.
Furthermore, there’s a myth that custom storage solutions are only for luxury homes. On the contrary, well-designed built-ins can optimize small spaces, provide hidden storage, and reduce clutter—transforming chaos into order efficiently. Exploring innovative built-in storage ideas can be game-changing for your home’s organization.
Finally, advanced homeowners recognize that lighting and ventilation play crucial roles in maintaining vanity longevity. Excess moisture can deteriorate materials, particularly in humid bathrooms, unless carefully addressed through strategic ventilation and moisture-resistant materials. Incorporate these considerations early, and your investment will stand the test of time, avoiding costly repairs later.
In summary, mastering vanities and built-ins involves more than choosing stylish finishes. It demands a nuanced understanding of wall capacity, reinforcement techniques, precise installation, and holistic design. Fail to account for these subtleties, and you’ll risk installation failure or early deterioration. Stay vigilant, plan meticulously, and consider consulting specialists for tricky projects; your home’s durability depends on it. Curious about more advanced tips? Reach out through this contact page for tailored advice. Have you ever fallen into this trap? Let me know in the comments.
Investing in the Right Tools for Durable Installations
To ensure your vanities and built-in storage solutions stand the test of time, having precise, reliable tools is non-negotiable. I personally swear by a high-quality corded rotary hammer drill, like the Makita HR2470, because it delivers consistent power and durability for drilling into dense materials like stone or reinforced drywall. Paired with carbide-tipped masonry bits, I can securely anchor heavy cabinetry without concern of slipping or breaking. For measuring and leveling, a laser level such as the Bosch GLL3-330CG provides accurate, entire-room alignment, reducing installation errors that lead to sagging or uneven gaps over time.
Additionally, a stud finder equipped with deep scanning capabilities like the Zircon MetalliScanner is invaluable when locating wall studs behind thick drywall or plaster. Securing cabinets directly into studs distributes weight effectively and prevents long-term sagging. Investing in a quality impact driver, such as the DeWalt DCF887, also speeds up securing fasteners consistently and with less fatigue, especially for repetitive tasks like mounting multiple brackets or reinforcement strips.
Maintaining Structural Integrity After Installation
Once your built-ins and vanities are installed, routine checks and gentle adjustments go a long way. I recommend inspecting wall mounts biannually for any signs of loosening, especially if your cabinetry bears heavy stone or quartz tops. Tighten screws as needed and replace any that show signs of corrosion. Applying a silicone sealant along seams and joints helps prevent moisture infiltration, which could compromise structural components over time. This is particularly crucial in humid environments where water can weaken drywall or timber supports, leading to sagging or warping.
For ongoing support, I often add steel reinforcement strips behind the back panels of vanities, as advised by structural engineering insights from Structux. These strips serve as a backbone, distributing weight and reducing stress on wall attachments, ultimately extending the lifespan of your investments. Regularly cleaning hardware prevents buildup that could impede movement or cause corrosion, maintaining smooth operation of drawers and doors.
Anticipate Future Needs with Proper Scaling
As your storage needs evolve, scaling your built-ins thoughtfully becomes crucial. Modular systems with expandable components, like those from Blum’s Tandem or Hettich’s Movento series, facilitate easy adjustments and additions without compromising stability. Planning for heavy loads in advance—such as reinforced shelving or multiple attachment points—helps prevent sagging, especially in high-traffic and moisture-prone areas. Consulting with cabinetry specialists can reveal innovative mounting techniques and hardware options tailored to your space, as detailed in this resource.
How do I keep my vanities and built-ins working flawlessly over time?
Maintaining your cabinetry isn’t just about occasional cleaning; it involves proactive reinforcement, precise hardware adjustments, and periodic inspections. Employ tools like laser levels, impact drivers, and deep-scanning stud finders regularly to ensure your installations stay secure. Additionally, applying moisture-resistant sealants and reinforcing critical support points can prevent sagging and structural failures. Embracing these maintenance routines will save you time, money, and frustration, ensuring your built-ins remain as functional and beautiful as day one. For expert support tailored to your project, consider reaching out through this contact page to discuss your specific needs. Want to make your next installation more durable? Try installing steel reinforcement strips behind your vanities as a proven long-term support strategy, supported by structural engineering practices.
The Unexpected Lessons from My Vanities Journey
One crucial realization I had was the importance of visualizing the load path during installation. I once focused solely on aesthetics, neglecting the true weight distribution, which led to early sagging. Now, I always model the load and plan reinforcements accordingly.
Another insight was the value of wall material knowledge. Assumptions about drywall supporting heavy vanities proved false in my case; understanding and upgrading wall structures with steel reinforcements transformed the durability of my projects.
Lastly, the significance of proactive maintenance struck me. Routine inspections and timely adjustments extend the life of built-ins, saving both money and frustration long-term. These lightbulb moments continue to shape my approach to creating lasting, beautiful vanities.
The Tools and Resources That Changed My Approach
I trust the step-by-step guide for beginners as it covers essential reinforcement techniques. The Makita HR2470 rotary hammer and Bosch GLL3-330CG laser level are my top picks—they offer precision and power, making heavy-duty installations safer and more accurate.
For wall evaluations, I rely on the Zircon MetalliScanner, which uncovers hidden studs suitable for anchoring heavy furniture. Investing in these tools has paid off by preventing sagging and ensuring my built-ins stand the test of time.
Seize the Moment to Reinvent Your Space
The future of vanities and built-ins depends on your willingness to explore smarter, more durable solutions. By applying these lessons and utilizing trusted tools, you’re empowered to create installations that defy gravity and look stunning for years to come. Don’t wait—start your next project with confidence now! Interested in more tailored tips? Reach out through this contact page and transform your space today.
Have you ever underestimated the importance of wall support? Share your experience below—I’d love to hear your story!
.
Related Posts

Smart Built-ins for Storage & Vanities: Top Installation Tips in 2025
I remember the frustration vividly. I was in the middle…
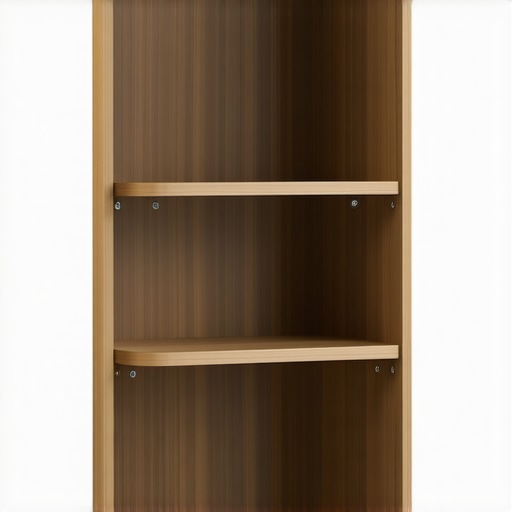
Stop the Lean: 3 Pro Fixes for 2026 Bookshelf Built-ins
Ever spent hours installing beautiful bookshelf built-ins, only to find…
Smart Built-in Cabinets & Vanities: Expert Installation & Storage Tips
I vividly remember the frustration of opening a bathroom cabinet…