

I was staring at my brand-new walnut desk, a piece I’d spent three weekends perfecting, and all I could see was a tangled mess of black plastic vines. It looked like a tech octopus had exploded in my home office. I had the sleekest monitor, a custom keyboard, and high-end speakers, but the spaghetti monster of cables trailing over the back edge made the whole room look unfinished. It is a classic heartbreak for anyone who loves creative built-ins for seamless storage; you build the dream, then the hardware ruins the reality.
Stop Letting Cables Ruin Your Hard Work
Most people think a simple plastic grommet is the answer. I am here to tell you it is not. Years ago, when I was first starting out, I made the massive mistake of drilling a three-inch hole right through a structural support because I was in a rush to hide a power strip. Not only did I weaken the desk, but my built-in desk started bowing soon after, and I had to spend a fortune on reinforcement. It was embarrassing, but it taught me a vital lesson: real cable management is built into the architecture, not slapped on as an afterthought. Today, we are going to walk through the False-Back strategy, a move that provides a hidden cavity for all your power bricks and excess wire without sacrificing the look of your cabinetry.
Is a False Back Actually Worth the Extra Work?
You might be thinking that building a double wall inside your desk sounds like overkill. Why not just use some sticky clips? Well, those clips invariably fail after six months, leaving your cables dangling like loose teeth. A false back creates a dedicated service zone similar to the stealth venting moves we use for media centers to keep equipment cool and wires invisible. This isn’t just about aesthetics; it is about mental clarity. In fact, research published by The Journal of Neuroscience suggests that multiple visual stimuli in the field of view—like cluttered wires—compete for neural representation, significantly reducing your ability to focus. If your desk looks like a disaster, your brain feels like one too. Have you ever spent hours finishing a beautiful project only to have it ruined by a single power cord? Trust me, I have been there, and I want to help you avoid that frustration. Let’s dive into how to execute this hidden trick so you never have to see a power brick again.
Build the Hidden Service Cavity
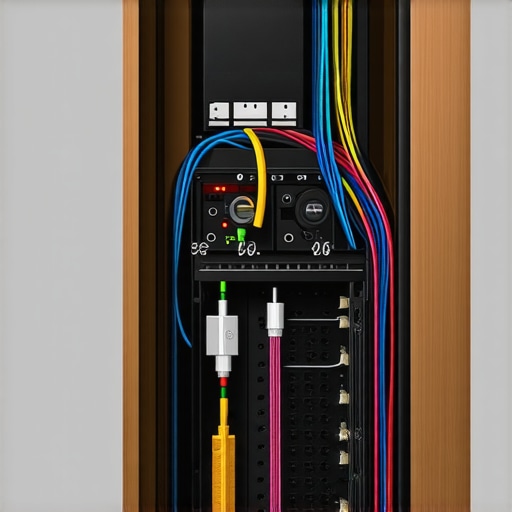
The false back isn’t just a piece of plywood slapped inside; it’s a deliberate architectural choice. You’re essentially creating a ‘service wall’ within your cabinetry. To start, you need to offset your interior back panel from the actual rear of the cabinet. I usually aim for a 3.5 to 4-inch gap. This is the sweet spot that accommodates even the clunkiest of laptop power bricks without stealing too much drawer depth. If you are working with extra-wide setups, don’t forget that your structural integrity matters; I often use 6-hidden steel brackets for heavy-duty built-in office desks to ensure the main desktop doesn’t lose support when we modify the internal carcass to accommodate these voids.
Leave Room for the Power Bricks
Measurement is where most people fail. I remember a project in 2019—a massive executive suite for a local lawyer. I built what I thought was a generous 3-inch cavity, but the client surprised me with a legacy server power supply that was nearly 5 inches deep. I had to scribe the back panel on-site to make it fit, which was a time-consuming nightmare. Always measure your largest power strip and your deepest plug before you cut your side gables. This proactive approach is a staple of effective built-in storage ideas to declutter and enhance your home because it treats the hardware as a primary inhabitant of the space, not an intruder. If you skip this, you’ll end up with a panel that won’t sit flush, defeating the whole purpose of the build.
Make the Back Panel Removable
If you screw the false back into place, you’ve just built a tomb for your cables. Eventually, a power supply will die or you’ll get a new monitor, and you don’t want to be unscrewing half the desk to reach it. I prefer the ‘friction-fit’ or ‘magnetic-catch’ method. By using small rare-earth magnets in the corners of the panel, you can pull it out with a suction cup or a small, discreet finger pull hole. It’s a trick similar to 5-smart bathroom vanity wiring hacks where access to plumbing or electrical is non-negotiable but needs to stay invisible. This ensures that while the mess is hidden, it’s never out of reach for a quick fix or an upgrade. For those dealing with longer spans, remember that removing internal supports to create this cavity can lead to trouble; check why your built-in desk is bowing if you notice any sag after creating these large internal volumes. You want a desk that stays flat while keeping the cords contained.
The Bottom-Up Cable Route
Instead of drilling a standard round hole, try a continuous slot along the back edge of the desktop. I usually cover this with a brush strip—those black bristles you see on high-end office furniture. It allows cables to emerge anywhere along the width of the desk, rather than forcing them toward a single point. This prevents that awkward ‘fan-out’ look where all wires converge into one plastic circle. It’s about creating a system that adapts to your gear, rather than forcing your gear to adapt to the furniture. This kind of planning prevents the tension that eventually pulls cables loose or damages fragile ports over time, especially with the lighter USB-C connectors modern tech uses.
Stop Using Flimsy Backing Panels
The most common advice you’ll find in DIY forums is to use the thinnest material possible—like 1/4-inch hardboard—to save every millimeter of space for the cable cavity. I am here to tell you that is a rookie mistake. In my experience, thin panels are prone to warping and, more annoyingly, they act like a drum skin. If your PC or high-end laptop is sitting on the desk, the vibrations from the fans can resonate through a thin false back, creating a low-frequency hum that will drive you crazy during a long workday. I always recommend using at least 1/2-inch MDF or plywood. It adds necessary mass for sound dampening and provides a much sturdier surface if you decide to mount small network switches or cable organizers directly to the back of the panel. This isn’t just about depth; it is about structural integrity, much like the 6-heavy-duty wall fixes for massive quartz-top vanities where mass and support are non-negotiable for long-term success.
Avoid the Heat Traps That Kill Power Bricks
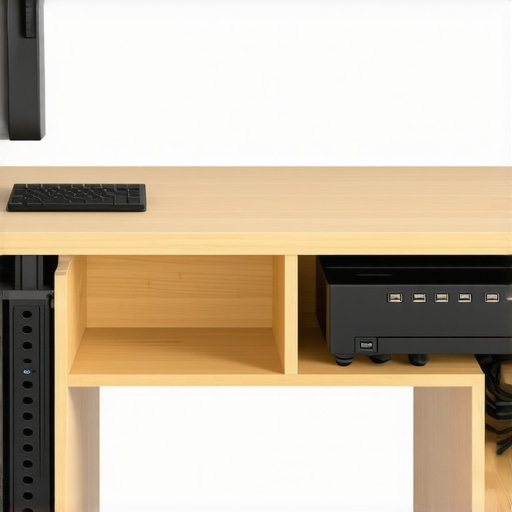
The ‘Oops’ factor in cable management is almost always thermal management. We focus so much on making the cables invisible that we forget power bricks generate significant heat. If you pack a 4-inch deep cavity with three power strips and five oversized chargers, you are creating a localized oven. I’ve seen power supplies for high-end monitors fail in less than a year because they were suffocated in a stagnant air pocket. This is why I advocate for integrating the stealth venting move for built-in media centers into your desk design. A simple 1/2-inch gap at the top and bottom of the false back allows for natural convection—cool air enters the bottom and warm air escapes the top. Without this, you’re just waiting for a hardware failure that could have been avoided with ten minutes of extra planning. It is one of those vanity installation hacks that save time and money in the long run by protecting your expensive electronics.
Can You Actually Safely Enclose High-Wattage Electronics?
The short answer is yes, but only if you respect the physics of airflow. A study published in the Journal of Thermal Analysis and Calorimetry highlights that the reliability of electronic components decreases exponentially as operating temperatures rise above their rated limits. When you enclose these items, you are effectively insulating them. Advanced builders know that the secret isn’t just a bigger hole; it’s about strategic placement. Keep your high-wattage power bricks at the bottom of the cavity and your data cables—like HDMI and Ethernet—at the top. This prevents the heat from the power supplies from cooking the more sensitive data lines, which can lead to signal degradation or dropped connections. It is a similar logic to 5-smart bathroom vanity wiring hacks: keep the messy, hot, or dangerous stuff isolated from the delicate parts. If you are struggling with a sagging desktop because of these modifications, you should check why your built-in desk is bowing to ensure your internal structure is still holding up. Have you ever fallen into the trap of over-insulating your electronics? Let me know in the comments. Real expertise comes from these built-in storage ideas to declutter and enhance your home, where functionality and safety meet aesthetics.
Stick to Velcro and Skip the Zip Ties
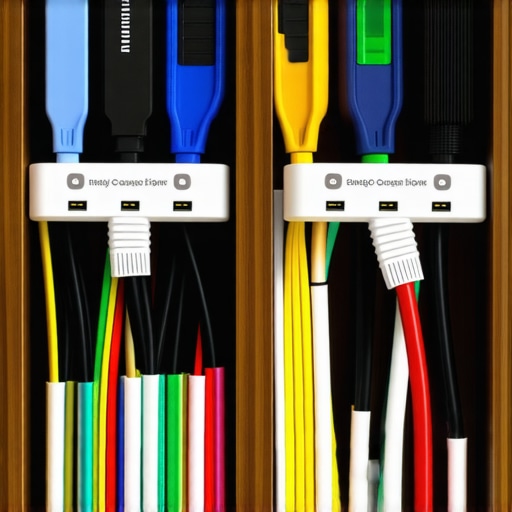
When you are deep in the weeds of a project, it is tempting to grab the cheapest bag of plastic zip ties from the big-box store. Don’t do it. I have spent countless hours in cramped cabinets with a pair of side-cutters, accidentally nicking a $100 DisplayPort cable because a zip tie was too tight. Now, I exclusively use Velcro One-Wrap. It is reusable, it doesn’t crush delicate fiber-optic lines, and it allows for the ‘growth’ of your tech setup. This focus on longevity is what separates a weekend DIY job from effortless storage solutions for a tidy, stylish home. If you ever need to swap a monitor, you just peel the wrap, add the new wire, and seal it back up—no sharp edges, no waste.
Label Everything Before You Close the Panel
I cannot stress this enough: label both ends of every single cable. I use a Brother P-Touch P700 because it connects to my laptop, allowing me to print clear, laminated labels that won’t peel off in a warm cable cavity. When you are staring at five identical black USB-C cables through a tiny access hole, you will thank me. It is the same level of organization we apply when creating creative storage solutions for vanities to declutter in style. Without labels, your ‘stealth’ setup becomes a labyrinth of frustration the moment a device stops charging. I even label the power bricks themselves so I know exactly which one is drawing the most juice and generating the most heat.
How Do I Maintain This Stealth Setup Over Time?
Maintenance is mostly about resisting the urge to ‘just quickly’ plug something in over the top of the desk. Every six months, I recommend pulling the false back panel—this is why we used those magnetic catches earlier—and blowing out the cavity with compressed air. Dust is the enemy of heat dissipation. According to the ASHRAE Technical Committee 9.9, particulate accumulation is a leading cause of localized thermal hotspots in enclosed electronic environments. Keeping that service zone clean ensures your hardware lives its full intended lifespan. While you are back there, check the tension on your mounting hardware. If you notice things shifting, it might be time to look at 6-heavy-duty l-brackets for reinforcing custom built-in units to keep the structure rigid against the wall.
Power Without Plugs is Closer Than You Think
Looking ahead, the next five years will likely see a massive shift toward integrated induction. We are already seeing furniture designers embedding Qi-charging coils directly under wood veneers. I predict we will eventually move away from the false-back cavity entirely as ‘long-range’ wireless power transfer becomes a standard. But for now, we are stuck with the bricks. My advice? Build your cavity slightly larger than you think you need today. Future-proofing isn’t just a buzzword; it’s a necessity when you are dealing with permanent cabinetry. If you are worried about the weight of these additions, keep an eye on why your built-in face frames are separating from the wall to catch structural issues before they become catastrophes. Take action today: Go buy a roll of Velcro ties and spend twenty minutes labeling the cables under your current desk—you will feel the difference in your workflow immediately.
Lessons I Picked Up from Decades of Cabinetry
After years of building high-end home offices, I have realized that the most invisible features are the ones that require the most foresight. One lightbulb moment for me was realizing that cable management isn’t a static task—it is an evolving ecosystem. Your desk setup today will not be your desk setup in three years. If you build a cavity that is too tight, you are essentially putting an expiration date on your custom furniture. I always leave an extra 20% of space for the mystery gadgets that haven’t been bought yet. Another hard-earned truth? Never trust a single power strip. I now install two separate strips in every false back: one for always-on gear like monitors and one for accessories, allowing for much better energy management and heat control. Integrating these built-in storage ideas to declutter and enhance your home transforms a room from a cluttered workspace into a sanctuary of productivity.
#IMAGE_PLACEHOLDER_E#
Tools That Saved My Sanity on the Job
You do not need a truckload of gadgets to get this right, but a few specific items make the difference between a DIY look and a professional finish. I swear by Velcro One-Wrap; it is the only thing that won’t damage your expensive data cables or crush fiber-optic lines over time. For the access points, I recommend using flexible brush grommets—they look much cleaner than plastic caps and allow for much more flexibility as you add new hardware. If you are looking for more ways to optimize your workflow, I often apply the same vanity installation hacks that save time and money to my desk builds, particularly when it comes to managing wall-mounted components and hidden electrical access. Finally, a decent label maker like the Brother P-Touch is non-negotiable. If you cannot identify a cable in five seconds during a troubleshooting session, your management system has failed.
Bring Your Dream Office to Life
The transition from a chaotic mess of wires to a perfectly sleek, integrated workspace is more than just an aesthetic upgrade—it is a massive boost to your mental clarity. When you invest the time into creative built-ins for seamless storage, you are giving yourself the gift of a focused, distraction-free environment. Do not let the fear of a little extra woodworking stop you from achieving that floating look that makes a custom home office so special. You have the tools, the strategy, and the insider secrets to build something that lasts a lifetime. These effortless storage solutions for a tidy, stylish home are well within your reach if you take it one step at a time. What is the biggest spaghetti mess of cables you are currently dealing with in your office? Let me know in the comments below!