

I still remember the 2:00 AM crack that echoed through my house like a gunshot. It was my pride and joy—a floor-to-ceiling custom library—slowly surrendering to the laws of physics. I’d spent weeks crafting those shelves, but I made the classic mistake of overestimating the strength of standard wood screws and a bit of wood glue. Seeing your hard work sag under the weight of a few heavy books is a special kind of heartbreak. If you are building something substantial, you need more than just hope; you need steel. Today, I am diving into the six heavy-duty L-brackets that have become my go-to insurance policy for every project, from massive media centers to heavy-duty office desks that need to stay rock-solid.
Stop Trusting Your Joinery to Gravity Alone
Early in my DIY journey, I was obsessed with invisible joinery. I thought using visible hardware was a sign of a rank amateur. Boy, was I wrong. I once built a gorgeous unit and watched it pull away from the wall because I did not understand the sheer load it was carrying. It is a common issue, much like face frames separating from the wall when the internal support fails. I learned the hard way that when you are dealing with heavy materials like solid oak or stone, those tiny pocket holes just won’t cut it. You need the structural rigidity that only a reinforced steel angle can provide. According to research from the Forest Products Laboratory, mechanical fasteners in wood joints can lose significant effective strength over time if the wood undergoes seasonal expansion and contraction without rigid reinforcement.
Are Heavy Brackets Just a Shortcut for Lazy Builders?
There is a persistent myth in the woodworking community that if your dovetails or mortise-and-tenon joints are perfect, you do not need metal. But here is the reality: we are not just building furniture; we are building architectural elements that integrate with your home’s framing. Whether you are trying to stop wobbly built-ins or supporting a massive countertop, L-brackets are not a cheat—they are an engineering necessity. They take the stress off the wood fibers and transfer it directly to the studs. I’ve seen too many perfect joints shear off because the house settled. Have you ever noticed a shelf starting to tilt or a cabinet gap widening out of nowhere? Drop a comment below and let me know—I bet we can figure out exactly where the structural failure started. We are about to look at the specific hardware that keeps things level and safe, ensuring your built-ins look just as good in ten years as they do the day you finish them.
Ditch the Wood Screws for Steel Reinforcement
Working with wood is a constant battle against physics and time. I remember a project where I built a beautiful mudroom bench using high-end oak; I thought my pocket-hole screws were plenty strong. Three months later, the weight of kids, backpacks, and groceries caused the back joint to shift just enough to create a nasty gap. I realized that wood screws are great for assembly, but they are terrible at resisting shear forces over long periods. Now, I never start a major install without a box of 1/8-inch thick steel L-brackets. These aren’t the flimsy ones you find in the junk drawer; these are structural components designed to bridge the gap between your cabinetry and the house framing. When you are looking to stop wobbly custom built-ins, you aren’t just looking for more screws—you are looking for a way to turn the cabinet and the wall into a single, monolithic unit.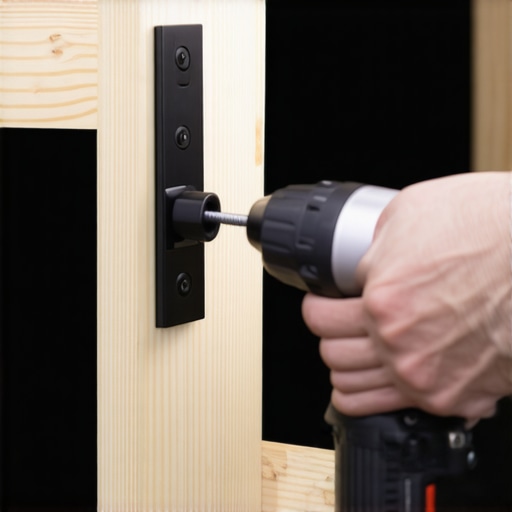
How to Sink a Bracket into Your Frame Without Being Seen
One of the biggest hurdles for DIYers is the ‘ugly hardware’ factor. You spend hours on a finish only to bolt a silver bracket right on top of it. The pro move is to recess the bracket into the wood. I use a trim router set to the exact depth of the metal. For example, when I am installing heavy-duty wall fixes for massive quartz top vanities, I actually notch the back of the cabinet carcase so the bracket sits flush against the wood. This allows the cabinet to sit tight against the drywall while the steel handles the heavy lifting. If you are dealing with horizontal spans, you might need the hidden steel bracket for massive bookshelf spans to prevent that unsightly mid-shelf dip. This technique is like putting a skeleton inside the furniture; the wood is the skin, but the steel provides the actual strength.
The Secret to Anchoring into Modern Framing
It is one thing to have a strong bracket; it is another to actually hit something solid. I once spent forty-five minutes hunting for a stud behind thick plaster only to realize the house had been renovated with metal studs. If you are in a similar spot, you have to pivot your strategy. For traditional wood framing, you need a minimum of 2.5 inches of thread into the center of the stud. However, if you’re building out a pantry, you should look into the steel rail tactic for anchoring massive floor-to-ceiling pantries to ensure the load is distributed across multiple points. I’ve seen whole units pull away because someone hit the edge of a stud instead of the center. Think of your bracket as a lever; if the anchor point is weak, the lever will just pry itself out.
Supporting Massive Weights Like Quartz and Stone
The trend of using heavy stone tops on floating furniture isn’t going away, and it puts an incredible amount of stress on the mounting points. When I handle these, I don’t just use one bracket; I create a support system. If you’re wondering how to support quartz counters on custom floating vanities, the answer usually involves a combination of L-brackets and a structural sub-frame. On a recent project, a client wanted a 72-inch floating double vanity with a 3cm mitered edge. Standard wood cleats would have bowed instantly. We used the hidden t-bracket move originally designed for benches to give the vanity the cantilever strength it needed. By distributing the weight through the steel into the wall studs, we achieved a look that seemed to defy gravity while being safe enough for a grown man to stand on. This level of preparation is what separates a weekend hobbyist from a craftsman whose work lasts a lifetime.
Why Just Adding More Screws Might Actually Weaken Your Build
Most DIYers think that if a bracket feels a little loose, the answer is to just drive in a bigger, longer screw. In my experience, that is exactly how you split a 2×4 inside your wall without even knowing it. When you over-drive fasteners with high-torque tools, you create internal stress fractures that actually reduce the holding power of the wood fibers. It is a nuanced mistake I see all the time when people attempt an expert guide to flawless vanity installation tricks tips. Instead of brute force, I rely on engineered L-brackets that distribute the load across a wider surface area. This prevents the ‘point-loading’ effect that leads to structural failure. Have you ever fallen into this trap of over-tightening until you heard that sickening ‘pop’? Let me know in the comments below.
Can a Bracket Be Too Rigid for Seasonal Wood Movement?
The short answer is yes. Wood is a living material that breathes, while steel is uncompromising. A common myth is that a rigid connection is always better, but if you bolt a massive oak cabinet to the wall with zero room for expansion, the wood will eventually warp or crack. According to the National Design Specification (NDS) for Wood Construction, the ‘withdrawal capacity’ of a fastener changes as moisture content fluctuates throughout the year. This is often why your heavy quartz vanity is cracking the cabinet frame or why you start seeing how to fix uneven gaps in custom built-in doors pop up on your search history. The trick is to use brackets with slightly elongated mounting holes, allowing the screw to slide a fraction of a millimeter as the wood moves without sacrificing the vertical load-bearing strength.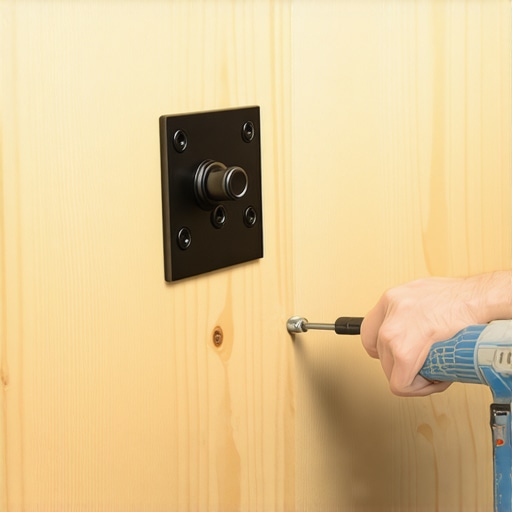
Why the Center of the Stud Isn’t Always the Safest Bet
We are taught from day one to ‘hit the center of the stud.’ But if you are working in an older home, those studs might be brittle, or worse, they might be slightly twisted. When I am trying to maximize your space with custom vanities expert design tips, I always pre-drill my pilot holes with a bit that is exactly 70% of the screw’s shank diameter. If you go too small, the screw acts like a wedge and splits the wood; too large, and you lose your threads. This is the ‘Oops’ factor that separates a cabinet that stays up for a decade from one that pulls the drywall down in six months. I have seen 400-pound library units fail because the builder missed the pilot hole depth by just half an inch. Precision isn’t just about the finish; it is about the physics happening behind the wall where nobody else looks.If you want to move beyond the ‘close enough’ mentality, you need to invest in professional-grade layout tools. I gave up on cheap plastic levels years ago after a vanity I thought was plumb turned out to be nearly a quarter-inch off across its width. Now, I won’t touch a project without my Stabila R-Beam and a high-end Bosch green-line laser. These are non-negotiable when you are following a step-by-step guide to vanity installation for beginners because the laser shows you exactly where the wall bows and the floor dips. It is the difference between a cabinet that looks like it grew out of the wall and one that is clearly fighting it.
How do I maintain my heavy-duty built-ins over the years?
Maintenance isn’t just about dusting; it is about checking the structural integrity of your anchor points every few seasons. In areas with high humidity, like basements, you should employ the moisture-proof shim strategy for basement built-ins to prevent rot from wicking into your supports. I also make it a habit to check the torque on my main L-brackets every year. Wood compresses. If you have used the steel l-bracket hack for heavy closet organizers, just a half-turn of a screwdriver can prevent the entire system from developing a ‘creak.’ You should also keep an eye on your hardware; if you notice why your soft-close drawers are slamming and the tension fix isn’t working, it might be a sign that the entire carcase has shifted slightly under its own weight. 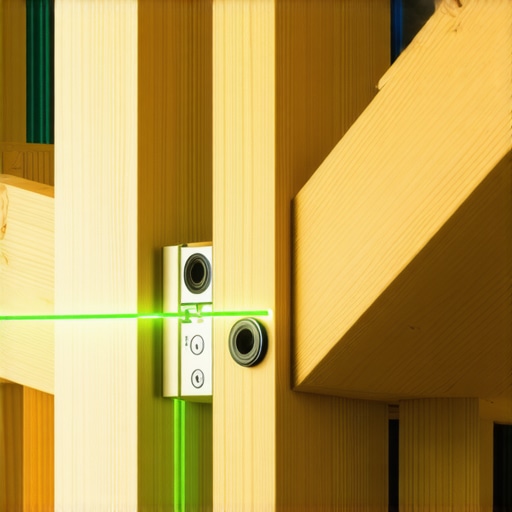
The Future of Structural Furniture Design
I suspect the future of this craft lies in integrated smart sensors. We are already seeing high-end kitchen designers include load-sensing hardware. According to Blum’s TANDEMBOX technical data, hardware is now being engineered to handle dynamic loads of up to 65kg with zero sag over 100,000 cycles, but only if the mounting substrate remains stable. In the next five years, I expect we will see built-ins that can alert your phone if a mounting bracket is under too much stress. For now, we rely on good old-fashioned steel and regular inspections. If you are seeing movement, don’t ignore it. Check your alignment and learn how to fix drawer fronts that wont stay aligned before the issue becomes a structural failure. I want you to go to your current project and use a trim router to recess one bracket into the wood today—feel the difference in how flush that unit sits against the wall once the hardware is hidden.
The Hardest Lesson I Learned About Structural Failure
Looking back at that 2:00 AM crash mentioned earlier, I realize that pride was my biggest obstacle. I wanted the piece to look effortless, but I forgot that effortlessness requires a hidden skeleton. If you are starting a project, remember that wood is organic—it is essentially a bundle of fibers that can compress. Steel, however, is predictable. When I transition to a maximizing space innovative built-in solutions for small rooms project, I focus on the connection points first, not the finish. A second lesson: never assume your walls are 90 degrees. They aren’t. Always use a scribe to ensure your structural brackets aren’t pulling the cabinet into a warp before the weight even hits it. Finally, I’ve learned that the ‘cheap’ brackets from big-box stores are often made of soft alloys that can bend under sustained tension. Investing in true structural steel is the only way to sleep soundly.
Gear That Actually Makes a Difference
To get these heavy-duty L-brackets right, I rely on a few non-negotiables that have earned a permanent spot in my truck. First, the Stabila R-Beam Level—it is the only tool I trust when I need to know a line is true across a ten-foot span for creative built-ins for seamless storage and home aesthetics. Second, GRK Structural Screws; they have a built-in washer head that bites into the steel without shearing off. Third, if you are tackling a step-by-step guide to vanity installation for beginners, get a decent stud finder that also detects electrical wires and plumbing. Safety is the most important part of structural integrity. Finally, I always keep a Bosch Green-Line Laser handy to visualize the entire plane of the wall before a single bracket is mounted.
Your Foundation for a Lifetime of Craftsmanship
The shift from ‘hobbyist’ to ‘craftsman’ happens the moment you start building for the long haul. Using heavy-duty L-brackets isn’t just about preventing a collapse; it’s about the peace of mind that comes when you walk away from a finished unit. You’ve now got the blueprint to built-in storage ideas to declutter and enhance your home that won’t sag, tilt, or pull away from the studs. Go grab those brackets and start your next build with the confidence that it will be standing long after the paint has dried. Have you ever had a shelf sag so much it actually popped a joint? Let me know in the comments below—I’d love to help you troubleshoot your next structural upgrade.