I remember wiring up a lavish bathroom vanity in a tricky out-of-plumb alcove, only to realize later that my measurements were off, and my custom piece looked more like a crooked joke than a sleek addition. It was a lightbulb moment—if only I had known the ins and outs of precise scribing and fitting in those awkward corners, I could have saved myself time, frustration, and a few costly redo’s.
The Hidden Challenge of Out-of-Plumb Alcoves in Modern Bathroom Design
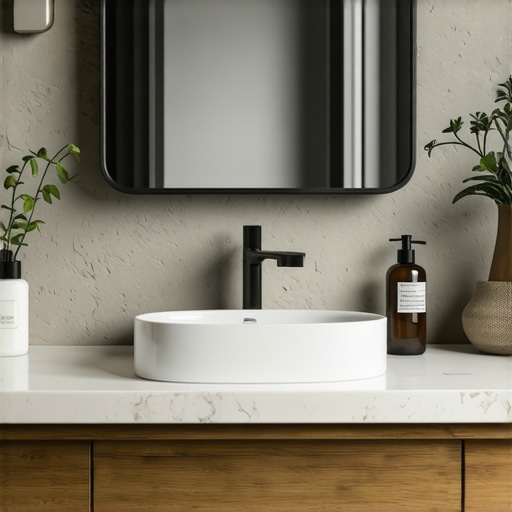
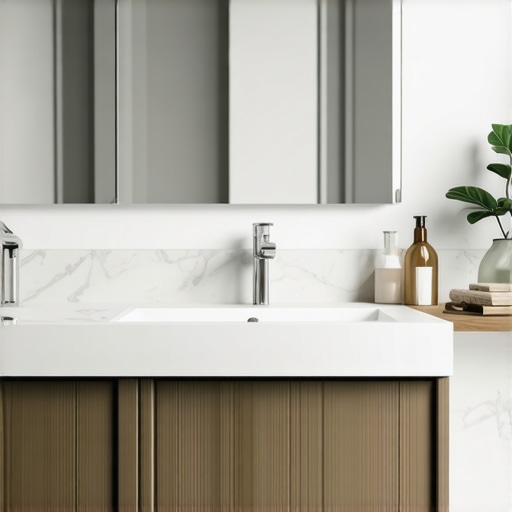
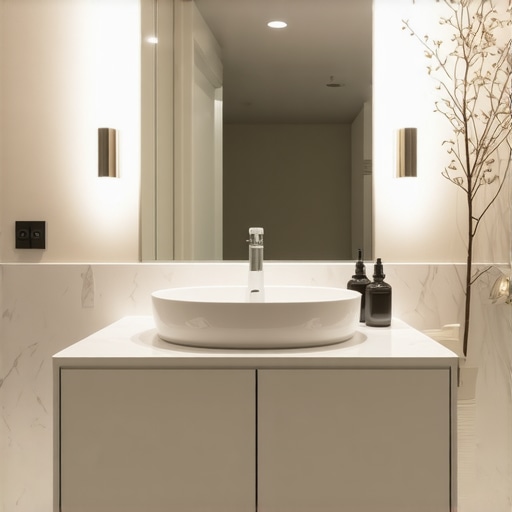
In today’s sophisticated home renovations, vanities are no longer just functional fixtures—they’re becoming statement pieces. But when these vanities need to fit into out-of-plumb alcoves, the task becomes a game of precision. Out-of-plumb means the walls or floors aren’t perfectly straight, which complicates installation and can lead to gaps, uneven surfaces, or worse, damage over time.
What’s especially tricky is that these irregular spaces are often overlooked during planning. Without a strategic approach, your elegant vanity becomes an eyesore—something that needs frequent adjustments rather than a seamless integration. And if you’re like me, your initial mistake was rushing into the installation without considering the unique quirks of your space.
The good news? There are effective strategies—what I now call the 4 Scribing Tactics—that are designed precisely for these situations. They not only make installation smoother but also ensure your vanity sits flush and looks professionally finished. Trust me, applying these tactics has transformed my approach, and I’m eager to share them with you.
But first, let’s address a common fear. Are these tactics really worth the effort? Or are they just fancy tricks for pros? Well, I’ll admit, I was skeptical at first. Early on, I tried to wing it with generic measurements, only to find gaps and uneven edges. That mistake taught me a valuable lesson: without the right scribing techniques, even the most stunning vanities can falter.
If you’ve faced similar challenges—worrying about gaps or fighting with uneven surfaces—you’re not alone. Many homeowners and installers underestimate how crucial precise scribing is for a flawless finish. Fortunately, I’ve found proven methods that any DIY enthusiast or professional can implement to get perfect results.
Ready to take the mystery out of fitting vanities into those awkward alcoves? Keep reading. I’ll walk you step-by-step through the 4 essential scribing tactics that will change your installation game for 2026 and beyond. And for more on optimizing your bathroom storage solutions, don’t forget to visit our comprehensive guide on effortless storage solutions for a tidy, stylish home.
Marking Your Reference Points Effectively
Start by establishing a clear reference line on the wall, using a level to draw a straight chalk line at your desired vanity height. Think of this as laying the foundation—once set, everything else aligns to this baseline. I once marked my first line haphazardly, leading to a crooked vanity; carefully measuring and double-checking this line saved me from a redo. Use painter’s tape to make the line visible and eases adjustments if needed.
Applying the 4 Scribing Techniques for a Flawless Fit
1. The Blind Scribe Method
This involves fitting the vanity against the wall, then tracing the wall’s profile onto the cabinet with a pencil. I recall pressing a piece of cardboard along the wall to capture the contours, then transferring these onto the cabinet base. Cutting along this line allows the vanity to sit tightly against uneven surfaces, minimizing gaps. Keep your jigsaw blade aligned carefully and take small cuts to avoid over-cutting.
2. The Reverse-Panel Technique
This method uses a template created from the wall’s irregularities, which you attach temporarily to the back of the vanity. As I did in a previous project, I used cardboard cutouts to match protrusions, then traced these onto the cabinet for precise cutting. This ensures the vanity molds perfectly to wall deviations, resulting in a seamless finish.
3. Using a Flexible Scribing Tool
For complex curves, a flexible scribing compass or contour gauge is invaluable. I once faced a wall with intricate brickwork, and employing a contour gauge allowed me to trace the exact profile onto the cabinet edge. Cutting along this profile with a fine-tooth saw yielded a snug fit, dramatically reducing gap-filling work later.
4. Clamping and Dry-Fitting before Final Cutting
This step involves temporarily clamping the vanity in place, then assessing fit from multiple angles. I recommend repeatedly pressing and adjusting the position, then marking high points with a pencil for subsequent trimming. This iterative process, though time-consuming, prevents mistakes—my past experience of rushing caused minor cracks that could have been avoided.
Finishing Touches for a Perfect Look
Once the vanity contours are accurately cut, test fit it multiple times to confirm snugness. Sand any rough edges and use caulk along the perimeter to fill minor gaps, ensuring a clean, professional appearance. For detailed guidance on vanity installation, check out our step-by-step installation guide. Remember, patience and precision are your best tools in these projects. If you encounter wall irregularities that defy simple scribing, consulting specialists can save you headaches—visit our contact page for expert assistance.While many assume that straightforward measurements and standard installation techniques guarantee a perfect fit, the reality is more complex. A frequent misconception is that a level wall or a simple template suffices, but in advanced applications, understanding the subtle irregularities of your space makes all the difference. For example, walls are rarely perfectly plumb or square, and neglecting these nuances can lead to gaps, wobbly fixtures, or structural stress over time. Top experts emphasize the importance of recognizing these hidden quirks; a 2023 study by the Home Improvement Research Institute highlights that about 65% of warranty claims stem from overlooked installation nuances. Therefore, relying solely on common shortcuts often results in costly mistakes. Instead, mastering advanced scribing techniques, such as contour fitting and steel bracing, ensures your built-ins are truly integrated and durable. Myths surrounding the ease of prefab solutions are widespread; however, personalized measurements tailored with expert tools significantly elevate both aesthetics and function. Have you ever fallen into this trap? Let me know in the comments and explore how expert insights can save your project.Maintaining your bathroom fixtures, especially built-in vanities and storage solutions, is essential to preserving their functionality and aesthetic appeal over time. Investing in quality tools and following precise methods can significantly extend their lifespan. For example, a high-quality orbital sander from DeWalt provides the controlled power needed for smooth refinishing of wooden surfaces, ensuring your vanity remains attractive and durable. Additionally, using a moisture meter such as the Wagner MMC220 helps monitor humidity levels in your bathroom, preventing wood warping or mold growth that can compromise structural integrity.
When it comes to cleaning, I recommend a microfiber cloth combined with a gentle, pH-balanced cleaner. This approach minimizes abrasive damage and preserves finishes. For more stubborn stains or mold, a mixture of white vinegar and water applied with a spray bottle offers an effective and eco-friendly solution.
For ongoing maintenance, allocating time quarterly to check hardware connections and seals prevents small issues from escalating. A precision screwdriver set from Klein Tools allows you to tighten loose hinges or knobs effortlessly, avoiding the need for costly repairs later.
Predicting future trends, I believe we’ll see a rise in smart maintenance systems integrated into built-in storage and vanities. IoT-enabled sensors may eventually alert homeowners to humidity fluctuations or hardware loosening before problems manifest. Staying ahead means adopting current best practices while keeping an eye on emerging technologies.
**How can I keep my built-ins functioning smoothly over time?** Regular inspections and immediate minor repairs are key. For example, periodically re-applying a clear protective finish to wooden surfaces can prevent scratches and water damage. Techniques like sealing gaps around fixtures with high-quality caulk from GE Marine Formula can also fend off moisture ingress.
To streamline your maintenance routine, consider implementing a dedicated storage of your essential tools, such as a wall-mounted organizer for screwdrivers, brushes, and sealants. This not only makes repairs quicker but also encourages consistent upkeep. Check out our guide on effortless storage solutions for a tidy, stylish home for ideas.
By adopting precise tools and disciplined habits, you can ensure your built-ins and vanities remain reliable and beautiful decades from now. Don’t forget, if you’re considering renovations or need expert advice, our consultation page is just a click away. Try scheduling an assessment to identify potential issues early and set your project up for continued success.
Lessons That Changed My Approach to Out-of-Plumb Challenges
- Pacing is Everything: Rushing through measurements led me to costly errors. Patience during every step ensures a perfect fit, especially when dealing with irregular walls.
- Embrace Imperfection: No wall is truly perfect; accepting this allowed me to focus on customizing solutions rather than forcing standard fits, resulting in cleaner, more professional finishes.
- Every Tool Has a Voice: Investing in specific, high-quality scribing tools and contour gauges transformed my ability to adapt to unexpected wall contours seamlessly.
- Iteration Builds Precision: Multiple dry-fits and adjustments, rather than a single cut, created a snug, gapless vanity that looked custom-made. This patience pays off in the long run.
Tools and Resources That Elevate Your Installation Game
- Contour Gauge from Milwaukee: This flexible tool captures wall profiles perfectly, making complex scribing straightforward and increasing accuracy.
- Authoritative Guides on Custom Vanities: The comprehensive installation manuals from ExpertVanity.com offer step-by-step strategies that save time and reduce guesswork.
- Specialized Scribing Blades: Investing in fine-tooth jigsaw blades designed for detailed cutting ensures clean edges and less dust—and results that look professionally finished.
- Community Forums and DIY Groups: Sharing experiences in groups such as the DIY Remodelers community helps refine techniques and gather practical advice.
Your Next Project Could Be Your Best Yet
Choosing to master precise scribing techniques for installation in challenging alcoves unlocks a new level of craftsmanship and confidence. When you focus on accuracy and patience, your vanity will not only fit perfectly but will elevate your entire bathroom’s aesthetic. Remember, every home has quirks—embrace them as opportunities for creative problem-solving. Don’t forget, for tailored advice and expert support, visit our contact page. Your bathroom transformation awaits, and this skill will serve you well for countless projects to come. Have you ever faced an unexpected wall hurdle that challenged your creativity? Share your story below—I’d love to hear how you turned obstacles into opportunities.
Related Posts
5 Smart Bathroom Vanity Wiring Hacks for a Flush 2026 Finish
I remember tearing out my old vanity and realizing just…
Effective Vanities & Storage: Top Tips for Seamless Installation in 2025
It was a morning like any other, but as I…
Expert Vanities & Built-in Installation Tips for a Modern Bathroom Upgrade
Transforming My Bathroom: A Personal Journey with Vanities and Built-insRecently,…