

I’ll never forget the sound of my first master bath renovation. It wasn’t the spa-like hum of a new showerhead; it was the rhythmic thud-clack of a thousand-dollar vanity hitting uneven slate tile every time I leaned on the sink. I had spent weeks obsessing over top trends in vanity designs, yet I had completely ignored the fact that my floor was about as flat as a mountain range. It’s a gut-punch moment when you realize your centerpiece feels like a card table with a short leg. [IMAGE_PLACEHOLDER]
Stop the Rocking Before it Breaks Your Plumbing
If you’re staring at a gap between your vanity leg and that beautiful (but wavy) tile, you aren’t just dealing with an annoyance. You’re looking at a potential disaster. A wobbly vanity puts repetitive stress on your P-trap and supply lines. According to the International Association of Certified Home Inspectors (InterNACHI), improper cabinet installation is a leading cause of slow-leak water damage that often goes unnoticed until the subfloor rots. We are going to fix this today, and we’re going to do it so well that even your most judgmental relative won’t see the repair. Whether you need a leveling move for vanities on slanted floors or just a few millimetres of shim, the method matters.
Is a tiny bit of movement actually worth the hassle?
You might think, “I’ll just put a piece of folded cardboard under there and call it a day.” Trust me, I’ve been there. In my early DIY years, I used a literal popsicle stick to level a guest bath unit. Six months later, the moisture from the shower turned that stick into a moldy sponge, and the vanity started dipping and pulling away from the wall. You need a solution that handles the weight of a quartz top and the humidity of a bathroom. Whether you are working with custom vanities for small spaces or a massive double-sink setup, the goal is a rock-solid foundation. Have you ever tried to ignore a wobble only to have a glass of water slide across the counter? Tell me I’m not the only one who has suffered through a slanted morning routine! We’re moving past the quick fixes and into expert vanity installation tricks that actually last.
Find Your Pivot Point First
You can’t fix a wobble if you don’t know where the floor peaks. Start by sliding your vanity into its final position and placing a long spirit level across the top, both side-to-side and front-to-back. If you find that one corner is floating, that’s your target. I once tackled a remodel in a 1912 Victorian where the bathroom floor dropped two inches over a three-foot span. I thought I could just wing it with a stack of wood scraps. The result was a vanity that looked like a sinking ship and a quartz top that eventually hairline-cracked because the weight wasn’t distributed properly. That was the day I learned that the level isn’t just a suggestion; it’s the law. Using the leveling move for vanities on slanted floors means identifying the highest point of the floor and bringing every other corner up to meet that elevation.
Plastic Shims Beat Cedar Every Day
When you’re ready to fill those gaps, reach for composite or plastic shims. Most DIYers grab the cheap cedar ones from the lumber aisle, but in a bathroom, those are a ticking time bomb. They soak up floor moisture and compress over time. Plastic shims are like the unsung heroes of expert vanity installation tricks because they are waterproof and won’t rot out. If you’re dealing with a crawlspace or a damp environment, you absolutely need a moisture-proof shim strategy to ensure your cabinet base remains stable for decades. 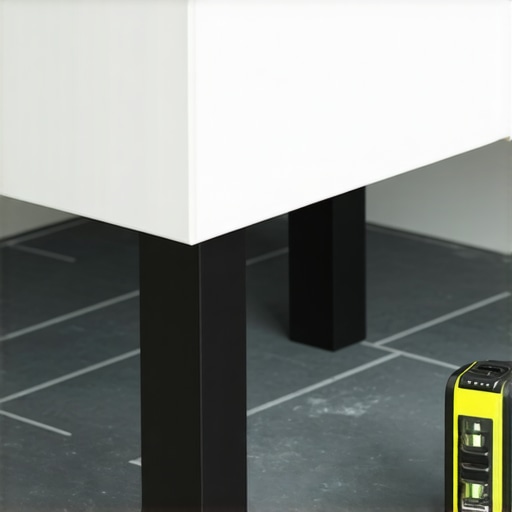
Shave the Base to Match the Floor
If the gap is more than half an inch, shims alone will look messy. This is where you use a compass to scribe the floor’s profile onto the vanity base. By trimming the bottom of the cabinet with a jigsaw, you create a custom fit that follows the waves of your tile perfectly. It’s the same technique used for the scribing trick when fitting built-ins against masonry. This eliminates the need for bulky molding and makes your perfect vanity style look like it was carved directly into the room. For those working in older homes, this step is the difference between a ‘flip’ and a professional renovation.
Lock it to the Studs
Once the unit is level and the base is flush, you must anchor it. A vanity is essentially a lever; every time you lean on the front edge, you are trying to pull it off the wall. Don’t rely on drywall anchors. Find the studs and use heavy-duty cabinet screws with washers. If you are worried about the base itself failing due to existing damage, look into moisture-proof base fixes to reinforce the structure before the countertop goes on. If you follow this step-by-step guide to vanity installation, you ensure that the plumbing stays aligned and the countertop remains perfectly flat, protecting your investment from the ground up.
While leveling the base is the first hurdle, I’ve seen plenty of DIYers get that part right only to have the whole project fail six months later because of structural oversight. One of the most common myths in the home improvement world is that any vanity cabinet can support any countertop. I once saw a stunning, solid marble slab crush a budget-friendly particle board unit over a weekend because the installer didn’t think about weight distribution. Most people assume that if it’s sold in a store, it’s ready for anything, but that’s rarely the case with premium materials.
Can your standard cabinet actually support three hundred pounds of quartz?
The short answer is: maybe, but you shouldn’t bet your plumbing on it. According to the National Kitchen & Bath Association (NKBA), stone countertops require consistent support across the entire perimeter of the cabinet. If you are upgrading to heavy stone, you should look into tactics for supporting heavy quartz counters, which often involves adding internal blocking. I’ve learned the hard way that without a hidden sub-frame move, even the most level vanity can start to spread or bow under the weight of a double-sink stone top. Have you ever fallen into this trap? Let me know in the comments because I’d love to hear how you handled the structural stress.
Avoid the Drawer Trap That Ends in a Sawzall
Here is the ‘oops’ moment that ruins a Saturday: you spend hours getting the unit perfectly plumb, only to realize your beautiful new deep drawers won’t close because they are hitting the P-trap. Everyone wants innovative storage solutions to transform your bathroom, but many modern vanities prioritize aesthetics over the reality of 1970s plumbing stacks. In my own home, I had to learn how we fixed deep vanity drawers by literally rebuilding the drawer boxes around the pipes. It’s a messy, frustrating job that could have been avoided by measuring the ‘plumbing-free zone’ before buying the cabinet.
The Secret to a Rock Solid Floating Unit
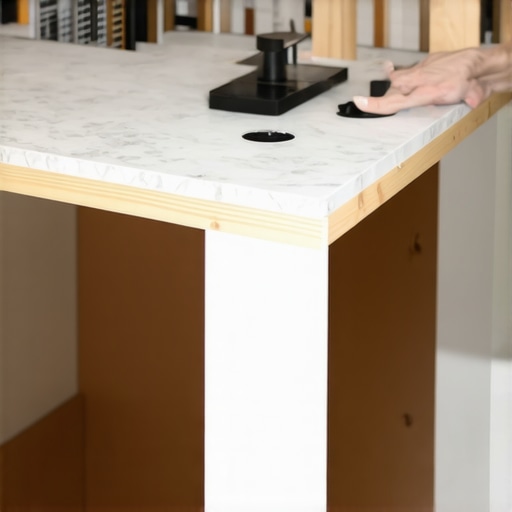
If you’ve moved away from floor-standing models and into the world of wall-hung designs, the rules of the game change entirely. You aren’t just fighting gravity; you are fighting leverage. I see people trying to hang these with simple toggle bolts every day, and it is a recipe for a cracked tile and a flooded floor. For these setups, you must utilize steel plates to stop dipping. This level of reinforcement ensures that when someone inevitably leans on the vanity to put on makeup or brush their teeth, the unit stays exactly where you put it. Mastering these vanity installation hacks is what separates a shaky weekend project from a bathroom that increases your home’s actual value.
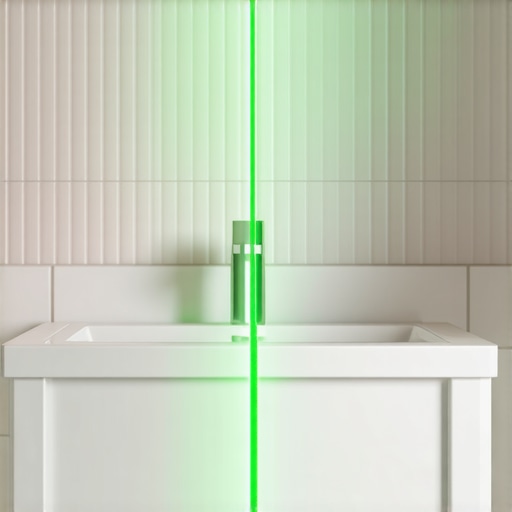
If there is one piece of gear that changed my life, it’s a 360-degree green beam laser level. Forget struggling with a four-foot bubble level while trying to hold a heavy cabinet; the laser projects a perfect horizon across the entire room. When you’re aiming for an enhance your home with sleek built-in vanities, you need to see how the floor slopes from the shower all the way to the door in one glance. I’ve seen guys spend hours on a step-by-step guide to vanity installation only to realize the unit is perfectly level but the tile grout lines make it look crooked. A laser lets you find the visual compromise that keeps everything looking sharp and professional.
Why a Laser Level Beats Your Old Spirit Level
Using a laser isn’t just about showing off; it’s about identifying the ‘high spot’ of your flooring before you even unbox the cabinet. If you’re working on how to level cabinets on sloped floors, that beam is your best friend. It allows you to pre-cut your shims or scribe your base with absolute precision. I personally use a Bosch self-leveling unit because it accounts for its own tilt up to 4 degrees. This means your custom vanities expert design tips aren’t ruined by a slight lean that causes your drawers to drift open in the middle of the night.
How do I keep my custom built-ins from warping over the years?
The biggest enemy of your creative built-ins for seamless storage isn’t heavy books or toiletries; it’s the micro-changes in humidity and house settling. For my bathroom projects, I always implement a moisture barrier strategy for vanities behind the cabinet back. Even if you aren’t in a basement, that cold outer wall can create condensation that eventually rots the back panel. Beyond the structure, you need to maintain the hardware. Blum, the industry leader in cabinetry hardware, notes in their technical maintenance guides that even the highest-rated soft-close runners can require ‘fine-tuning’ after the first 12 months as the weight of the drawers fully compresses the internal dampening fluid. If you notice things getting loud or slow, you probably need a soft-close tension fix rather than a whole new set of slides.
Stop the Rot Before the Wood Softens
In the coming years, I predict we’ll see built-in sensors as standard in luxury top trends in vanity designs—internal moisture detectors that alert your phone the second a P-trap starts to drip. Until then, the best maintenance is proactive. If you’re maximizing space in small rooms, don’t just shove things into the back corners. Use creative storage solutions for vanities like pull-out bins that allow you to see the floor of the cabinet once a month. This simple habit has saved me from thousands in floor repairs because I caught a leak early. If you do find damage, don’t panic; you can often apply moisture-proof base fixes for rotting cabinets to save the unit without a full demo.
Scale Your Storage Without Rebuilding
When you feel like you’ve outgrown your space, look for innovative storage solutions to transform your bathroom through modularity. Adding internal dividers or a slim pull-out fix for deep storage can double your usable surface area without changing the footprint. My biggest challenge for you today: next time you face a gap between a cabinet and an uneven wall, don’t reach for the caulk gun first. Try the scribing hack for perfect built-in gaps. It is a technical skill, but once you master the compass-and-jigsaw dance, your work moves from a ‘DIY project’ to a legacy installation.
Hard Truths the Showroom Floor Won’t Tell You
One of the biggest realizations I had after years of DIY is that a vanity isn’t just a cabinet; it’s a living part of your home’s infrastructure. If the base isn’t level, you are essentially asking your pipes to flex in ways they weren’t designed for, which is exactly why your vanity plumbing is leaking into the cabinet base before you even notice. I also learned that silicone is a finishing touch, not a structural fix. If you’re relying on a thick bead of caulk to hold a heavy mirror or backsplash in place, you need to revisit the waterproof sealant move to prevent moisture from sneaking behind the unit. Finally, remember that the house is always moving; leaving a tiny ‘breathing’ gap at the floor and covering it with a shoe mold is often smarter than a tight, forced fit that will eventually crack.
Tools I Use to Beat Gravity Every Time
If you’re serious about getting a pro-level finish, stop using whatever scraps are in your garage. I swear by a 360-degree green laser level; it’s the only way to ensure your cabinet is plumb across its entire face. This tool is the secret to following an expert guide to flawless vanity installation without the guesswork. For the base, skip the wood shims and grab a pack of composite plastic shims—they are stackable, non-slip, and won’t rot in a damp bathroom. Lastly, I never start a job without high-quality cabinet screws with built-in washers to ensure your effortless storage solutions stay pinned to the studs for decades.
Your Path to a Professional-Grade Bathroom
Don’t let a sloped floor or an out-of-square wall intimidate you. Every bathroom has its quirks, and mastering these technical fixes is what turns a simple project into a custom masterpiece. When you take the time to level, scribe, and anchor properly, your vanity installation hacks become a source of pride rather than a source of stress. You’ve got the tools and the plan—now go build something that lasts. Have you ever uncovered a ‘DIY disaster’ from a previous owner while removing an old vanity? I’d love to hear your horror stories in the comments below!