

I remember standing in my hallway at 2 AM, flashlight in hand, staring at the quarter-inch gap that had mysteriously appeared between my brand-new built-in bookshelves and the wall. I’d spent three weekends on those units. I used the best maple, the priciest cabinet screws, and enough wood glue to sink a small ship. But there it was—a dark, ugly shadow mocking my craftsmanship. It felt like my house was actively rejecting my hard work, physically pushing the face frame away from the drywall. If you’ve ever looked at your custom cabinetry and felt that same sinking feeling of Why is this happening to me? then you are in exactly the right place. We are going to stop that separation today and make sure your work stays flush forever. This isn’t just about aesthetics; it’s about the structural integrity of your home’s storage.
The Night I Realized My Walls Weren’t My Friends
The mistake I made early on was a classic DIY blunder: I assumed my walls were straight and my house was a static, unmoving object. I installed those units tight as a drum during a humid July afternoon. By February? The gap was wide enough to hide a TV remote. I didn’t realize that houses actually ‘breathe’ and shift constantly. According to the USDA Forest Products Laboratory, wood can shrink or expand significantly based on the relative humidity, and when your face frames are rigidly attached without accounting for this movement, something eventually has to give. Most people think their creative built-ins for seamless storage are failing because of cheap materials, but usually, it’s a battle against physics you didn’t know you were fighting. I’ve learned the hard way that wood always wins that fight unless you use the right anchoring techniques from the start.
Wait, is my house actually falling apart?
This is the fear that kept me up at night during those early years. I thought maybe my foundation was settling or the studs were literally snapping under the weight of my books. Relax—it’s almost never that dramatic. Usually, it is simply a case of seasonal movement or a lack of proper backing inside the wall. I’ve seen this happen in everything from floor-to-ceiling cabinets that gap at the top to small mudroom benches. It’s frustrating, sure, but it is entirely fixable with the right tools and a little bit of patience. Have you ever noticed a gap appearing suddenly in your home and wondered if the whole place was tilting? You aren’t alone. Tell me, have you ever tried to ‘fix’ a gap with caulk only to have it crack open again two months later?
Why Your House is Literally Pushing Your Furniture Away
The real culprit often boils down to a few things: lack of structural blocking, ignoring the natural ‘bow’ of the drywall, or failing to use the right techniques for uneven surfaces. I once made the mistake of mounting a massive library unit directly to the studs without checking for plumb. The wall was leaning back by half an inch, and within a month, the tension pulled the face frame right off the cabinet box. Now, I swear by things like the scribing hack for perfect gaps to ensure a fit that actually lasts through the seasons. If you don’t account for the wall’s imperfections before you drive that first screw, you’re just building a ticking time bomb of aesthetic frustration. We’re going to dive into how to anchor these units so they stay put, even when the house decides to do its winter shimmy. If your units are already starting to tilt or pull, you might even need to look into hidden steel plate tactics to pull everything back into alignment before the damage becomes permanent.
Stop Trusting the Drywall and Build a Backbone
The biggest mistake is assuming those two-inch screws into the studs are enough. To stop a built-in from walking away from the wall, you have to treat the wall like an unreliable narrator. It tells you it is flat, but it is almost always lying. The first thing I do now—especially when dealing with heavy loads—is install horizontal blocking. Think of it like adding a solid wooden backbone between your vertical studs. If you skip this, your screws are just praying for a grip. I remember a project where I was installing a massive bathroom unit and ignored the lack of backing. By the time the stone top went on, the weight began to compress the drywall. I ended up needing 7 tactics for supporting heavy quartz counters on standard wood vanities just to keep the face frame from snapping under the pressure. Now, I use a 2×6 ledger board notched directly into the studs. It is the difference between a unit that stays put and one that pulls the plumbing out of alignment, which is exactly why your vanity plumbing is leaking into the cabinet base during those subtle house shifts.
The Scribing Secret for Wonky Walls
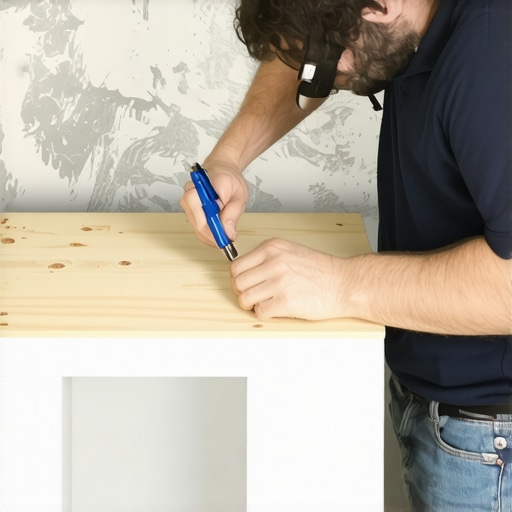
If you want that seamless look where the wood meets the wall like they were grown together, you cannot just push the cabinet against the drywall and hope for the best. You need to scribe. This is basically the art of tailoring a suit for a crooked wall. I take a simple compass, set it to the widest part of the gap, and trace the wall’s profile onto the cabinet’s ‘ears’ or oversized face frame. I once had to do this against a stack-stone wall in a client’s living room. It was a nightmare of peaks and valleys, but using the scribing hack for fitting built-ins against stone fireplaces turned an ugly half-inch gap into a tight, professional finish. You then shave the wood down to that line with a belt sander or a jigsaw. It is tedious, but it eliminates the tension that causes the unit to pull away later because the wood is physically sitting in the ‘pockets’ of the wall rather than being forced against its high points.
Lock it Down with Steel Instead of Prayers
Sometimes, wood-to-wood contact isn’t enough, especially with the weight of modern storage needs. When I’m dealing with a unit that has already started to migrate, I stop reaching for the caulk and start reaching for the metal. If your shelves are bowing or the frame is tilting, you have to reinforce the internal structure. This is where how to fix wobbly built-ins with 4 hidden steel plate tactics becomes your best friend. By anchoring a steel plate to the stud and then to the cabinet’s sub-frame, you’re creating a bond that is stronger than the house’s own framing. I learned this the hard way when a floating unit I installed started to dip toward the floor. I had to retroactively use a hidden sub-frame move for supporting massive quartz top vanities to pull the unit back to level. It was a messy, four-hour fix that could have been avoided with five minutes of foresight. If you are worried about the unit sagging over time, especially with floating designs, you must check out how to stop floating vanities from dipping with steel plates to ensure your work stays as level as the day you hung it.
The common wisdom in every DIY forum is that more screws into more studs equals a better job. In my experience, that’s actually a recipe for a warped cabinet box. Everyone says the stud is your best friend, but they forget that studs are often twisted or bowed. When you drive a high-torque screw through your cabinet back and into a bowed stud, you aren’t just anchoring the unit; you are forcing the high-quality plywood to mimic the curve of a cheap 2×4. This is the ‘hidden nuance’ that separates a hobbyist from a pro. If you pull the back of the cabinet toward the wall too hard, the front face frame will naturally flare out, creating that exact gap we’re trying to avoid. Instead of brute force, I use shims to bridge the ‘air gap’ between the cabinet and the wall, ensuring the unit remains perfectly square even if the house is anything but. Have you ever fallen into this trap? Let me know in the comments.
Stop Blindly Trusting Your Stud Finder
The real danger isn’t missing the stud; it’s what happens when you hit it and keep going. I’ve seen beautiful creative built-ins for seamless storage ruined because the installer didn’t realize they were compressing the drywall. Most homeowners don’t realize that standard half-inch drywall has a ‘give’ to it. If you over-tighten, you create a pivot point. The bottom of your cabinet stays tight, but the top starts to lean forward. This is especially prevalent in kitchens and bathrooms where the humidity fluctuates. The National Kitchen & Bath Association (NKBA) suggests that load distribution is more critical than fastener count, especially when dealing with heavy stone tops. To combat this, I recommend an expert guide to flawless vanity installation tricks which prioritizes using a secondary ledger board to catch the weight before the screws even enter the picture.
The Torque Trap That Destroys Your Drywall
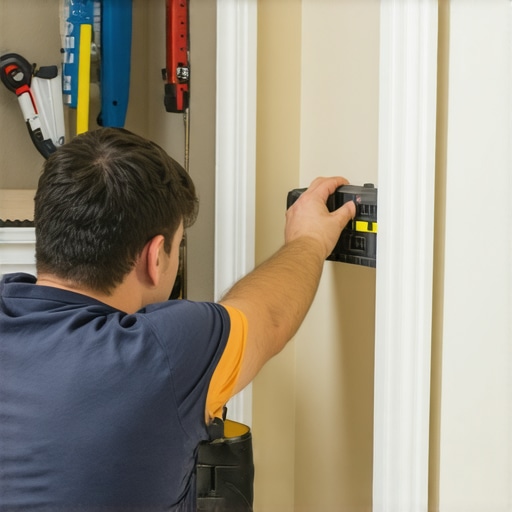
The ‘Oops’ factor I see most often is the refusal to use a clutch on a drill. People drive 3-inch cabinet screws until the head disappears into the wood, thinking ‘that’s not going anywhere.’ What they’ve actually done is stripped the wood fibers inside the stud, leaving the screw with about 20% of its intended holding power. It feels tight now, but in six months, the weight of your books or dishes will cause it to sag. If you’re working on a larger project, like the structural fix for floor-to-ceiling library units, you need to use pan-head screws with a wider surface area to prevent this pull-through. I’ve transitioned almost entirely to GRK cabinet screws because they have a built-in washer head that distributes the pressure without crushing the material.
Why does my rock-solid installation still feel shaky under load?
If you’ve hit the studs and used the right screws but the unit still moves when you lean on it, the problem is likely your base. Most people focus on the wall, but for floor-standing units, the floor is the foundation. If you have a slight slope, you are essentially asking three screws to hold up 400 pounds of cabinetry against gravity. This is why I always suggest how to fix wobbly vanity legs on uneven tile by using hidden plastic shims. Wood shims can rot in a bathroom environment, but plastic is forever. Once the base is 100% stable, the wall anchors are just there to prevent tipping, not to carry the load. If you’re still struggling with movement, you might need to look into stop wobbly custom built-ins with 4 hidden steel plate fixes to create a rigid internal frame that doesn’t rely on the house’s skeletal structure at all.
I used to rely on a four-foot bubble level and a prayer, but after one too many slanted shelves, I invested in a 360-degree green beam laser. The Bosch GLL3-330CG is expensive, but it changed everything because it shows you exactly where the house is dipping before you even cut your first piece of plywood. If you are dealing with a bathroom remodel, using a laser is the only way to execute the leveling move for vanities on slanted bathroom floors without losing your mind. I also stopped using cedar shims because they compress too much over time. Now, I only use composite shims; they are waterproof and won’t shrink when the furnace kicks on in November. This is especially vital when you’re trying to fix wobbly vanity legs on uneven tile where moisture is a constant threat.
How do I keep my custom units from warping years later?
The secret isn’t in the wood; it’s in the air. According to the Architectural Woodwork Institute (AWI), keeping your home’s relative humidity between 25% and 55% is the ‘Goldilocks zone’ for preventing wood failure. If you let your house get bone-dry in the winter, even the best face frame will pull away from the wall. I recommend installing a whole-home humidifier if you’ve invested in floor-to-ceiling libraries. Also, check your hardware tension twice a year. I’ve seen large kitchen drawers drag simply because the slides shifted a millimeter during a humid summer. A quick turn of a Pozidriv screwdriver—please use these, not Phillips, to avoid stripping—can save your drawer faces from chipping.
Why the Future of Storage is Moving Inside the Walls
I’m noticing a major shift toward ‘hybrid framing.’ In the next five years, the best innovative storage solutions to transform your bathroom will likely move away from all-wood carcasses and toward internal aluminum skeletons. We are already seeing this in high-end European design; it’s the only way to get those paper-thin profiles without the unit sagging under its own weight. If you want to stay ahead of the curve, start experimenting with ‘torsion box’ construction for your shelves now. It gives you incredible strength without the bulk of solid timber. I want you to try this: on your next project, don’t just screw into the stud. Use a secondary ledger strip hidden behind the toe-kick. It transfers the vertical load directly to the floor, taking all the shear stress off your wall anchors. It’s a pro move that guarantees your work won’t budge for a decade.
The Hard Truth About Why Tight Screws Often Fail
I used to think that if I could just drive a screw deep enough, the wood would have no choice but to stay. That is a myth. In fact, over-tightening is often what causes the frame to crack or pull away as the house shifts. Here are the lightbulb moments that changed my approach:
- Houses are liquid: They flow, sink, and expand. If you do not use shims to create a ‘buffer zone,’ you are asking the wood to resist the weight of the entire house.
- The 1/8th Inch Rule: Always leave a tiny bit of room for expansion in corners, then cover it with a scribe mold or a proper scribe cut rather than forcing a dry-fit.
- Backing is King: I never trust just the studs anymore. If I cannot open the wall, I use a vanity installation hack involving a heavy-duty plywood cleat to distribute the load and bridge the gap between studs.
#IMAGE_PLACEHOLDER_E#
My Go-To Gear for a Gap-Free Life
To get professional results, you need more than just a standard level and a hammer. I have refined my toolkit to these three essentials. First, the Bosch 360-Degree Laser is non-negotiable; it tells you the truth about floor dips and wall bows that your eyes cannot see. Second, I always refer back to the Architectural Woodwork Institute (AWI) standards for load-bearing tolerances to ensure my anchors match the weight of the unit. Finally, I never start a project without reviewing built-in storage ideas to declutter and enhance your home to ensure the structural design matches the aesthetic goal. These resources ensure that I am not just guessing, but building based on proven engineering.
Go Build Something That Stays Put
Installing creative built-ins for seamless storage is one of the most rewarding ways to upgrade your living space. It turns a house into a custom home. Do not let the fear of a few gaps or uneven walls stop you from starting. By using techniques like the scribing hack for perfect gaps and taking the time to shim your base, you can create pieces that stay flush for a lifetime. Your home is going to move, but your craftsmanship does not have to. Have you ever tried to hide a massive gap with caulk or trim only to have it pop out a few months later? Let me know your gap-fixing horror stories below!