

It was about 2:15 AM when the sound of a hundred falling wrenches echoed through my bedroom floor. I’ll never forget that visceral, metallic ‘clunk-crunch’ that told me my Sunday afternoon project had just turned into a Monday morning nightmare. I walked out to the garage to find my brand-new heavy-duty rack lying face-down across the hood of my car. I’d made the classic mistake: I treated steel studs like they were 2×4 pine. If you’ve ever stared at a pile of twisted metal and wondered why your garage wall tracks are failing under load, you are not alone. Metal studs are a different beast entirely. They aren’t solid; they’re hollow channels of cold-formed steel. When I first started out, I thought a standard plastic anchor would bite into that metal. It didn’t. It just shredded. But after a lot of trial, error, and one very expensive insurance claim, I’ve mastered the 6 steel stud tactics for garage racks that actually hold. Today, we’re going to stop the sagging and prevent the ‘midnight crash’ for good.
The Night My Garage Shelves Tried to Kill My Car
Most of us transition from hanging pictures on drywall to mounting heavy storage without realizing the rules change when wood disappears. When I installed my first set of cabinets, I used the same screws I’d use for built-in storage ideas to declutter elsewhere in the house. Within forty-eight hours, the weight of my tool kits had literally unzipped the screws right out of the thin-gauge metal. It was embarrassing. According to the Steel Framing Industry Association, the thickness of these studs—often just 25-gauge in residential builds—means you only have a fraction of an inch of material for a thread to grab onto. This is why standard fasteners fail. You need a system that creates a mechanical bond, not just a friction fit. Have you ever felt that sinking feeling when you realize your wall isn’t nearly as solid as you thought?
Are Metal Studs Actually Strong Enough?
I get this question every time I help a neighbor. People see that thin, wobbly C-channel and think there’s no way it can hold 200 pounds of camping gear. The truth is, they can, but only if you distribute the load correctly. If you try to point-load a single screw, you’re asking for a collapse. However, if you apply the cleat hack for mounting vanities to steel studs to your garage shelving, you create a structural bridge that makes the wall behave like a single solid unit. We aren’t just ‘screwing things in’ anymore; we are engineering a support system. Before we get into the specific bolts and brackets, you have to accept that the old ways of ‘finding a stud and drilling’ are over. We’re moving toward a smarter, more secure approach that respects the physics of thin-wall steel.To get these racks to stay put, we have to think about weight distribution like a snowshoe on soft powder. If you step with a boot, you sink; if you use a snowshoe, you stay on top. The same applies to metal studs. You cannot rely on a single point of contact, which is exactly why your garage shelves are pulling away from the wall when they are only held by a few screws. You must force the entire wall to carry the load.
Stop Point-Loading Your Walls
The first rule of steel stud survival is spreading the weight horizontally. I always pivot to the steel rail strategy for secure garage wall cabinets even when I’m just installing simple shelving. By running a heavy-duty horizontal rail across three or four studs, you create a structural bridge. This prevents any single stud from twisting or buckling under the vertical pressure of your heavy bins. I remember helping a neighbor who tried to hang a massive 4-foot deep shelf using only two studs. As soon as he loaded his winter tires, the studs literally twisted 45 degrees inside the drywall. We fixed it by stripping the shelf and installing a continuous steel track that tied into five different studs, effectively turning the wall into a solid unit.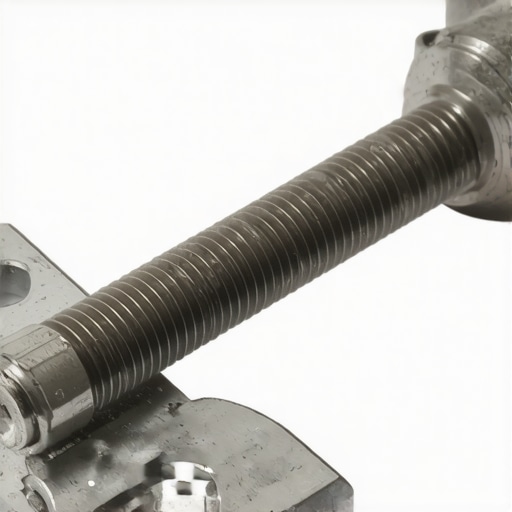
Ditch the Screws for Mechanical Toggles
You need fasteners that actually engage with the back of the metal. Standard self-tapping screws are great for hanging drywall, but they are disastrous for load-bearing. I once spent an afternoon helping my brother-in-law mount a heavy-duty e-bike rack. We initially used high-quality self-tappers, but as soon as he hung the 60-pound bike, the screws just slid out like they were in warm butter. We swapped them for 4 heavy-duty garage rack bolts that wont snap under load, specifically heavy-duty toggle bolts. These work like a localized anchor, expanding a metal ‘wing’ behind the steel flange of the stud. This creates a mechanical sandwich that the stud cannot release unless the steel itself shears off. For things like heavy mirrors, I’ve used the toggle bolt trick for hanging heavy mirrored cabinets with the same success. If you aren’t feeling that ‘click’ of the toggle snapping open behind the metal, your shelf is a ticking time bomb.
Create a Solid Mounting Surface with Plywood
If you are dealing with massive spans or oddly spaced studs, sometimes the metal C-channel just doesn’t offer enough surface area for your brackets. This is where I use a technique common in high-end millwork. I find that the plywood ledger trick for heavy garage overhead racks is the ultimate insurance policy. You secure a 3/4-inch sheet of ACX plywood across the wall, fastening it into every stud you can find with multiple toggles. Now, you have a solid wood surface to mount your racks anywhere you want. This is essentially building a ‘secondary wall’ that is purpose-built for high-capacity storage. It’s the same logic we use for built-in storage ideas to declutter when the existing wall framing is too thin to trust.
While most people focus on finding the center of the stud, the real secret to longevity isn’t location—it’s avoiding the ‘Swiss cheese’ effect. You might think that driving twelve screws into a single vertical channel makes it twice as strong as six, but you’re actually compromising the structural integrity of the cold-formed steel. According to research by the American Iron and Steel Institute (AISI), the pull-out resistance of a fastener is heavily dependent on the surrounding material’s ductility. When you cluster holes too closely, you weaken the flange, making it more likely to tear like a perforated piece of notebook paper. This is a common mistake I see when folks try to apply expert-guide-to-flawless-vanity-installation-tricks-tips to metal-framed walls without adjusting their spacing.
The Torque Trap You Aren’t Seeing
The most expensive ‘oops’ moment I see happens in the last three seconds of installation: over-torquing. If you are using a high-powered impact driver to seat your bolts into metal studs, you are playing a dangerous game. Once that screw strips the thin-gauge metal, the hole is effectively dead. I always tell my clients to stop about 90% of the way and finish the job with a manual socket wrench. It gives you the tactile feedback to know when the toggle has ‘bitten’ without stripping the threads. This is especially true when you are working on vanity-installation-hacks-that-save-time-and-money; one slip and you’ve turned a secure mount into a wobbly mess that will eventually fail. Have you ever fallen into this trap of over-tightening until you hear that sickening ‘pop’? Let me know in the comments.
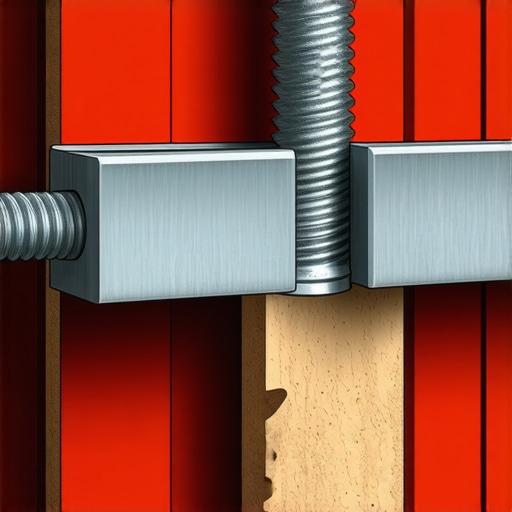
Why do my wall-hung units still tilt even when the bolts are tight?
This is the advanced nuance that separates the pros from the DIYers: the crush factor. Because metal studs are hollow, the pressure of a heavy shelf or cabinet can actually compress the front of the stud and the drywall against the back flange. Even if your bolt is tight, the ‘wall’ itself is slightly collapsing inward under the leverage. This is why-your-floating-shelf-is-tilting-down-and-the-wall-fix often involves more than just better anchors; it requires a rigid backing. To solve this, I often use a solid spacer or the 6-steel-stud-tactics-for-garage-racks-that-actually-hold-2 to bridge the gap. If you’re mounting something like a heavy quartz-topped unit, you might even need 6-heavy-duty-wall-fixes-for-massive-quartz-top-vanities-3 to ensure the vertical load doesn’t buckle the thin metal tracks. Remember, steel is incredibly strong in tension, but surprisingly vulnerable to local buckling when you apply uneven pressure to the side of the C-channel.
For those of you moving beyond the garage and into the main house, the stakes get higher. Whether you’re looking for effortless-storage-solutions-for-a-tidy-stylish-home or trying to implement innovative-storage-solutions-to-transform-your-bathroom, the physics remain the same. Respect the metal, distribute the weight, and never trust a standard screw to do a toggle bolt’s job.
Moving past the initial ‘crunch’ and the torque trap requires a shift in your toolkit. I don’t just reach for a standard impact driver anymore; I’ve learned that steel studs demand finesse over brute force. For every project, from garage racks to high-end bathroom upgrades, I rely on the Hilti HTB Toggles. Unlike the cheap plastic versions that snap during the first season of humidity, these use a zinc-plated channel that stays rigid. When I’m working on an expert guide to flawless vanity installation tricks tips, these are the only fasteners I trust to handle the weight of a stone top without backing out of the metal flange. I also use a neodymium magnet ‘drag’ technique to find the exact edge of the stud—standard stud finders often get confused by the hollow gap behind the metal, but a strong magnet will snap right to the screw heads holding the drywall to the steel.
Tools That Actually Work for Metal Framing
You need to see the wall as a dynamic system. I recommend using a laser level, specifically something like the Kapro 883N, to ensure your horizontal rail is perfectly true across four or five studs. If you are even a quarter-inch off over an eight-foot span, you are introducing shear forces that will eventually tear the screw threads. This precision is what makes the difference when applying vanity installation hacks that save time and money. By getting it right the first time, you avoid the ‘death by a thousand holes’ that ruins the structural integrity of thin-gauge steel. According to technical documentation from the Cold-Formed Steel Engineers Institute (CFSEI), specifically Tech Note W101-14, the spacing of fasteners in a cluster is critical; if you place them closer than three times the nominal diameter, you significantly reduce the load-carrying capacity of the assembly. I always keep my anchors at least 4 inches apart horizontally to respect this engineering limit.
How do I maintain my steel stud installation over time?
Steel studs are more sensitive to vibration and settling than wood. Every six months, I do a ‘weight check’ on my garage racks. I look for the ‘telltale gap’—that sliver of space between the wall and the rack frame. If you see light through there, your toggles are starting to compress the drywall. This is also a great time to check your interior projects, like when you’re choosing the perfect vanity style for your bedroom or bath. If the unit feels even slightly spongy, it’s time to add a secondary support rail. For those aiming for effortless storage solutions for a tidy stylish home, preventative maintenance means tightening the mechanical toggles with a hand screwdriver—never a power tool—to ensure they haven’t vibrated loose from the garage door’s constant thumping.
The Shift Toward Hybrid Residential Framing
Looking ahead to the top trends in vanity designs you need to know in 2025, we are seeing a massive shift toward hybrid framing. Builders are moving away from all-wood structures due to costs, meaning your future homes will likely have even thinner, more ‘efficient’ metal studs. This makes mastering these toggle-bolt and ledger-plate techniques essential. When you enhance your home with sleek built-in vanities design tips for 2025, you won’t be looking for wood; you’ll be looking for structural steel points. I predict that ‘click-in’ track systems will become the standard for all wall-mounted furniture, making the traditional ‘screw-into-the-stud’ method look like a relic of the past. If you want to be ahead of the curve, I challenge you to try the plywood ledger trick on your next small project—even a simple coat rack—to feel how much more secure a mechanical bond is compared to a simple screw.
The Hard Truths About Cold-Formed Steel I Learned the Hard Way
After years of hearing that ‘crunch’ in the middle of the night, I’ve realized that metal studs are much more predictable than wood—if you know what they’re trying to tell you. One of my biggest lightbulb moments was realizing that the drywall itself acts as a liability when mounting heavy items. If you don’t bridge that gap with a solid ledger, you aren’t just hanging a shelf; you’re slowly crushing your wall. This is a common realization when applying vanity installation hacks that save time and money in high-end remodels. Another lesson? The pilot hole is everything. If your bit drifts even an eighth of an inch, the toggle won’t seat flat against the flange, and you’ve lost 40% of your holding power. Finally, remember that steel is a team player. A single anchor will fail, but a horizontal rail across four studs creates a structural system that can handle almost anything you throw at it.
The Gear I Never Enter a Metal-Framed Room Without
If you’re serious about making your storage last, you need to upgrade your toolkit beyond the basics. I personally swear by Hilti HTB Toggles; they are the gold standard because they don’t rely on the plastic strap for strength once the bolt is tightened. I also recommend keeping a set of neodymium magnets in your pocket. They are far more reliable than electronic sensors for finding the exact edge of a steel flange. For those looking to integrate these systems into the rest of the house, perhaps for creative built-ins for seamless storage and home aesthetics, a high-quality laser level like the Kapro 883N is non-negotiable. It ensures your mounting rail is perfectly level, preventing the uneven shear forces that lead to structural failure over time.
Ready to Reclaim Your Garage Floor?
Don’t let the thin profile of residential steel studs intimidate you. Once you move past the old-school wood mindset and embrace the mechanical bond of a proper toggle, you can build a storage system that is actually more consistent than one built on 2x4s. By applying these 6 steel stud tactics for garage racks that actually hold, you are transforming your garage from a cluttered hazard zone into a professional-grade workspace. If you run into a unique wall configuration or need professional advice on a custom project, feel free to contact us to discuss your specific layout. Your tools and gear deserve a home that won’t give way under pressure. Have you ever had a shelf rip out of the wall in the middle of the night? Let me know your horror stories—or your success wins—in the comments below!