

I’ll never forget that sticky Tuesday in August when I went to grab my power drill, only to find my garage cabinet doors completely jammed. I yanked, I grunted, and eventually, the door flew open with a sickening crack as the wood fibers tore away. It felt like my garage was fighting back. That was the moment I realized my beautiful storage setup was losing the war against the local humidity. Most people think a little moisture is just part of garage life, but let me tell you, watching your investment warp into a series of wavy lines is heartbreaking. Today, I’m going to show you exactly how to stop that swelling before it ruins your cabinetry for good.
The Day My Garage Cabinets Decided to Grow a Size Larger
It’s easy to blame the weather, but the real culprit was my own lack of foresight. When I first installed my garage units, I treated them like indoor furniture, which is a massive mistake I see people make all the time. I didn’t think about the fact that wood is basically a giant sponge. My first big blunder? I left the back edges of my cabinet doors unsealed, thinking no one would ever see them. Humidity doesn’t care about aesthetics; it finds every naked wood fiber and goes to town. If you’ve noticed your doors sticking or your laundry room cabinets warping, you are seeing this expansion in real-time. According to the USDA Forest Products Laboratory, wood can change dimensions significantly when the relative humidity shifts from 30% to 80%. This is especially true for the ends of boards where the grain is most exposed.
Is Wood Actually the Best Choice for a Damp Garage?
Many of my neighbors tell me they’ve given up on wood altogether and switched to plastic or metal. But I still believe in the warmth and strength of custom wood storage, provided you treat it right. If you’re dealing with moisture on cold basement floors or a damp garage, you don’t have to throw in the towel. You just need a better barrier. Have you ever walked into your garage and felt like the doors were physically resisting you? Tell me I’m not the only one who has nearly ripped a handle off in frustration! We’re going to dive into the sealant strategies and airflow tricks that finally gave me my smooth-swinging doors back. If you want to see how we handle these issues in professional installs, you might want to look at our waterproofing fixes for high-use areas as a baseline for what works.
Armor Your Wood with Marine-Grade Sealant
Think of sealant as a specialized raincoat for your cabinets. When I was first starting out, I would just swipe a bit of finish on the visible fronts and call it a day. That was a rookie mistake. You must focus on the end grain—those thirsty, open wood fibers at the top and bottom of your doors and side panels. I once spent a grueling Saturday afternoon dismounting an entire wall of units just to coat the hidden backsides with a high-quality oil-based spar urethane. It was tedious, but those cabinets haven’t moved a millimeter in five years. If you are tackling a project like this, reviewing an expert guide to flawless vanity installation tricks tips can provide a professional perspective on surface preparation before you ever pick up a drill.
Lift the Base to Break the Capillary Action
Concrete is essentially a hard, grey sponge. If your cabinet base sits directly on the garage floor, it will suck up ground moisture through capillary action. I learned this lesson the hard way when the bottom of my utility locker turned into something resembling wet cardboard. You must create a physical break between the floor and the wood. Using heavy-duty plastic leveling legs or a pressure-treated ‘sleeper’ base is non-negotiable. This is the same logic we apply to the moisture barrier fix for vanities on cold basement floors. By elevating the unit even half an inch, you allow air to circulate and prevent the wood from drinking up every puddle or bit of morning condensation.
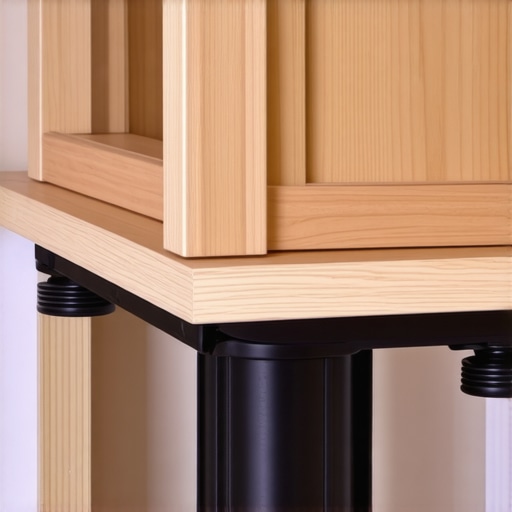
Install Vents to Stop Stagnant Air
A completely sealed box in a humid garage is a recipe for internal mold and catastrophic warping. If the air trapped inside the cabinet remains more humid than the surrounding environment, the wood will expand unevenly, leading to doors that will never shut properly again. I have started incorporating small, inconspicuous circular vents in the back panels, or utilizing the stealth venting move for built-in media centers to maintain airflow. Even a few one-inch holes drilled at the top and bottom of the side panels create a natural chimney effect, pulling fresh air through the unit and keeping the internal moisture levels balanced with the rest of the room.
Reinforce the Frame Against Natural Movement
Sometimes, despite your best sealing efforts, nature wins and the wood attempts to move. This is where you need to bring in mechanical reinforcement. I no longer rely on simple wood screws for garage installs because they can pull through softened fibers. Instead, I utilize the steel rail strategy for secure garage wall cabinets to ensure the entire carcass stays perfectly square against the wall. If a large panel starts to develop a slight cup or bow, adding 6 heavy-duty l-brackets for reinforcing custom-built-in units to the internal corners provides the rigid structure needed to resist torsional force. Last winter, a heavy tool cabinet of mine began to lean due to the weight and slight wood shift; two steel brackets and a few structural screws snapped the frame back into perfect alignment before the hinges could fail.
Let’s dig deeper into a nuance that even some seasoned contractors miss: the myth of the “perfect fit.” We’ve been conditioned to think that a cabinet should sit flush against every wall and floor with zero gaps. In a climate-controlled living room, you might get away with that. In a garage? That’s a death sentence for your woodwork. If you install a unit with zero-tolerance spacing, you aren’t being precise; you’re being reckless. Wood needs a seasonal reveal. When the humidity spikes, that wood is going to expand, and if it has nowhere to go, it will crush its own joints or pull the anchors right out of the wall.
Stop Aiming for a Dead-Tight Fit
The biggest mistake I see is people forcing a cabinet frame to marry perfectly with an uneven wall. When I tackle these projects, I use the back bevin trick for scribing cabinets to out-of-plumb walls. This allows the front edge to look seamless while leaving a hidden relief behind it for air and movement. If you don’t allow for this, the pressure from a swelling wall or floor will eventually cause your built-in face frames to separate from the wall. It’s a slow-motion disaster that usually starts the first summer after installation.
Why Does Your Cabinet Door Only Rub in July?
This is the question that haunts homeowners every summer. The answer lies in the physics of moisture. According to the Architectural Woodwork Institute (AWI), wood products perform best when kept in an environment with 25% to 55% relative humidity. In many garages, we see swings from 15% in the winter to 90% in the summer. If you’ve followed an expert guide to flawless vanity installation tricks tips, you know that preparation is everything, but you must also plan for the “extreme” season. A door that has an eighth-inch gap in January might be physically locked shut by August if the internal moisture content of the wood increases by even 4%.
The Hidden Micro-Climate Trap
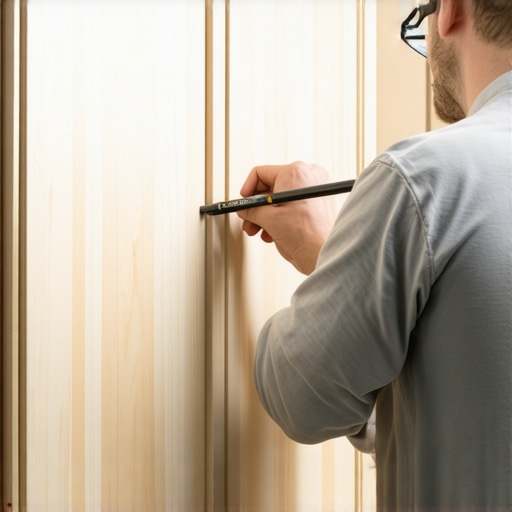
Most people focus on the moisture they can see, like a puddle on the floor. But the real danger is the stagnant air trapped behind the cabinets. This creates a micro-climate where mold thrives and the back panels of your units begin to delaminate. I always advocate for a ventilation gap. By using the moisture proof baseboard move for basement built-ins, you create a sacrificial barrier that protects the structural integrity of the box. I’ve seen beautiful creative built-ins for seamless storage and home aesthetics ruined because the installer forgot that the wall behind the cabinet is often 10 degrees colder than the air inside it, leading to hidden condensation. Have you ever fallen into this trap and found mold behind a perfectly good cabinet? Let me know in the comments. We need to stop treating garages like indoor closets and start treating them like the outdoor environments they actually are.
Keeping your cabinets square is only half the battle; the other half is making sure the moving parts actually move. I’ve seen too many DIYers spend a fortune on effortless storage solutions for a tidy stylish home only to have the hinges seize up after one salty winter. My secret weapon isn’t a fancy oil; it’s a can of dry PTFE lubricant. It creates a slick barrier that doesn’t hold onto the inevitable wood dust that fills a garage workshop. If you’re noticing a lag in your drawers, check out these 7 moisture barriers for vanities in high humidity bathrooms to see how we protect the base materials before the hardware even goes on.
How do I keep my garage storage working for the next decade?
Maintenance isn’t a ‘one and done’ event. Every spring and fall, I take a literal five minutes to walk through the garage and check the reveal gaps between doors. If a gap has disappeared, I know that specific cabinet is holding too much moisture. I also recommend checking your mounting points. For anything carrying a real load, I rely on 4 heavy-duty garage rack bolts that won’t snap under load. I personally witnessed a standard lag bolt shear off during a particularly humid July because the wood swelled so much it put ‘bottle-opener’ pressure on the bolt head. Upgrading to structural-grade fasteners isn’t just an option; it’s insurance.
Why Structural Fasteners Win the War Against Wood Movement
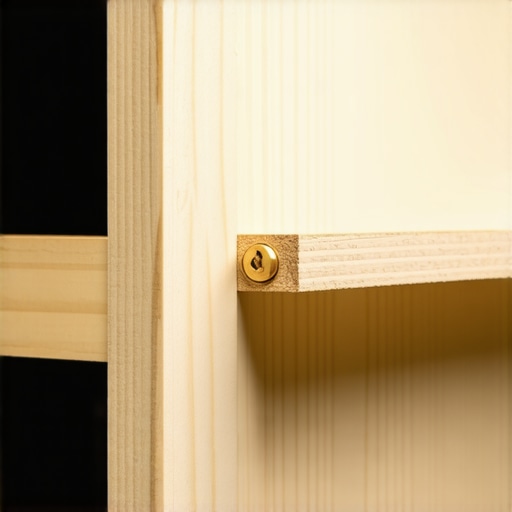
When wood expands, the forces are surprisingly massive. Standard screws have a brittle core that can’t handle the twisting caused by a warping board. This is why I always use the structural screw choice for heavy duty garage workbenches. According to technical data from Simpson Strong-Tie (Tech Bulletin L-F-SDMS22), these screws are heat-treated differently to allow for slight bending without snapping. This ‘give’ is exactly what saves your built-in storage ideas to declutter and enhance your home when the garage environment gets aggressive.
The Rise of Active Climate Monitoring in Home Workshops
I predict that in the next few years, ‘smart cabinets’ won’t just be for high-end kitchens. I’ve already started installing low-voltage, silent fans in my larger units, triggered by cheap humidity sensors. This is the ultimate evolution of the stealth venting trick for heat generating media cabinets. If the air inside hits 60% humidity, the fan kicks on and pulls in drier air. It’s an easy weekend upgrade that could save you thousands in cabinet replacement costs. My challenge to you: buy a $10 digital hygrometer today and stick it inside your stickiest cabinet. You’ll be shocked at what you find!
The Hardest Lessons I Learned About Garage Built-ins
Looking back at my early days, I realize I was trying to fight physics with a toothpick. Here is the insider wisdom I wish I had on that first sticky Tuesday: First, humidity is a patient predator. Just because your doors don’t stick in April doesn’t mean they won’t seize in July. Second, never trust a ‘pre-finished’ label on a back panel; those are usually the first to peel when moisture gets behind them. Third, the biggest lightbulb moment for me was realizing that perfect is the enemy of durable. Leaving that tiny 1/8th inch ‘seasonal reveal’ felt sloppy at first, but now it’s the signature of a pro who knows wood needs room to breathe. If you are aiming for creative built-ins for seamless storage and home aesthetics, you have to respect the environment as much as the design.
#IMAGE_PLACEHOLDER_FINAL#
My Essential Toolset for Humidity-Resistant Storage
You don’t need a massive budget to save your cabinetry, but you do need the right kit. Here are the three items that live in my ‘humidity survival’ bucket: Dry PTFE Lubricant is non-negotiable for hinge longevity—unlike oil, it won’t turn into a sticky mess with sawdust. Digital Hygrometers are the only way to stop guessing and start knowing your internal cabinet moisture levels. Finally, always keep a stash of structural screws; following an expert guide to flawless vanity installation tricks tips is much easier when you have fasteners that won’t snap under the pressure of swelling wood. These small investments are what separate effortless storage solutions for a tidy stylish home from a warped nightmare.
The Future of Your Custom Workshop Starts Here
The humidity might be out of your control, but how your cabinets react to it is entirely up to you. Don’t wait for the first crack or the first jammed drawer to take action. Whether you are sealing an old unit or planning a brand-new build, these extra steps of venting and elevating will pay off for decades. You’ve got the knowledge now to build something that lasts through every season. What’s the one cabinet in your garage that always seems to stick first? Let me know in the comments below!