

I stood there, staring at a three-thousand-dollar custom vanity that looked like it was social distancing from the wall. The gap at the top was wide enough to swallow my tape measure, while the bottom was tight. It was a classic out-of-plumb nightmare. I’d followed every step-by-step guide to vanity installation I could find, yet here I was, sweating through my shirt in a client’s master bathroom. That’s when an old-timer on the crew showed me the Back-Bevin trick. It changed everything. I realized that walls are never straight, but my cabinets could still look like they were. Today, I’m pulling back the curtain on this old-school technique so you never have to settle for good enough again. We’re going to turn those crooked walls into a backdrop for a perfectly flush finish. Whether you are tackling creative built-ins for seamless storage or a simple bathroom refresh, this is the skill that separates the pros from the weekend warriors.
Stop Fighting Your Walls and Start Scribing Smart
Most houses, especially older ones, are built with a close enough mentality that cabinet makers just can’t afford. According to research from the National Association of Home Builders, wall plumbness can vary significantly even in new builds, often exceeding the 1/8-inch tolerance that precision cabinetry requires. My big mistake early on? I used to think I could just sand it down until it fit. I ended up with a wavy edge, a ruined finish, and a lot of sawdust. I’ve learned that fitting vanities against out-of-plumb walls requires a strategy, not just brute force. The Back-Bevin trick involves back-cutting the scribe at an angle, allowing the front edge to touch the wall first while leaving room for the bulk of the material behind it. This creates a razor-sharp line that hugs every bump and dip in the plaster. Have you ever spent hours trying to level a cabinet only to find the wall was leaning away from you the whole time?
Is this technique actually worth the extra shop time?
You might be thinking this is just more over-engineering. I get it. We all want to finish the job and get home. But here’s the truth: a poorly fit cabinet screams amateur. Whether you are dealing with vanity installation hacks that save time and money or complex built-in storage ideas to declutter, the Back-Bevin method is the difference between a gap that needs a gallon of caulk and a joint that looks like it grew out of the drywall. It’s about more than just aesthetics; it’s about the structural integrity of the install. When your face frame is tight to the wall, the whole unit is more stable. Now, let’s get into the actual mechanics of how to set your compass and make that first cut.
Level Your Unit Before the Pencil Hits the Finish
You cannot get an accurate scribe if the cabinet isn’t sitting exactly where it belongs in the final design. I start by utilizing 7 tactics for leveling vanities on sloping tile floors to ensure the box is perfectly plumb and level relative to the room, not just the floor. If the cabinet is leaning even a fraction of a degree forward, your scribe line will be a lie. Once it’s locked in place—usually secured with a few temporary shims—find the widest gap between the cabinet side and the wall. This is your baseline. Set your compass to that exact distance. If you are working with a scribing tool for cabinets against textured plaster walls, ensure the metal point is sharp enough to track through years of paint build-up. I learned this the hard way on a 1920s farmhouse renovation where the walls were so bowed they looked like the hull of a ship. Without a level starting point, my first attempt at scribing resulted in a gap that I could have stuffed a sandwich through.
Mastering the Horizontal Compass Drag
The physical act of scribing is like playing a precision instrument. Most people trip up by tilting the compass up or down as they move. If the angle of your hand changes, the distance between the wall and the pencil point changes, leading to a wavy line that doesn’t match the wall’s profile. You have to keep the compass perfectly parallel to the floor. Think of it as a train on a track; it only moves horizontally. I once rushed this on a project for a custom vanity expert design and ended up with a unsightly gap at the bottom that forced me to use shoe molding—a total rookie move that cost me a full day of shop time to fix. Lock your elbow, keep your eyes on the contact point, and pull the line in one smooth motion.
Why the 45-Degree Back-Cut Changes Everything
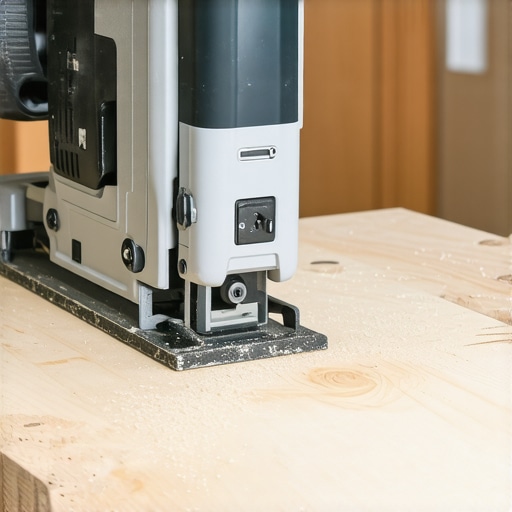 The “Bevin” in this technique refers to the back-bevel. Instead of cutting straight through the wood at a 90-degree angle, you set your jigsaw or circular saw to a 30 or 45-degree angle, cutting away from the finished face. You want the “long” side of the cut to be the visible edge of the cabinet. This creates a knife-like point on the front. This is the secret for how to scribe cabinets to heavily textured plaster walls because that sharp edge can tuck into tiny dips and grain patterns in the plaster that a thick, square-cut board would simply jump over. By removing the bulk of the material behind the line, you give yourself room to “crush” the edge slightly against the drywall for a seamless fit.
Clean Your Edge Without Losing the Line
Even with a perfect cut, saw blades leave micro-fuzz that can prevent a tight fit. This is part of the expert guide to flawless vanity installation tricks tips that separates masters from apprentices: always finish with a sanding block. Take 120-grit paper and lightly ease that sharp front edge. You aren’t trying to change the shape; you’re just cleaning up the “whiskers.” When you finally push that cabinet into its permanent home, that back-beveled edge will hug the wall so tightly it looks like it was factory-molded to the room. Using these vanity installation hacks that save time and money ensures that even the most crooked wall in the house becomes invisible once the face frame is set.Everyone tells you that maximizing volume is the goal of any renovation, but I’ve found that deep cabinets are often where items go to die. Most homeowners think that deeper means more value, but in reality, a 24-inch deep bathroom vanity can become a black hole for toiletries. I advocate for shallower, more intentional dimensions. When you are looking for creative storage solutions for vanities to declutter in style, remember that accessibility beats raw volume every time. If you can’t see it, you don’t use it. I’ve seen clients spend thousands on smart storage solutions to optimize small bathroom spaces, only to realize they’ve built a unit so deep they need a flashlight to find their toothpaste.
More Cabinets Won’t Fix a Poor Layout
The hidden nuance of high-end work isn’t just how the cabinet fits the wall; it’s how the cabinet fits the human. A common mistake I see is prioritizing aesthetics over the ‘swing and reach’ of the user. Have you ever fallen into this trap of over-building only to lose things in the back of a deep shelf? Let me know in the comments. When I consult on maximize your space with custom vanity expert design tips, I always suggest pulling the internal shelves back or using graduated depths. This keeps the weight centered and the workflow logical.
Why is my built-in face frame separating from the wall?
Even the most perfect Back-Bevin scribe can fail if you ignore the environment. This is the biggest ‘oops’ factor in the industry: failing to account for wood movement. According to the USDA Forest Products Laboratory, wood is a hygroscopic material, meaning it constantly expands and contracts based on the ambient humidity of the room. If you pin a face frame too tightly without allowing for this movement, the wood will eventually find a way to move—usually by cracking the joint or pulling away from the drywall. 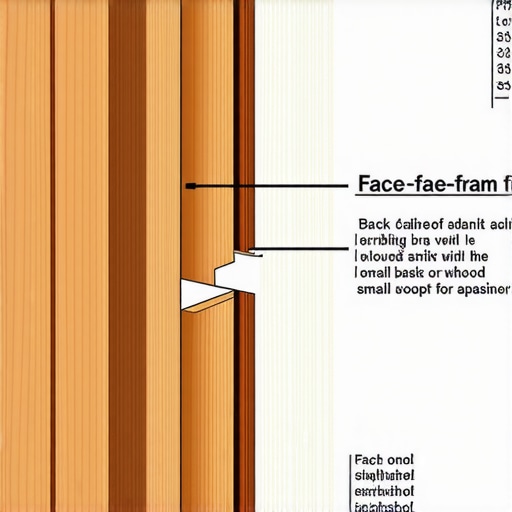 This is why using 7 moisture barriers for vanities in high-humidity bathrooms is non-negotiable. You aren’t just fitting a box; you are managing a living material.
Don’t Ignore the Moisture Math in Your Master Bath
Another trap is the ‘over-tight’ installation. If you’ve followed an expert guide to flawless vanity installation tricks tips, you know that a tight fit is the goal, but there’s a difference between a snug fit and a forced fit. I’ve seen many built-in face frames separating from the wall because the installer used 3-inch deck screws to bridge a gap that should have been shimmed. This puts the entire cabinet under tension. When you then add a massive stone top, you have a recipe for disaster. This tension is often why your heavy quartz vanity is cracking the cabinet frame—the wood wants to relax, but the stone and the screws won’t let it. Real expertise lies in knowing when to leave a 1/32-inch gap for the sake of the cabinet’s long-term health.I don’t leave my workshop without my Starrett combination square and my high-precision scribe tool. I’ve spent thousands of dollars on equipment that promised to make my life easier, but only a handful actually earned their spot in my truck. When I’m finishing a high-end install, I swear by the AccuScribe Pro. It’s not just a compass; it’s a stabilizer for your hand. If you’re serious about using the scribing tool for cabinets against textured plaster walls, you need something that won’t flex when you hit a bump in the drywall. I also never trust a cheap bubble level for setting a base. I use a Stabila digital level because even a 0.1-degree variance can cause a pantry pull-out to tilt or bind over time. 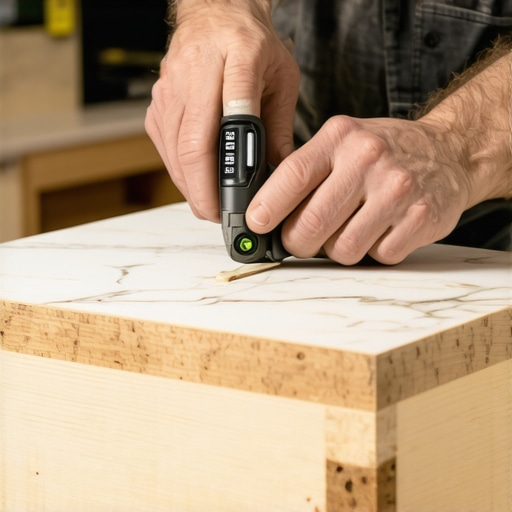 Maintenance isn’t just about wiping down the dust; it’s about checking the hardware. According to technical documentation from the Architectural Woodwork Institute (AWI), the hardware on a high-use unit like a vanity or kitchen cabinet should be rated for at least 50,000 cycles. If you’re seeing drawer fronts that won’t stay aligned, it’s usually a sign that the initial mounting was slightly off-kilter or the wood has shifted with the seasons.
How can I keep my custom built-ins looking new for decades?
The secret to longevity is moisture management. I tell every client that they need to treat their bathroom like a laboratory. If you aren’t using 7 moisture barriers for vanities in high-humidity bathrooms, you’re just waiting for the finish to bloom and peel. Check your silicone seals every six months. A tiny hairline crack around the sink can allow water to seep into the core, leading to irreversible swelling. For larger projects, like when you enhance your home with sleek built-in vanities, I recommend a yearly hardware tune-up. Take a screwdriver and ensure the hinges are snug.
Smart Tech is Coming for Your Closet
Looking ahead to 2025 and beyond, we are seeing a massive shift toward invisible technology. I predict that top trends in vanity designs will move away from bulky external hardware and toward integrated touch-to-open sensors and internal climate control. Imagine a vanity that automatically de-humidifies its own interior to protect your expensive electronics. We are already seeing this in smart storage solutions to optimize small bathroom spaces where every square inch is used for both power and organization. I want you to try this: go to your most heavily used cabinet today and check the bottom edge for any signs of swelling or loose screws. Catching these small issues now is what prevents a total replacement five years down the line. If you’re ready to level up your next project, look into the expert guide to flawless vanity installation tricks tips and stop settling for good enough.
The Hardest Lessons I Learned on the Job Site
After years of wrestling with crooked drywall, I’ve realized that the “perfect” install is often an illusion created by smart techniques rather than perfect conditions. One lightbulb moment was discovering that less is more when it comes to material removal; you can always sand more off, but you can’t put it back on once the scribe is too deep. I also learned that fixing uneven gaps in custom built-in doors usually starts with the box being out of square, not the hinges being faulty. Another tip? Always scribe twice and cut once. If the line looks off, it probably is. Trust your eyes over your pencil every single time.
Tools That Make the Difference Between Amateur and Pro
I don’t gatekeep the gear that makes my life easier and my joints tighter. First, the AccuScribe Pro is non-negotiable if you are working with a scribing tool for cabinets against textured plaster walls. It keeps the pencil rigid, which is half the battle when tracking bumps. Second, I always keep a copy of the AWI Woodworking Standards in mind; it’s the ultimate guide for understanding how wood reacts to its environment. For those tricky basement installs, I rely on a moisture-proof shim strategy to ensure the base stays stable even in humid conditions. Finally, a Starrett combination square is the only tool I trust for marking my back-bevel angles with absolute precision.
#IMAGE_PLACE_HOLDER_E#
Take the Leap into High-End Cabinetry
Don’t let a wonky wall or a complex layout intimidate you from starting your next renovation. Whether you are choosing the perfect vanity style for a client or learning how to anchor floating vanities to old brick bathroom walls, the skills you’ve learned here—from the Back-Bevin trick to smart leveling—will elevate your craftsmanship. The world needs more builders who care about the details that no one else sees. Your next vanity installation is the perfect opportunity to prove that even in a world of crooked walls, your work can stand perfectly true. Have you ever encountered a wall so crooked it made you want to walk off the job? Let me know how you handled it in the comments below!