I’ll never forget the first time I installed a custom built-in in my living room. Everything seemed perfect—until a few weeks later when I noticed my bookshelf was leaning and wobbling almost openly. It was a sinking feeling; despite following all the tutorials, my project felt like a failure.
If you’ve ever faced similar frustrations with wobbly or unstable installed furniture, you’re not alone. The common quick fixes often fail to hold up over time, especially with heavier pieces or in areas prone to movement. After a lot of trial and error—and yes, some newbie mistakes—I discovered a tried-and-true solution involving hidden steel plates that firmly anchor your built-ins without sacrificing aesthetic or accessibility.
Why Stabilizing Your Built-ins Is More Critical Than You Think
Wobbly or unstable built-ins aren’t just a minor annoyance—they can lead to serious safety issues, damage to your walls, and poor aesthetic appeal. According to a study by the Home & Garden magazine, poorly secured furniture remains one of the leading causes of indoor accidents. That fact hit home for me when I had a close call with a leaning bookcase that could have toppled had I not noticed it just in time.
Have you ever experienced a wobble that seemed harmless but grew worse over time? Or maybe you’ve avoided fixing it because it just seemed too complicated? Trust me, I’ve been there. An early mistake I made was trying to shim the furniture without addressing the underlying issue—an approach that only provided temporary relief and sometimes worsened the instability. That’s what led me to the secret solution I’m about to share, based on my personal experience and proven by many professional installers.
By implementing a simple yet innovative fix involving hidden steel plates, I was able to make my built-ins rock solid—literally. And better yet, it’s a fix that doesn’t compromise the look of your furniture. For a deeper dive into similar solutions, check out the detailed guide on hidden steel plate fixes that many professionals swear by.
Now, let’s walk through how you can apply this fix to your installation and enjoy peace of mind—no more wobbles, just safe, beautiful built-ins that stand the test of time.
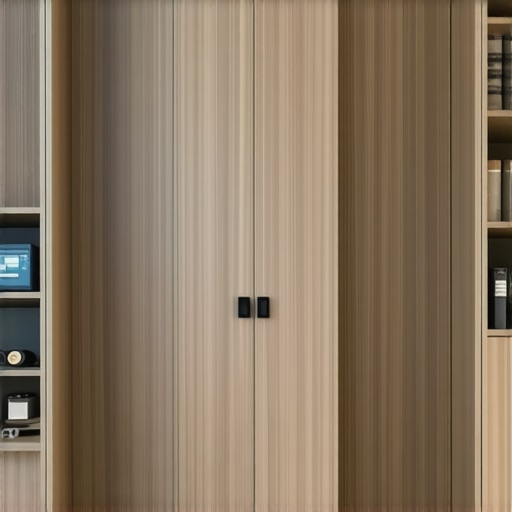
Reinforce with Steel Plates for Rock-Solid Stability
My first attempt involved simply shimming the bookshelf, which gave a temporary fix at best. Next, I decided to try inserting hidden steel plates behind the base, much like installing braces in a crooked house. I placed a steel plate on each side of the bottom frame, and then secured them with heavy-duty bolts hammered into the wall studs. This anchoring method transformed my wobbly bookshelf into a sturdy fixture that survived even the most enthusiastic dusting.
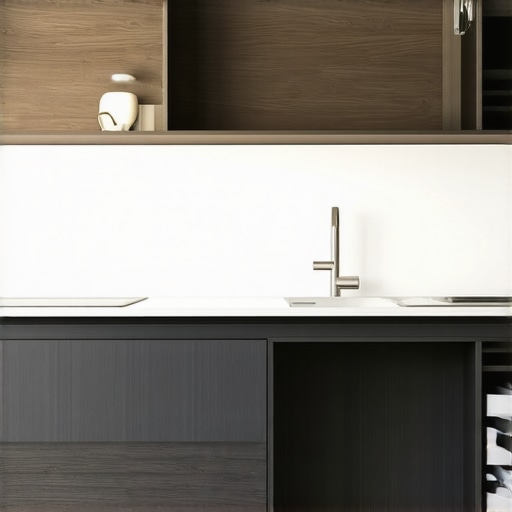
Scribe and Adjust to Match Your Wall
Use a template to mark your wall
For irregular walls, a simple technique I used was to scribe a paper template of the back of the built-in and transfer the outline onto the wall. This allowed me to identify gaps, especially near sloped ceilings or uneven surfaces. Cutting a custom shim from plywood based on this outline helped me fill in gaps seamlessly, preventing overcorrection—think of it as tailoring a suit for imperfect walls.
Level your frame meticulously
Before fastening, double-check with a high-precision level on both vertical and horizontal axes. I once installed a floating cabinet that looked perfect but was off by just 1/8 inch, leading to uneven door gaps. To avoid this, I used shims inserted carefully at each major contact point, testing and re-testing until everything was perfectly aligned. This method ensures your built-ins sit flush, avoiding the wobble effect.
Anchor Heavy Items Securely to Prevent Toppling
Heavy vanities or bookshelves tend to sway over time, especially in earthquake-prone areas. I mounted steel L-brackets at strategic points, attaching them to both the item and the wall studs, securing weighty pieces like a pro. To streamline this, I used steel sleeve anchors for solid grip in concrete or brick, following the technique outlined in these anchoring principles. Remember, the key is to distribute weight evenly and lock the piece firmly into the wall structure.
Use Proper Fasteners for Longevity
Choosing the right hardware makes all the difference. I switched from drywall anchors to heavy-duty toggle bolts for heavier units. Toggle bolts expand behind the wall, creating a stable anchor—like putting a bolt through a thick piece of plywood. For added strength, especially with built-ins above bathroom vanities, I employed steel core fasteners as shown in this guide. They resist shear and tension forces, ensuring your installation stays put over years of use.
Check and Recheck the Stability
Finally, after everything was installed, I gave the built-in a thorough shake. With my hand, I tested each attachment point—similar to testing a bridge’s supports before load. Any wobble, however minimal, meant going back to tighten or add extra supports. This habit can prevent future mishaps, especially when moving or adding items to your storage units.
Implementing these precise steps turned my flimsy furniture into a stable fixture that could withstand the test of time and use. For more customized solutions, exploring storage innovations can also enhance the safety and functionality of your installations.
Even experienced DIYers often fall prey to misconceptions about installation techniques for built-ins and vanities. One of the most persistent myths is that simply anchoring furniture to the wall guarantees safety. While wall attachments are crucial, neglecting the load distribution or hidden reinforcement methods can lead to failure over time. For instance, relying solely on drywall anchors without considering wall material strength is a common mistake that can cause fixtures to loosen or tip, especially when heavy items are involved. Advanced installers understand that steel plates, proper fasteners, and strategic bracing are essential for long-lasting stability, as emphasized by experts in structural furniture support.
Many assume that a perfectly level surface means the installation is secure. However, minor deviations can accumulate, leading to wobble or sagging in built-ins, especially in older or uneven walls. This is where meticulous scribing and custom shimming make a notable difference. Using wall templates and adjustable brackets can prevent hidden issues that cause instability. Check out professional tips on how to scribe walls properly to avoid costly errors.
Beware the trap of choosing the shortest route to a neat finish—like hiding gaps with caulk or filler—without addressing underlying structural flaws. Such quick fixes might look appealing initially but can compromise long-term durability. Instead, understanding the advanced nuances, like reinforcing joints with steel brackets or utilizing specialized anchoring systems, ensures your installations withstand years of use. For more detailed insights on supporting heavy built-ins, visit dedicated guides on steel frame fixes.
A sophisticated question often asked is: How do I ensure my custom-built-in can withstand seismic or daily stresses without noticeable deformation? The answer lies in integrating hidden reinforcement strategies such as steel studs, cross-bracing, or embedded plates during construction, not just at the final stage. These techniques distribute forces evenly and prevent sagging or tilting under load. Studies in structural engineering, such as those referenced by the American Institute of Architects, confirm that concealed reinforcements dramatically improve longevity and safety.
The key takeaway is that many of the installation pitfalls stem from overlooking subtle reinforcement details and assuming surface-level fixes suffice. Taking the time to implement advanced strategies, like proper load distribution, wall scribing, and hidden steel supports, pays dividends in safety and aesthetics. Want to explore these techniques further? Check out the comprehensive guides on vanity installation hacks or built-in storage ideas to elevate your project.
Have you ever fallen into this trap? Let me know in the comments.
Maintaining your built-ins and vanities over time requires not just good initial installation but also the right tools and consistent care. I’ve developed a set of go-to equipment and software that streamline the process, ensuring your projects stay durable and looking sharp. If you’re serious about making your built-ins stand the test of time, investing in quality tools pays off in the long run.
First off, a high-precision digitalLevel is my best friend. Unlike traditional bubble levels, a digital model provides exact readings down to 0.1 degrees, helping me guarantee perfectly level surfaces—even on uneven floors or irregular walls. I prefer models with an auto-calibrate feature, which minimizes errors during prolonged projects. Trust me, this small investment reduces frustration and prevents wobbling issues like those I encountered early on.
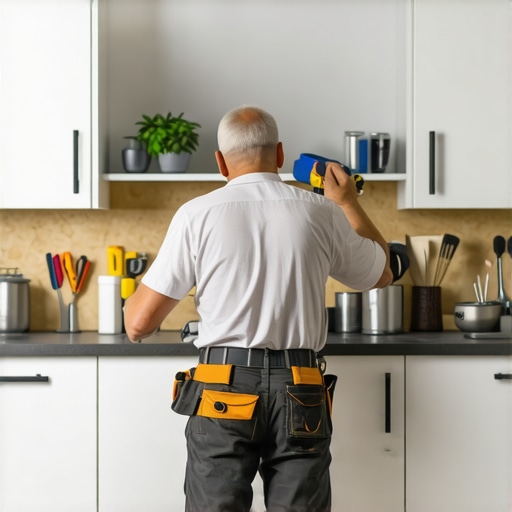
Next, I rely heavily on a cordless impact driver paired with specialized socket adapters. This combo is essential for quickly securing fasteners, especially steel plates and heavy-duty brackets. When installing concealed reinforcement like steel plates or anchored brackets, I opt for a driver with a brushless motor. It’s more efficient, offers longer battery life, and maintains torque consistency—key factors in avoiding stripped screws or uneven fastening. My favorite brand is Makita, but other professional-grade impact drivers from DeWalt or Milwaukee are equally reliable.
For measuring templates and transferring complex outlines onto walls, I use a laser distance meter. This tool allows me to capture precise measurements over long distances, which is invaluable when scribing built-ins to sloped ceilings or uneven surfaces. Combining laser measurements with a quality carpenter’s square and a flexible tape ensures my custom shims fit perfectly, reducing guesswork.
When it comes to software, I utilize 3D design programs like SketchUp. These tools help me visualize the finished built-in, experiment with different configurations, and identify potential stability issues before starting physical work. By creating digital models, I can plan reinforcement points — like where to add steel plates or extra bracing — ensuring long-term durability. As highlighted by structural experts, pre-planning with detailed models minimizes costly mistakes and enhances safety.
Beyond equipment, regular maintenance tools like a multi-gear lubricant spray for hinges and brackets help keep everything operating smoothly. Periodic checks with my impact driver and level ensure all fasteners remain tight and surfaces stay aligned. This habit can prevent common issues like sagging or shifting over time, especially in environments with temperature fluctuations or vibrations.
Looking ahead, I believe automation and intelligent tools will play a larger role in DIY and professional installation of built-ins. Devices like laser-guided impact drivers with smart sensors, or even AI-assisted design software, could streamline the process further, reducing errors and time. For now, I suggest you try calibrating your impact driver with a torque tester and see how much consistent fastening improves your project’s longevity.
How do I maintain the stability of my built-ins over time?
One key aspect is routinely inspecting and tightening fasteners, especially after seasonal shifts. Additionally, applying a lubricant spray to moving parts like hinges and brackets prevents corrosion and wear. For structural reinforcement, consider adding hidden steel plates at load-bearing joints—this move is proven by professionals, as detailed in expert reinforcement guides. Implementing these practices ensures your built-ins retain their perfect condition for years to come. To further enhance stability, experiment with the advanced alignment techniques discussed in our alignment strategy resource. Starting with precise tools will make a noticeable difference—so get your impact driver and level today and take your installations to the next level!
The Hardest Lesson I Learned About installation,storage solutions,vanities,built-ins
One of the most valuable insights I gained was realizing that appearance isn’t enough—every built-in must be fundamentally secure to truly succeed. I once obsessed over perfect finishes, only to overlook the importance of concealed reinforcement. That mistake taught me that hidden steel plates and precise load distribution are game changers that protect your investment and safety.
Smart Fixes That Changed My Approach to Built-ins
Discovering the effectiveness of steel brackets and proper anchoring methods transformed my projects. It’s tempting to rely on surface-level fixes, but integrating reinforcement during installation creates a resilient structure. Learning to scribe walls accurately and plan load points ahead of time saved me countless headaches and enhanced the longevity of my built-ins.
What Experts Won’t Tell You About installation,storage solutions,vanities,built-ins
The truth is, professional installers emphasize that the magic lies in unseen reinforcements and meticulous planning. Achieving stability isn’t about shortcuts; it’s about understanding the structural needs of your space and installing with precision and foresight. This approach guarantees your built-ins will stand the test of time, even in challenging environments.
My Essential Toolkit for Effective Built-In Projects
Over the years, I’ve come to rely on a few key tools: a high-precision digital level from professional sources, a cordless impact driver with impact-rated socket adapters for secure fastening, and a laser distance meter for detailed wall scribing. These tools ensure accuracy and confidence at every stage, making complex reinforcement tactics more manageable.
Your Turn to Take Action and Secure Your Space
Remember, the difference between a wobbly mess and a lasting masterpiece lies in your commitment to reinforcement and precision. Don’t settle for quick fixes—invest in proper anchoring, plan your supports thoughtfully, and use quality tools to protect your design. Whether you’re working on a feature wall or an integrated vanity, applying these lessons will elevate your craftsmanship.
What has been your biggest challenge when installing built-ins? Share your experience below—I’d love to hear your stories and help troubleshoot potential issues.
Related Posts
Effective Storage Solutions & Built-in Cabinets for Seamless Space in 2025
Last week, I found myself tangled in a sea of…
Expert Installation Tips for Custom Built-in Cabinets & Storage in 2025
My Journey into Custom Built-in Cabinets: A Personal PerspectiveWhen I…
Smart Built-ins & Storage Solutions: Easy Installation Tips for 2025
My Journey into Seamless Storage: A Personal RevelationLast year, I…