

I stood there, coffee dripping off the edge of my new marble counter, staring at my ‘perfect’ kitchen island that had just betrayed me with a three-inch wobble. If you’ve ever felt that sickening shimmy when you’re trying to knead dough or even just lean over to chat, you know exactly what I’m talking about. It makes a high-end kitchen feel like a cheap stage set. Today, I’m going to show you how to move past the ‘just throw some silicone under it’ phase and actually secure that beast once and for all using a subfloor anchor system that works. We’re going to dive into the exact hardware that keeps your centerpieces from shifting, even if your floor is as uneven as a mountain range.
Why Your Island Moves Every Time You Chop Vegetables
Most people assume that the sheer weight of a custom island—especially one with a heavy stone top—will keep it in place. I used to think the same thing. In fact, on my very first major install, I skipped the floor anchors entirely because I figured 400 pounds of cabinetry wasn’t going anywhere. I was dead wrong. Wood floors expand, subfloors flex, and over time, that ‘heavy’ island starts to migrate like a slow-moving glacier. If you’re dealing with a similar issue, you might also need to learn how to scribe built-in cabinets to slanted kitchen floors to get the base flush before you even think about the bolts. The real secret isn’t just weight; it’s the mechanical bond between the internal cleat and the joists below. According to the International Association of Certified Home Inspectors, improper anchoring of heavy interior fixtures can lead to floor deflection and even plumbing leaks if the island houses a sink.
Is drilling through my beautiful flooring really worth the risk?
I get it. The idea of taking a spade bit or a heavy-duty driver to your finished hardwood or tile is terrifying. You’re worried about hitting a radiant heat line or just plain ruining the look. But here is the reality: a wobbly island is a safety hazard and a recipe for cracked grout. I’ve seen islands tip just enough to snap a PVC drain line or pull away from the electrical conduit. If you’ve ever had to deal with vanity plumbing leaking into the cabinet base, you know that water and wood are enemies. By using a specific subfloor anchor strategy, you aren’t ‘ruining’ the floor; you’re protecting the structural integrity of your entire kitchen. Have you ever felt your island shift while you were working? It’s an incredibly common frustration, but it’s one we’re going to fix right now. We can even apply some of the same logic used to stop wobbly custom built-ins to make sure your kitchen feels as solid as a fortress. Let’s get into the tools you’ll actually need to ground your kitchen for good.
Get the internal cleats perfectly aligned
To stop an island from walking, you have to think of it like a skyscraper; it needs a foundation. We start with 2×4 or 2×6 internal cleats—essentially wooden blocks that sit inside the base of the island and bolt directly into the floor. I learned this the hard way years ago during a renovation for a family with two massive Great Danes. I thought a bead of high-grade construction adhesive and some finish nails would hold. Three days later, the dog leaned against the island during dinner, and the whole unit slid two inches, nearly snapping the gas line for the range. Now, I never trust glue alone. You need to dry-fit the island, trace the interior perimeter of the base, and then set your cleats slightly inward—about 1/8 of an inch—to ensure the cabinet walls slide over them snugly. 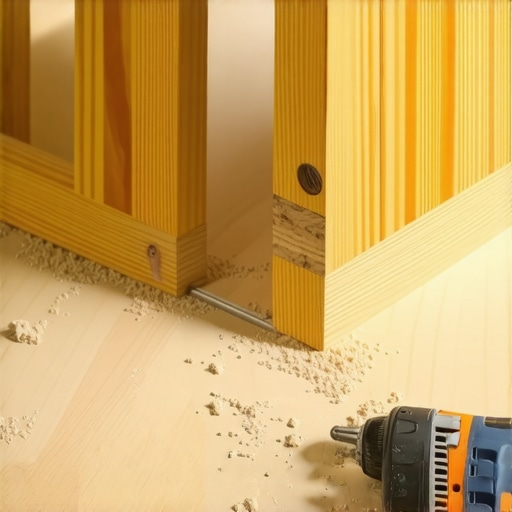
Pick the right bolts for your specific subfloor
If you are working on a standard plywood subfloor, 3-inch lag bolts are your best friends. They provide the bite needed to resist lateral force. However, if you’re over a slab, you need to transition to masonry techniques. Much like the concrete anchor rule for heavy-duty garage shelving, you want anchors that expand inside the hole to prevent any ‘creep’ over time. I usually opt for wedge anchors if the island is permanent. For those dealing with tile, remember that you aren’t just drilling into the stone; you’re passing through it to reach the structural wood or concrete below. If you skip this, the island will eventually vibrate enough to crack your grout lines. This is similar to the care taken in how to fix wobbly vanity legs on uneven tile—you focus on the solid ground, not the decorative surface.
Lock the base before the countertop goes on
The biggest mistake DIYers make is trying to anchor the island after the heavy stone top is installed. You lose all your leverage and visibility. Once your cleats are bolted down, slide the island base over them and drive structural screws through the cabinet’s ‘toe kick’ area or the internal frame into the cleats. This creates a sandwich effect that is nearly impossible to break. If your floor has a nasty dip, don’t just bridge it with the bolt. You need to use composite shims to fill the gap first. This follows the same logic found in an expert guide to flawless vanity installation where leveling the base is the prerequisite for everything else. I once spent four hours trying to ‘torque’ a wobble out of a mahogany island only to realize I was actually bending the cabinet frame because I hadn’t shimmed the low spot in the joist.
Apply the hidden floor bolt move for heavy units
For massive islands that house sinks, dishwashers, and wine fridges, a simple cleat might not be enough. This is where you use the hidden floor bolt strategy for wobble-free entryway benches but scaled up. Instead of just screwing into the side of a cleat, you run long bolts through the bottom structural plate of the cabinet itself, straight into the floor joists. It’s overkill for a small prep station, but for a 10-foot centerpiece, it’s the only way to ensure it feels like part of the house’s skeleton. If you’re also installing a pantry nearby, you might find that 4-heavy-duty floor anchors for pull-out pantry systems use almost identical hardware to keep high-center-of-gravity units from tipping forward when the drawers are fully extended.
One of the biggest myths I hear in the cabinetry world is that the weight of the stone will eventually settle the unit. This is a dangerous half-truth. While gravity helps, it does not account for the horizontal torque applied every time you lean against the counter or when a toddler decides to use the drawer handle as a ladder. Whether you are working on a kitchen centerpiece or looking at smart storage solutions to optimize small bathroom spaces, the physics remains identical: lateral stability is a separate engineering challenge from vertical load. In my experience, relying on weight alone is the primary reason for those annoying hairline cracks in your backsplash grout.
Stop relying on gravity to hold your kitchen together
Everyone tells you to just use high-strength silicone, but I have found that adhesive should always be your secondary backup, never your primary fastener. If you rely solely on glue, you are essentially bonding your expensive cabinetry to a thin layer of floor finish or the paper backing of drywall. When the finish peels or the paper delaminates, the whole structure moves. Mechanical fasteners are the only way to ensure long-term safety. This is a principle I carry over even into smaller projects, like vanity installation hacks that save time and money. You want a metal-to-wood or metal-to-concrete connection that ignores the surface aesthetics and bites into the structural skeleton of the home.
Can you actually over-tighten a floor anchor?
The short answer is yes, and it is a mistake that can lead to catastrophic cracking. The ‘Oops’ factor often comes down to wood expansion. Research from the Forest Products Laboratory indicates that wood can expand significantly across the grain depending on seasonal moisture content. If you bolt an island or a heavy built-in so tightly that there is zero room for the subfloor to breathe, you will eventually hear a loud pop in the middle of the night—that is your cabinet frame or your floor planks splitting under the pressure. When I am teaching vanity installation for beginners, I always emphasize that the bolt should be snug, but the shims should bear the actual weight to prevent the fastener from becoming a stress point. 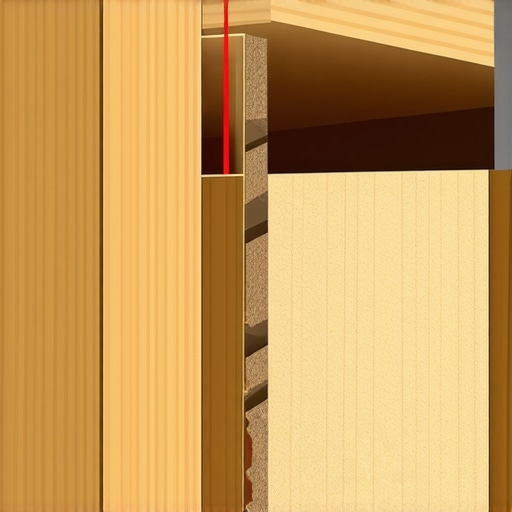
The trap of the perfectly level countertop
Another nuance that separates the pros from the DIYers is understanding the difference between level and plumb. You might get the countertop perfectly level, but if the cabinet walls are not plumb because you forced them to conform to a dip in the floor, your drawers will never slide correctly. I have seen beautiful custom vanities where the drawers constantly drift open because the installer prioritized the floor line over the internal box squareness. This is why the leveling move for vanities on slanted bathroom floors is so critical; you have to shim the base to meet the cabinet, not pull the cabinet down to meet the floor. If you try to ‘crank’ the gap closed with a lag bolt, you are just bowing the wood. Have you ever fallen into the trap of thinking a heavy top would fix a wobbly base? Let me know in the comments. It is a common hurdle, but once you master the shim-and-bolt sandwich, your creative built-ins will feel like they were carved out of the house itself.
The specific gear I pack for every anchoring job
I’ve learned that the tool in your hand is just as important as the anchor in the floor. For me, the game-changer was switching to a high-torque 1/4-inch impact driver for those final structural screws. It provides a level of control that a standard drill just can’t match, preventing you from stripping the head of a 4-inch screw deep inside a toe kick. If you’re scaling this up to something like the steel rail tactic for anchoring massive floor-to-ceiling pantries, you’ll also want a reliable laser level to ensure your horizontal lines are dead-on before the first hole is even drilled. I personally rely on a green-beam cross-line laser; it’s much easier to see in a brightly lit kitchen than the old red ones. Using the right torque ensures the cleat is tight without splitting the grain of the subfloor.
How can I keep these heavy installs from loosening over time?
Maintenance isn’t just about cleaning the granite; it’s about checking the structural ‘skeleton’ of your kitchen. Every twelve months, I recommend opening your base cabinets and giving those floor bolts a quick visual inspection. Look for any signs of ‘bolt creep’ or wood compression around the washers. If you notice any moisture—which is the ultimate enemy of floor-anchored units—you might need to implement moisture-proof base fixes for rotting bathroom vanity cabinets to protect your subfloor. According to the technical load tables in the Simpson Strong-Tie Technical Bulletin T-C-SCL-1, the lateral resistance of a fastener is significantly reduced if the wood it’s biting into becomes saturated. A dry anchor is a strong anchor. Don’t wait until the island starts to shimmy again to check the torque; a quick snug-up once a year prevents the hole from widening due to vibration.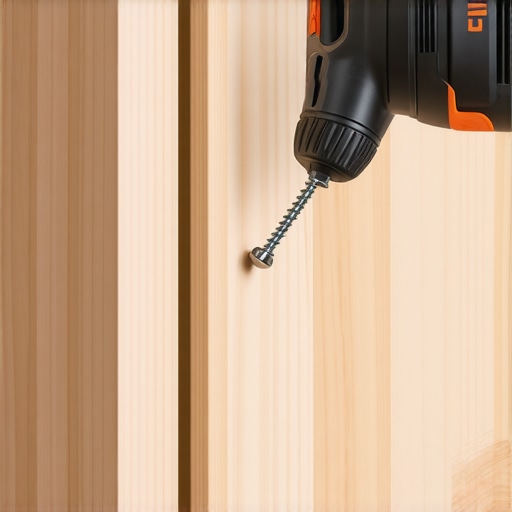
What’s next for built-in technology?
Looking ahead to 2025 and beyond, I see a shift toward ‘smart’ anchoring systems. We are already seeing the emergence of moisture-sensing gaskets that sit between the cabinet and the floor, designed to alert your phone the second a dishwasher leak reaches your subfloor. This will be a massive benefit for those looking for innovative storage solutions to transform your bathroom or kitchen without fear of hidden damage. We are also seeing a move toward carbon-fiber reinforced shims that don’t compress over decades like cedar or plastic might. This level of precision ensures you never have to deal with drawer bind on heavy pantry pull-outs caused by a shifting base. My challenge for you: On your next project, even if it’s just a small prep station, ditch the standard drywall screws for structural fasteners. You will feel the difference in the ‘bite’ immediately, and your floors will thank you.
The Hard Truth About Kitchen Islands and Lateral Force
After twenty years in the trade, I’ve realized that most ‘permanent’ islands are actually just floating on luck. One major lesson I learned is that the heaviest quartz top in the world cannot compensate for a loose base. In fact, the heavier the top, the more momentum the island has when someone leans on it, which acts like a giant lever against your floor finish. I’ve seen this exact physics destroy custom vanities that weren’t properly cleated. Another ‘lightbulb’ moment was realizing that the floor is alive; it expands and contracts. If you bolt an island down without composite shims to handle the floor’s unevenness, you aren’t fixing the problem—you’re just pre-loading the wood to crack during the next humidity spike. Even when I am designing creative built-ins, I prioritize that mechanical connection over everything else.
The Precision Toolkit I Carry for Every Install
I don’t just grab whatever is in the bottom of the toolbox for these anchoring jobs. I rely on specific standards because a failed anchor is a nightmare to repair. I always cross-reference my fastening patterns with the expert guide to flawless vanity installation because the load requirements for a water-filled sink island are nearly identical to a heavy stone vanity. My shortlist includes 1/4-inch structural screws with a wafer head for maximum surface area, a high-quality green laser for layout, and always a set of non-compressible shims. If you want effortless storage solutions for a tidy stylish home, you have to start with professional-grade fasteners that don’t leave room for error.
Your Path to a Rock-Solid Home
There is a unique kind of satisfaction in knowing that when you lean against your counter to pour a glass of wine, nothing moves. It changes the way your home feels from ‘temporary’ to ‘structural.’ Whether you are working on a massive kitchen project or exploring built-in storage ideas to declutter and enhance your home, the principles of mechanical anchoring are your best friend. Don’t be afraid of that first hole in the floor—be afraid of a kitchen that walks away from the wall. Have you ever discovered a loose bolt months after an installation? Let me know in the comments how you handled the fix!