Ever spent hours rummaging through cluttered drawers or tripping over poorly placed furniture, only to realize that your home’s storage system is holding you back? I’ve been there. That frustrating moment when I looked around and thought, “There’s got to be a better way.” It struck me that the real challenge isn’t just about having storage, but about having the right, expertly installed built-in solutions that truly work for your space. And let’s be honest—getting it right isn’t always straightforward. I made my fair share of mistakes early on, like choosing the wrong materials or ignoring the importance of precise measurements, which only added to my headaches.
Why Effective Storage Matters More Than Ever in 2025
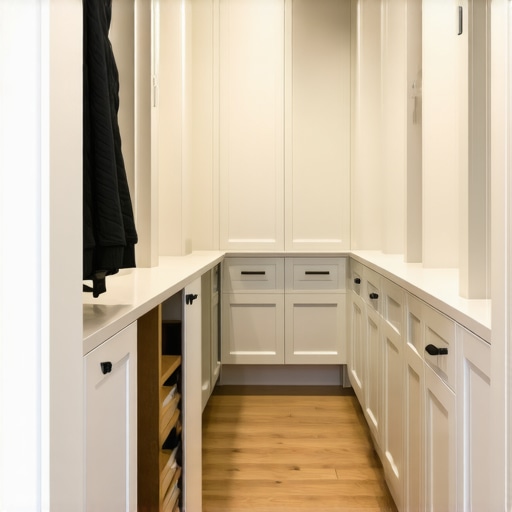
In 2025, the demand for smart, seamless storage solutions has skyrocketed. With homes becoming more compact and multi-purpose, finding efficient ways to maximize space without sacrificing style is crucial. According to a recent study by the National Association of Home Builders, innovative built-in cabinets can increase home value and functionality by up to 15%. But here’s the catch: not all storage solutions are created equal. The difference lies in expert installation—precision matters. When done right, built-ins blend effortlessly into your home’s aesthetic, declutter your space, and make everyday living so much easier.
Is Custom Built-in Storage Really Worth the Investment?
It’s a common skepticism I hear: “Are these built-ins really worth it?” Honestly, I thought the same at first. My initial mistake was opting for off-the-shelf solutions that looked good but didn’t fit my unique space or needs. The result? Wasted money, frustration, and a home that still felt cluttered. I learned that custom solutions, installed with expert care, are the way to go. They maximize your space, enhance your home’s style, and last longer. For more tips on choosing the right style, check out this guide.
If you’ve faced similar struggles or feel overwhelmed about where to start, don’t worry. In the next sections, I’ll share proven steps and insider tips to ensure your built-in cabinets are not only beautiful but also perfectly installed for lasting results. Ready to transform your space? Let’s dive in!
Start with Precise Measurements
When I first attempted to install a custom built-in, I learned the hard way that accuracy is everything. I took my measurements twice and used a high-quality tape measure, avoiding the temptation to estimate. This simple step ensured my cabinets fit perfectly, preventing gaps or misalignments that could compromise both style and function. Always double-check your measurements, especially in irregular spaces. For more detailed guidance, visit this installation guide.
Choose the Right Materials and Design
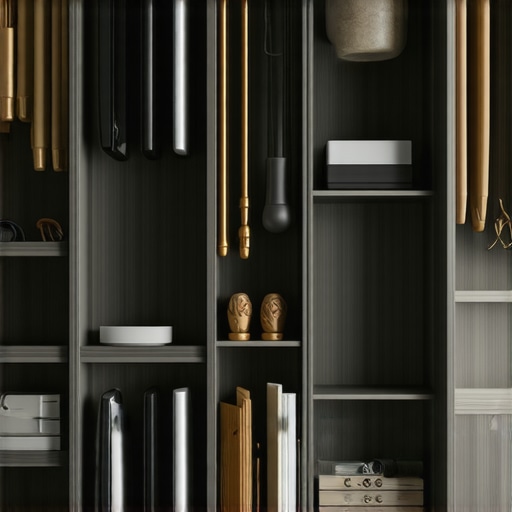
Next, I focused on selecting materials that matched my home’s aesthetic and durability needs. Solid wood offers longevity but can be pricier, while MDF or plywood can save costs without sacrificing too much quality. I also considered the style—whether sleek modern or classic—by browsing through creative built-in ideas. Remember, the design should complement your existing decor and maximize storage. Think about adjustable shelves or hidden compartments for versatility.
Prepare Your Space Before Installation
Before the installation day, I cleared the area thoroughly. I removed all furniture and protected the floors with drop cloths. I also checked that the wall was level using a spirit level, which saved me hours of troubleshooting later. Proper preparation makes the entire process smoother and reduces installation errors. For tips on optimizing small spaces, check top installation tips.
Follow Expert Installation Steps
During installation, I aligned the cabinets carefully with the markings I had made, using shims and clamps to hold everything in place. I secured the units to the wall studs, not just drywall, to ensure stability. I also paid attention to sealing joints with caulk and applying finish touches for a seamless look. For comprehensive installation techniques, see this step-by-step guide. Precision here guarantees longevity and a polished appearance.
Finishing Touches and Maintenance
Once installed, I added hardware, like handles and soft-close hinges, to enhance usability. I also sealed the wood to protect against moisture and wear. Regular maintenance, like cleaning with gentle products and inspecting for loose fittings, keeps the cabinets looking new. For styling ideas, explore storage ideas. Proper finishing transforms a functional piece into a true design feature, elevating your entire space.
< >
>
Many homeowners believe that investing in built-in storage is a straightforward way to declutter and enhance their homes. However, there are several misconceptions that can lead to costly mistakes or subpar results. As an expert in custom cabinetry and home organization, I’ve seen these myths cause confusion and poor decision-making. Let’s dig deeper into the nuances that most people overlook, so you can approach your project with clarity and confidence.
Why the Size of Your Space Isn’t the Whole Story
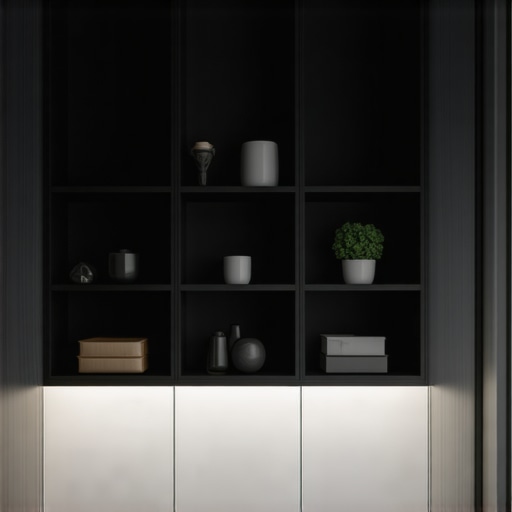
One common myth is that larger rooms automatically benefit more from built-in storage. While space is a factor, the real challenge lies in understanding the flow and function of your room. Small spaces often require clever, multi-purpose solutions that maximize every inch, whereas larger rooms might need more strategic planning to avoid overwhelming the space. The key is tailoring your design to your specific needs — a process that only an experienced installer can master. For instance, incorporating creative built-ins can turn a tight corner into a functional storage hub without sacrificing style.
Misunderstanding Material Durability and Compatibility
Another trap is assuming all materials are equal in quality and longevity. Many believe that cheaper options like MDF or plywood will suffice, but they often lack the durability needed for long-term use, especially in high-traffic areas or humid environments. Solid wood, while pricier, offers better resistance to warping and damage when installed correctly. Overlooking this can lead to premature repairs or replacements, negating your initial savings. An expert understands which materials perform best in different scenarios and can advise accordingly. For more insight, check out effortless storage solutions that balance quality and cost.
Beware of Underestimating the Importance of Precise Installation
One of the most critical yet underestimated aspects is installation precision. Many think that a good design alone guarantees success. However, even the most beautiful plans can fall apart if not installed with meticulous attention to detail. Gaps, misalignments, or insecure mounting can compromise both the look and safety of your built-ins. It’s vital to work with professionals who understand the importance of anchoring to wall studs, sealing joints properly, and finishing with care. Skimping on this step often leads to costly fixes down the line. For comprehensive guidance, see this installation guide.
Have you ever fallen into this trap? Let me know in the comments.
How do I keep my built-in storage systems functioning smoothly over time?
Maintaining your built-in storage isn’t just about occasional cleaning; it’s about adopting a routine that preserves both function and aesthetic appeal. I recommend starting with regular inspections of hinges, handles, and seals to catch any signs of wear early. Using a soft microfiber cloth combined with a gentle cleaner like a mix of mild soap and water keeps surfaces looking fresh without damaging the finish. For hardware, applying a light lubricant to hinges every six months ensures soft-close mechanisms continue to operate seamlessly. Additionally, periodically checking the wall anchoring points to ensure they remain secure will prevent potential safety hazards. These simple, consistent steps extend the lifespan of your investment and keep your space looking pristine.
In terms of tools, I personally swear by a quality multi-tool like the Leatherman Wave. It’s incredibly versatile for minor adjustments, tightening loose screws, or opening paint cans during touch-ups. For measuring and leveling, I rely on a digital laser level, which provides precise alignment for new additions or adjustments, saving time and ensuring perfect fitment. When it comes to cleaning, a vacuum with a brush attachment is excellent for removing dust from tight corners and behind shelves without disturbing the setup. Remember, adopting these maintenance habits now will prevent costly repairs or replacements in the future, making your built-in storage a lasting asset.
Looking ahead, I see a rising trend towards smart storage solutions that incorporate IoT technology. These systems could alert you to any mechanical issues before they become serious, or even optimize space automatically based on usage patterns. Staying updated with innovative tools and maintenance practices will keep your built-ins functional and stylish for years to come.
What is the best way to ensure your built-in storage remains reliable for years?
Invest in high-quality hardware and tools designed for durability. For example, choosing stainless steel hinges and soft-close mechanisms from reputable brands guarantees longevity. Regularly updating your maintenance routine and staying informed about new repair techniques can significantly reduce downtime and expenses. Don’t forget to consult detailed guides like this comprehensive installation guide for advanced tips on troubleshooting and upgrades. By integrating these practices and tools into your maintenance plan, you’ll keep your storage solutions sleek, functional, and hassle-free for the long haul. Try scheduling a quarterly check-up using the tools I recommended, and see how much smoother your storage system operates over time!
The Hardest Lesson I Learned About Built-In Storage
One of the biggest mistakes I made early on was underestimating the importance of precise measurements. Rushing this step led to gaps and misaligned panels, which not only looked bad but also compromised stability. I now double-check every measurement and trust quality tools, which saves me headaches later.
Why Overlooking Material Choices Can Cost You
I used cheaper MDF for a project, thinking it would be fine. But in a humid bathroom, it warped within a year. It taught me that investing in durable materials like solid wood or high-quality plywood pays off in the long run, especially in high-use areas.
The Value of Working With Experts from the Start
Initially, I tried DIY installation, only to realize that even small mistakes can ruin the look and safety of built-ins. Partnering with experienced professionals ensures everything is aligned, anchored properly, and finished seamlessly. Their expertise is worth every penny.
Curated Recommendations for Your Storage Projects
My Essential Toolkit for Built-In Storage includes a high-precision laser level and quality shims. These tools help me achieve perfect alignment and a professional finish. I also trust this detailed installation guide for step-by-step advice. For selecting materials, I recommend reading creative built-in ideas to match your home’s style. Lastly, regular maintenance tips from this resource help keep your cabinets looking new over time.
Now It’s Your Turn to Make a Change
Creating built-in storage that lasts doesn’t happen by chance—it’s about careful planning, quality materials, and expert installation. I encourage you to start with accurate measurements and partner with professionals who understand your vision. Remember, the right built-ins can transform your space into a functional and beautiful haven. Ready to take the first step? Share your plans or questions below—I’d love to hear about your project!
3 Replies to “Effective Storage Solutions & Built-in Cabinets: Expert Installation Tips in 2025”
Leave a Reply
Related Posts
Storage Solutions & Built-ins: Expert Tips for Seamless Installation in 2025
Ever spent hours trying to cram that awkward, bulky cabinet…
Best Storage Solutions & Built-ins: Expert Guide to Seamless Home Upgrades 2025
Have you ever stood in your own home, surrounded by…
Smart Storage Solutions & Built-ins for a Clutter-Free Home in 2025
My Personal Journey: Discovering the Power of Built-ins for a…
Reading through this post really resonated with me, especially the emphasis on precise measurements and proper materials—those are so often overlooked but critical for a successful build-in. I remember my first attempt at installing custom cabinets in a small corner of my home; I underestimated how vital accuracy is, which led to gaps and a lot of frustration. Now, I always double-check and use good tools to ensure everything fits perfectly. I also found that choosing the right hardware, like soft-close hinges, makes a significant difference in usability and longevity.
One thing I wonder is how others are adapting their storage solutions for multi-purpose spaces, especially in smaller homes where every inch counts. Have you found clever ways to incorporate adjustable or hidden compartments without disrupting the overall aesthetic? It’s fascinating how flexible design can be when you plan carefully. Would love to hear more ideas from the community on making customized storage both functional and stylish in compact spaces.
This post really highlights the importance of not just having built-in storage, but ensuring it’s installed with precision and the right materials. I’ve learned the hard way that rushing measurements or choosing cheaper materials can lead to issues down the line, especially in humid environments like kitchens or bathrooms. Personally, I found that investing in high-quality hardware and taking the time to level everything makes a noticeable difference in the longevity and usability of built-ins. One challenge I’m curious about is how to incorporate smart features into custom cabinetry, such as automatic lighting or IoT-enabled organization systems. Has anyone tried integrating smart storage solutions without compromising the aesthetic? I’d love to hear some insights or experiences on this front, as I believe blending technology with well-designed storage could be a game-changer in optimizing space in 2025 and beyond.
I completely agree with the importance of precise measurements and selecting durable materials. From my own experience, tackling built-in cabinets in a small, irregularly shaped room was challenging until I invested in a good laser measure and took extra patience during the planning stage. It’s surprising how even a small miscalculation can ripple into bigger problems during installation. I’m also intrigued by the idea of integrating smart features into cabinetry, as Benjamin mentioned. I’ve been considering adding LED lighting or even automatic doors to maximize convenience and style, but I worry about maintaining the aesthetic balance. Has anyone here successfully combined smart tech with sleek design? I’d love to hear your insights or recommendations for options that blend seamlessly with modern cabinetry. As homes become smarter, I believe smart storage will be a game-changer for space optimization and everyday convenience. Looking forward to seeing how others are exploring these innovations.