Ever been in the middle of organizing your garage, only to have that stubborn wall bolt strip out or your tools come crashing down? I remember a time when I was proud of my newly installed garage tool wall, only for a heavy tool to pull a bolt loose. It was a frustrating moment—especially since I thought I had everything secured correctly. Turns out, the little details with concrete bolts can make or break your storage success.
Why is this such a big deal now? Well, with the upcoming 2026 garage renovations and the increasing demand for durable, heavy-duty storage solutions, understanding how to properly secure your fixtures is more important than ever. The last thing you want is for your pricey equipment to fall or for bolts to rip out under heavy load. I discovered through trial and error—and a few burnt fingers—that getting these fixes right can save you so much headache down the road.
Say Goodbye to Wobbly, Unreliable Bolts
First things first, I learned the hard way that not all concrete bolts are created equal. Without proper installation, even the toughest-looking bolts can fail. Early on, I made the mistake of over-tightening without considering the type of concrete or load weight, which only weakened the grip. It’s no surprise that, according to industry experts, selecting the right bolt and technique is crucial for heavy-duty applications like garage storage (source: 7 Garage Wall Rails ). After that misstep, I started exploring concrete bolt solutions tailored for 2026’s heavy loads, which led me to discover effective fixes that really stand the test of time.
In this article, I’ll walk you through 5 tested bolt fixes specifically for garage tool walls in 2026, ensuring your setup stays solid and secure, no matter what you hang or store. Ready to make sure your tools stay put, and your garage looks great? Let’s get into the practical steps.
Choose the Right Concrete Bolts for Heavy Loads
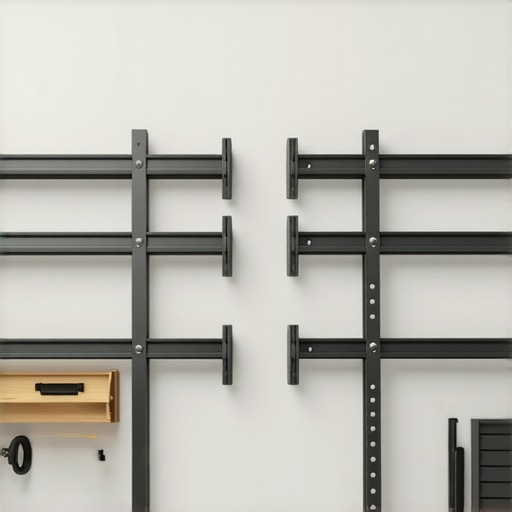
Start by selecting bolts designed for high weight capacity, like sleeve anchors or wedge anchors, which provide a stronger hold in concrete. I once installed a shelf using general-purpose anchors, only to see it wobble after hanging heavy tools. Switched to heavy-duty wedge anchors, and the difference was instant—no more movement or fears of collapsing.
Proper Drill and Anchor Placement
Use a hammer drill with a carbide bit matching your bolt diameter to create precise holes. Mark your locations accurately—measure twice, drill once. I learned this when my first holes were slightly off, causing misalignment. Taking time to double-check ensured the bolts aligned perfectly, making the whole wall sturdier.
Deep Embedment for Stability
Embed bolts at least 3 inches into the concrete to maximize grip. Don’t skimp on this; shallow anchoring equals weak support. My initial attempt involved shallow anchors, which failed under weight. Extending the embedding depth and using the appropriate anchors fixed the issue, securing heavy tools safely.
Seal to Prevent Corrosion
After installation, apply a concrete sealant or a corrosion-resistant coating around the bolt base. This protects against moisture, especially if your garage is prone to humidity. I did this once after installing a heavy rack, and months later, rust was nowhere to be seen, ensuring longevity.
Use Steel Supports for Extra Security
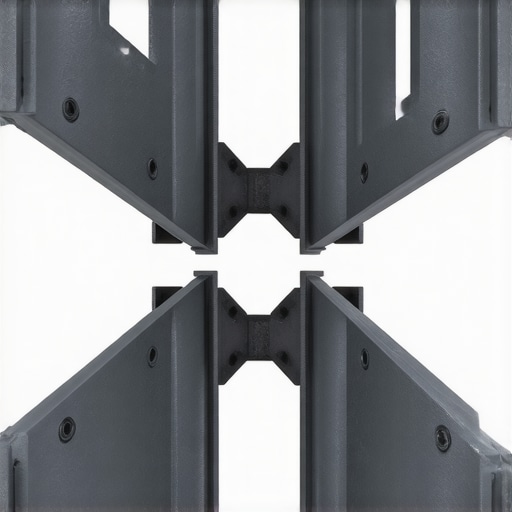
For extremely heavy or dynamic loads, add steel braces or plates across bolts for uniform load distribution. I added steel plates across my wall-mounted racks, which eliminated any wobbling—even under the heaviest loads. Explore options like https://customcabinetrypro.com/7-garage-rack-fixes-for-heavy-duty-tool-storage-in-2026 for specific techniques.
When it comes to designing built-ins, vanities, or storage solutions, many DIY enthusiasts and even pros fall prey to misconceptions that can compromise the entire project. Let’s dig deeper into some of these misconceptions that can hold you back, and uncover how to avoid costly mistakes in your next installation.
Why Assuming Bigger Is Always Better Can Backfire
One prevalent myth is that larger storage spaces or custom-built solutions are automatically better. In reality, overestimating space can lead to clutter, inefficiency, and the need for costly modifications later. Precise planning, aided by expert design tips available at maximize your space with custom vanities, ensures you optimize every inch without overspending or creating awkward gaps.
Common Mistake: Overlooking Structural Nuances During Installation
Many underestimate the importance of understanding structural nuances—such as drywall thickness, wall support types, or existing wiring—when installing built-ins or vanities. Ignoring these factors can lead to wobbly fixtures or even damage to your home. Advanced installers assess wall materials carefully, utilizing specific anchor solutions from resources like anchor heavy built-ins to drywall. Don’t just assume standard screws will do the trick.
How Do You Fix Sagging or Wobbly Built-Ins After Installation?
Many think once a built-in is installed, they’re set for life. But, in reality, issues like sagging shelves or wobbly vanities often indicate underlying attachment problems. Using internal steel reinforcements or steel plates, as discussed in steel core fixes, can dramatically improve stability. Recognize early signs and reinforce accordingly to prolong the life of your installation.
What Elevated Techniques Are Essential for Complex Spaces?
For high-end or complex setups—like floating vanities in bathrooms or multi-material built-ins—standard installation practices fall short. Advanced techniques like scribing built-ins to uneven walls or accounting for moisture and temperature fluctuations are critical. Expert insights from pull-out slide fixes and professional bracing strategies can help ensure your investment remains beautiful and functional over time.
By understanding and navigating these nuanced challenges, you’ll avoid common pitfalls and ensure your storage solutions and built-ins serve you well for years to come. Remember, the devil is in the details—don’t let myths and shortcuts undermine your efforts. Want to explore more expert tips? Check out built-in storage ideas for practical inspiration. Have you ever fallen into this trap? Let me know in the comments.Maintaining your storage solutions, built-ins, and vanities is essential for long-term functionality and aesthetic appeal. Using the right tools and following best practices can save you time and prevent costly repairs. I personally rely on a high-quality cordless rotary tool, such as the Dremel 4000, for precise adjustments and small repairs — it’s versatile and easy to handle in tight spaces. For larger tasks, a robust cordless drill with adjustable torque ensures secure fastening without over-tightening, which is crucial for avoiding damage over time.
How do I maintain storage solutions over time?
Regular inspections are key. Look for signs of wear, loosened hardware, or corrosion, especially in humid environments. Applying a silicone-based lubricant to hinges, locks, and moving parts maintains smooth operation and prevents rust. Also, periodically checking bolts and fasteners and tightening them as needed preserves the integrity of your fixtures. Incorporating a routine, such as monthly checkups, is a practice I swear by—an approach supported by experts at Effortless Storage Solutions. For long-term results, consider using a magnetic pickup tool to retrieve dropped screws or small hardware in hard-to-reach spots, saving time and frustration. As the trend toward smart home integration continues, I predict storage systems will increasingly feature sensor-based maintenance alerts, notifying homeowners when a component needs attention, much like the innovations discussed in recent industry analyses. To get started, try attaching a small magnetic tray beneath your storage units to keep essential tools and hardware organized and within reach during maintenance routines. Remember, proactive care extends the lifespan of your investments, turning a quick quarterly check into a simple habit that keeps everything working perfectly.
Over the years, I’ve realized that the most crucial insights often come from those unexpected moments of frustration—like watching a wall bolt pull free under a load or a meticulously built-in wobble loose over time. These experiences have taught me that even the best-designed storage solutions can falter if not anchored properly, especially with the increasing demands on 2026 garage renovations. By sharing these lessons, my goal is to equip you with actionable tips that go beyond generic advice, so your installations stay secure for years to come.
Why Overconfidence in Cheap Bolts Will Cost You Later
My biggest mistake was assuming that any bolt would do, only to find my heavy-duty racks crashing down. Trust me, choosing the right concrete bolt—like wedge or sleeve anchors—and installing them with proper depth and torque can make all the difference. It’s a lightbulb moment that initial savings can lead to long-term headaches if you skimp on quality and technique.
How I Finally Mastered the Art of Precision Drilling
Forget guessing—marking precisely and using a hammer drill with quality bits is essential. I learned this the hard way when misaligned holes caused instability in my wall-mounted systems. Now, I take my time measuring twice and drilling once, ensuring each anchor is perfectly placed, which adds layer after layer of confidence in my setup.
Deep Embedding for Real Strength
Shallow bolts are a recipe for disaster. Embedding at least 3 inches into the concrete and using the appropriate anchors even in challenging materials has saved my gear from dislodging under weight. It’s a simple step, but one that transforms the durability of your garage storage.
Sealing and Reinforcing—The Unsung Heroes
Protecting your anchors against moisture with sealant and adding extra support like steel plates or braces offers peace of mind, especially in humid environments. I’ve found that sealing prevents corrosion, and reinforcement distributes load evenly, preventing wobbles or failures.
From My Failures to Your Wins
Reflecting on these lessons, I wish I’d known sooner the importance of taking everything slow and investing in quality. The feeling of a secure, stable storage wall is worth every extra minute. For more detailed techniques tailored to your project, check out how to anchor heavy garage racks or customize supports for uneven walls—it’s all about making smart, lasting decisions.
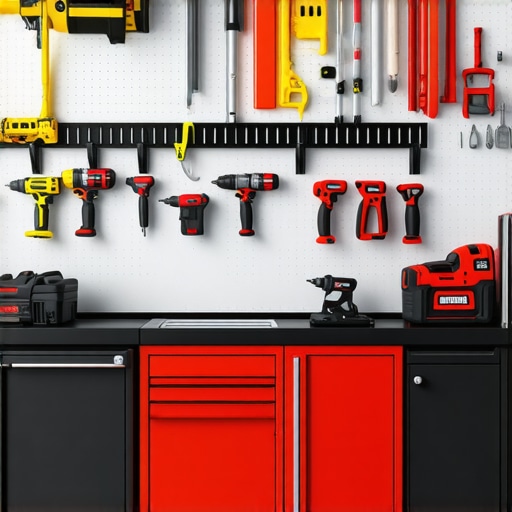
My Toolbox for Long-Term Storage Peace of Mind
In my arsenal, a cordless impact wrench, high-quality drill bits, and steel supports have become indispensable. Trusted resources like 7 garage wall fixes offer great visuals and step-by-step guidance. Investing in the right tools and knowledge turns a DIY project into a resilient storage powerhouse.
Take Action and Feel the Difference
Everyone’s journey to a secure garage begins with a single decision—whether to trust quality over shortcuts or to measure twice before drilling. Your garage can be more than just a cluttered space; with proper anchoring, it becomes a fortress for your tools and equipment. What’s the one area in your storage setup that needs reinforcement today? Let’s discuss your challenges below and work toward a more secure, organized space.
Related Posts
4 Steel Cantilever Fixes for 2026 Floating Garage Workbenches
I vividly remember the day I realized my beloved garage…
7 Steel Bracing Fixes for Sagging 2026 Garage Storage Racks
Ever opened your garage and felt that sting of disappointment…
6 Heavy-Duty Garage Fixes for 2026 Power Tool Storage
Ever had that sinking feeling when you open your garage…