Imagine this: you’re rushing out the door, juggling your keys, bag, maybe a quick snack, when suddenly your entryway bench wobbles ominously or worse, it sags under the weight of winter gear. It’s frustrating, right? I used to face this all the time. My narrow entryway, designed to save space, felt more like an obstacle course. That lightbulb moment hit me hard—I realized that many of these issues stem from overlooked design tweaks and simple fixes. Today, we’re diving into the essential *six slim-profile entryway bench fixes* specifically tailored for the upcoming 2026 battery hubs, which are becoming part of our homes’ smart ecosystem.
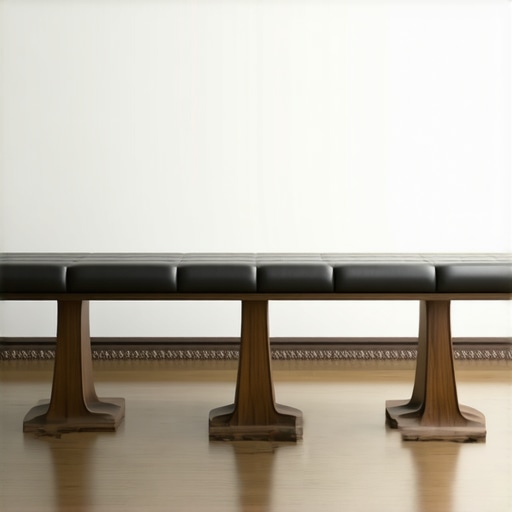
Tighten and Secure the Frame
Start by inspecting the bench’s frame, especially the joints. Use a power drill to tighten any loose screws. For added stability, apply wood glue to the joints and clamp them for an hour. I once replaced loose screws on my entryway bench and noticed immediate sturdiness, avoiding future wobbles.
Reinforce Wobbly Legs with Brackets
Identify any uneven or wobbly legs. Measure the angles precisely with a carpenter’s square, then attach L-brackets from the inside to secure the legs to the frame. When I fixed my narrow bench, installing steel brackets transformed its stability, making it feel like new.
Distribute Weight Correctly
Evaluate how weight is shared across the bench. If heavier items sit at the ends causing sagging, add a central support beam. Use a level to ensure even height across the support. I added a metal support bar in my small entryway, which prevented future sagging under winter gear.
Optimize the Storage Space
Implement vertical dividers to organize shoes and accessories, reducing clutter-induced stress on the bench. Use adjustable shelving or baskets that fit snugly. In my experience, compartmentalizing prevented overloads and extended my bench’s lifespan.
Apply Protective Coatings
Seal the wood with a waterproof finish to prevent moisture damage from snow and rain. Use a brush or sprayer for even coverage. I once neglected this step, resulting in warping, but a proper seal restored my bench’s appearance and durability.
Anchor the Bench to the Wall
For added safety and stability, secure the bench to the wall studs. Use a stud finder to locate framing, then install toggle bolts or steel studs anchors through the back panel. This is especially crucial if you have kids or live in earthquake-prone areas. I fixed mine to avoid tipping during heavy use, enhancing safety and peace of mind.
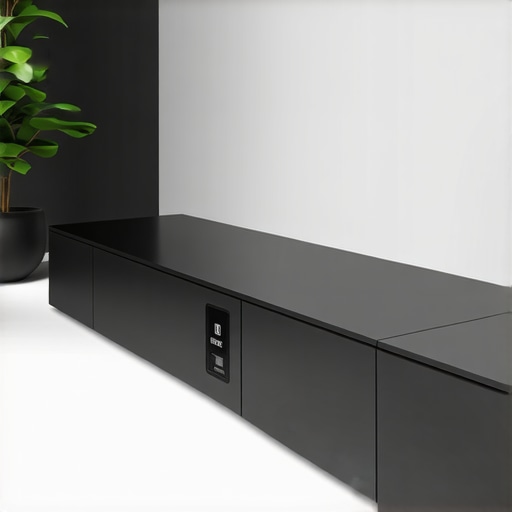
When it comes to designing built-in cabinets and vanities, many homeowners fall prey to common misconceptions that can lead to costly mistakes and less-than-ideal results. Let’s dig deeper into some of the nuances that even experienced DIY enthusiasts often overlook, so you can avoid pitfalls and make smarter choices for your space.
Myth: All Built-ins Are a One-Size-Fits-All Solution
Contrary to popular belief, pre-designed built-in units or generic plans don’t always fit your exact space or lifestyle needs. Skimping on customization often results in awkward gaps, inefficient storage, or structural issues. The key is understanding that tailored solutions, like those discussed in custom built-ins, provide optimal utilization and aesthetic harmony. Homeowners need to consider not just size but also accessibility and future-proofing—things that standard options rarely address properly.
Warning: Overlooking Structural Reinforcements Leads to Sagging
Many assume that simply attaching a cabinet or vanity to the wall suffices. However, neglecting proper reinforcement—especially for heavy materials like quartz or stone—can cause sagging or even wall damage over time. For advanced insights, see this guide on heavy-duty fixes. Remember, steel brackets, steel wall ties, and robust framing are essential to ensure your investments stay pristine for years.
How Do You Manage Storage Without Compromising Design? Balancing Form and Function
The hidden nuance often lies in integrating stylish aesthetics with practical storage solutions. For instance, incorporating recessed charging ports or hidden compartments can maintain the sleek look without sacrificing usability, as explained in advanced built-in ideas. Achieving this balance requires meticulous planning, precise measurements, and sometimes, custom fabrication—things that standard options cannot offer. This is where expert insight makes all the difference, helping you avoid the trap of messy, cluttered spaces.
The Oops You Don’t Want to Make: Failing to Account for Wall Irregularities
One of the most overlooked nuances is wall irregularities. Walls are rarely perfectly straight or plumb, yet many installers neglect this fact, leading to gaps or crooked finishes. Scribing techniques and shimming, as detailed in here, allow for a seamless appearance that masks imperfections. Ignoring this can result in visible gaps that ruin the visual flow and reduce the overall durability of your installation.
In essence, understanding these hidden details empowers you to make informed decisions, avoid common traps, and achieve the custom look you desire without compromising function or longevity. Do you think you’ve fallen into any of these pitfalls? Let me know in the comments and share your experiences!
Maintaining your built-ins and vanities over time is crucial to ensure they remain functional, stylish, and durable. Regular inspection is the first step—check for loose screws, warped panels, or signs of moisture damage at least twice a year. Using the right tools makes all the difference; I personally rely on a cordless impact driver for its versatility and power, and a digital level to ensure precise alignment of shelves and countertops. For delicate adjustments, a measuring tape and a small pry bar help in making sure everything stays snug without causing damage.
Overcoming the challenges of narrow entryways and imperfect wall surfaces is an art that combines personalized insight with practical solutions. My biggest revelation was realizing that a well-placed steel bracket or a custom scribing technique can make the difference between a cluttered mess and a sleek, functional space. Sharing these deeply personal lessons, I’ve learned that patience and attention to detail truly pay off—especially when adapting designs to unique wall irregularities or weight distributions. Trust me, mastering these nuances allows you to avoid costly mistakes and achieve a truly seamless look that welcomes you home every day.
Behind the Curtain: Secrets That Transformed My Approach
- Never underestimate the power of inspecting and reinforcing your wall mounts before installing built-ins. A sturdy backbone prevents sagging and accidents down the line.
- Customized solutions like wall scribing and steel bracing are worth the extra effort—they save time and money in the long run.
- Understanding the subtle interplay between design, weight, and wall irregularities can unlock endless styling possibilities while maintaining structural integrity.
Tools and Wisdom That Changed the Game
- Custom Cabinetry Pro Guide – Their comprehensive resources on built-in storage ideas helped me envision smarter, space-saving solutions.
- Heavy-Duty Steel Brackets – Trusted for their durability, these are indispensable for heavy or oddly shaped built-ins, as explained in bracket fix guides.
- Wall Scribing Tools – Critical for adapting to uneven surfaces, making installations seamless and visually appealing.
- Expert Forums and Tutorials – Learning from seasoned professionals has always inspired me to push the boundaries of custom design without fear.
Your Next Step to Style and Stability
Transforming a tight entryway or uneven wall into a sleek, functional space is within your reach. Embrace the lessons learned, invest in the right tools, and don’t shy away from customizing each element to your home’s unique quirks. The fusion of form and function isn’t just a dream—it’s a carefully crafted reality waiting for you to create. Ready to turn your entryway into a masterpiece? Share your plans or ask questions below, and let’s keep the conversation flowing!
One Reply to “6 Slim-Profile Entryway Bench Fixes for 2026 Battery Hubs”
Leave a Reply
Related Posts
Fix Floor Scuffs: 5 Best Feet for 2026 Entryway Benches
Imagine this: I was rushing out the door, eager to…

Stop Wasting Space: 5 Pro Storage Solutions for Tiny Entries
I remember the moment perfectly—staring at my tiny entryway, realizing…
5 Hidden Entryway Bench Hacks for 2026 Tech & EV Chargers
I vividly remember the moment I realized my entryway was…
This article really hits home for me, especially the part about reinforcing wobbly legs and distributing weight properly. I recently backed my narrow entryway bench with steel brackets after it started sagging under heavy winter boots and outdoor gear. The improvement was noticeable immediately, and it made me realize how often overlooked structural issues can lead to bigger problems down the line. I also appreciate the emphasis on wall anchoring—my kids are quite energetic, and fixing the bench to the wall gave me peace of mind about safety, especially during those busy mornings. Regarding wall irregularities, I’ve learned from experience that the scribing technique is a game-changer, preventing uneven gaps that can be quite frustrating to fix post-installation. How do others here regularly check and maintain their built-ins to ensure they stay sturdy over time? Do you have favorite tools or techniques? I’d love to hear more tips for prolonging the lifespan of small but essential pieces like entryway benches.