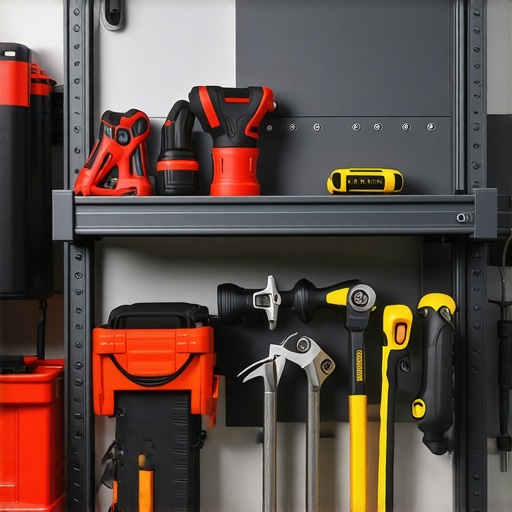
Have you ever reached into your garage to grab that essential power tool or your kid’s bike, only to be met with a wobbly, unsafe shelf? I’ve been there—frustration mounting as heavy items threaten to tip or even pull off the wall altogether. That moment of realization hit me hard: my garage storage was dangerously unstable, and I needed a real fix, not just a quick patch. If this sounds familiar, you’re not alone. Garage racks are the backbone of our storage solutions, yet they often fail when we need them most, risking damage or injury. Today, I want to share my journey and how I discovered five reliable steel-stud anchor fixes that have transformed my setup—and can do the same for you.
Why Garage Rack Failures Are More Common Than You Think
When I first installed my garage shelves, I thought simply anchoring them into drywall or wooden studs was enough. Turns out, I overlooked the importance of ensuring anchors could support the weight. The truth is, many homeowners underestimate the strain heavy storage units can impose, especially in a busy garage. Steel-stud anchors are designed for durability, but they require proper installation. According to industry experts, improper anchoring is among the top reasons garage racks fall or suffer damage, leading to costly repairs and potential injuries (source). Understanding how to reinforce anchors effectively is vital to keep your storage safe and functional.
If you’ve faced wobbly shelves or feared that your storage might come crashing down, you’re not alone. My early mistakes taught me the importance of quality fixes and proper installation methods. I tried the quick fixes first—tons of mistakes—and the result was always the same: wobbly racks or worse. That’s why I dove into research, tested several solutions, and now, I want to guide you through five steel-stud anchor fixes that have worked wonders in my garage. Ready to secure your shelves and reclaim safe, reliable storage? Let’s get started with the first fix, designed to turn your unstable racks into sturdy storage fortresses.
Is Reinforcing Anchors Really Worth All This Effort?
I’ve been skeptical more than once, especially when a quick fix seemed tempting. But let me tell you—investing time in proper anchoring techniques saves money and stress in the long run. Early on, I simply relied on generic drywall anchors, which failed me every time, and I ignored the critical step of checking wall materials. Bigger mistake. Properly reinforced anchors prevent wobbling, improve load capacity, and ensure safety. If you’re still unsure whether detailed anchoring is necessary, consider this: a well-secured rack can hold your entire collection of gardening tools or winter gear—imagine the chaos if it fails. Trust me, a little effort with steel brackets and anchors pays off. Curious about more storage tips? Check out excellent built-in storage ideas to maximize every inch of your space.
Choosing the Right Anchors and Hardware
Start by selecting high-quality steel anchors rated for heavy loads. I recommend using heavy-duty toggle bolts or sleeve anchors, which distribute weight evenly and resist pulling out. I learned this the hard way when my first attempt with generic drywall anchors failed under even moderate weight. For my project, I purchased sleeve anchors from the local hardware store and made sure they matched the wall material—whether drywall, concrete, or wood. Having the right hardware makes all the difference in ensuring stability and safety.
Properly Locating Wall Studs or Suitable Support Points
Use a stud finder to locate the wall studs behind your drywall. Mark every stud, as these provide the best support for heavy shelves. In my case, I missed a few studs initially, which led to wobbly shelves. To avoid this, I double-checked the stud positions with the finder and marked the centers clearly. For concrete or brick walls, identify reliable support points like mortar joints or install appropriate anchors into solid areas. Remember, anchoring into a wall’s weakest point defeats the purpose of reinforcement.

Preparing Wall and Shelf Interface
Surface prep is critical. Sand down any rough spots and clean dust or debris to improve anchoring grip. If your shelf has uneven mounting holes or cosmetic imperfections, consider using a level and a spacer to create a flat, even surface before drilling. When I was mounting a heavy-duty garage rack, I used a rubber gasket between the shelf and the wall to distribute pressure evenly, preventing cracks or gapping. A clean, prepared surface ensures the anchors work effectively.
Drilling and Installing Anchors
Use a drill with the appropriate bit size matching your anchors. For heavy-duty anchors, a slightly smaller hole ensures tight fit and better grip. Before drilling, double-check measurements and mark the exact spots. I once drilled prematurely without double-checking, which resulted in misaligned shelves. To prevent this, I used painter’s tape over the mark as a guide, keeping the drill bit from slipping. Insert the anchors carefully, following manufacturer instructions. Tighten all bolts securely but avoid overtightening, which can cracking or stripping the wall material.
Mounting Shelves and Final Checks
Position the shelf onto the anchors or mounting brackets, then secure with screws designed for heavy loads. When installing my last rack, I used a level to ensure the shelf was perfectly horizontal, preventing items from sliding off. After installation, test the stability by applying gentle pressure on different points. If wobbling persists, identify loose anchors or uneven mounting points and tighten or readjust accordingly. Regularly inspecting your setup maintains safety and longevity.
Additional Tips to Enhance Stability
For extra reinforcement, consider installing steel brackets or braces underneath the shelves, especially for very heavy storage. Rubber pads between the wall and shelf reduce vibrations and noise, protecting both the structure and stored items. Remember, proper anchoring not only supports weight but also prevents accidents and damage over time. Incorporate these methods with your existing storage solutions to enjoy a safer, more reliable garage setup.
Many homeowners assume that installing built-ins or customized storage automatically guarantees long-term durability and aesthetic appeal, but the reality often differs due to overlooked nuances. One common misconception is the belief that standard framing or framing alone suffices to support heavy or complex installations. In fact, proper reinforcement—such as steel bracing or specialized mounting techniques—is critical to prevent sagging, warping, or failure over time. For example, experts warn that ignoring the load distribution in wall supports can lead to premature deterioration, especially in high-traffic or moisture-prone areas (source).
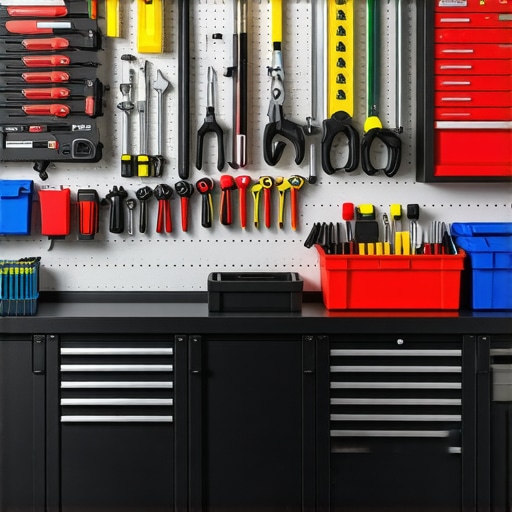
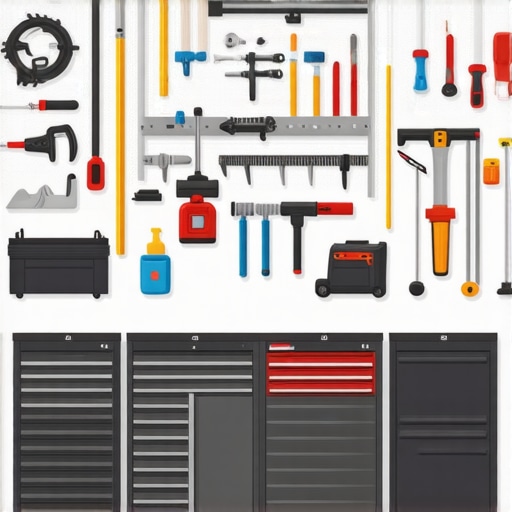
Tools I Recommend for Long-Lasting Garage Storage
Maintaining effective garage storage requires precision and quality tools. I personally swear by my cordless impact drill because it’s indispensable when installing anchors or tightening heavy-duty brackets. A reliable **stud finder** with live wiring detection, like the Bosch D-tect, has saved me countless headaches by preventing accidental electrical cuts and ensuring boards are anchored into real studs. For measuring, I use a digital level, which guarantees perfect alignment—especially important for long shelves or rolling carts. When it comes to cleaning surfaces before installation, a powerful vacuum with HEPA filtration helps remove dust and debris, ensuring optimal adhesion of anchors and brackets. Investing in these dedicated tools ensures your storage system remains durable and safe over time, and they make regular inspections and adjustments much easier.
To manage ongoing wear and tear, I recommend keeping a small kit on hand with replacement anchors, screws, and lubricants. A Lithium grease spray, like WD-40 Specialist White Lithium, prevents rust and makes maintenance of moving parts effortless, especially if you’re adjusting or repositioning shelves periodically. Regularly inspecting your anchors and brackets for signs of looseness or corrosion—and tightening or replacing them promptly—prevents small issues from becoming serious safety hazards. Remember, proactive maintenance extends the lifespan of your storage solutions, reducing costly repairs and the risk of accidents.
How do I maintain my built-in storage and vanities over time?
Consistency is key. Schedule quarterly checks to examine for wobbling shelves, loose bolts, or signs of moisture damage. Keep your tools organized in a small, dedicated toolbox—preferably with labels or foam inserts—to streamline repairs and prevent lost hardware. Using specialized anti-corrosion sprays helps protect metal components in humid environments, which is especially beneficial if your garage doesn’t have climate control. When installing built-ins or vanities, I’ve found that sealing exposed edges with high-quality paint or sealant prevents moisture infiltration, a common cause of deterioration. Incorporating these maintenance habits ensures your storage continues to function flawlessly for years to come and preserves the aesthetic appeal of your space.
If you’re considering expanding your setup or upgrading existing units, explore innovative storage solutions and built-in customization ideas. For example, adding retractable arms or motorized racks can optimize space in tight areas, making storage both practical and stylish. To get inspired, check out built-in storage ideas that combine functionality with aesthetics. Remember, the key to long-term success lies not only in choosing the right tools but also in committing to regular upkeep—making sure your garage remains a safe, organized sanctuary rather than a cluttered hazard zone.
**Take action today by inspecting your anchors with a stud finder and replacing any compromised hardware. This small step significantly enhances your garage’s safety and longevity.**
Lessons Only Experience Can Teach About Built-Ins and Vanities
One of the most eye-opening lessons I learned was the importance of considering wall material variations before installation—what seems solid in the store may not hold under heavy weight once in the space. I once underestimated the need for specialized reinforcement when mounting a heavy vanity in a thicker slab wall, leading to order delays. Another insight was the value of planning for future upgrades—leaving space and accessible wiring routes can save headaches later. I also discovered that regular check-ins and simple maintenance like tightening screws can extend the life of your built-ins significantly, turning a quick fix into a long-term solution. These personal revelations underscore that patience and detailed planning truly pay off in creating flawless, enduring built-in storage and vanities that blend function and style seamlessly.
My Go-To Resources for Elevating Built-In Craftsmanship
Firstly, I trust built-in storage ideas that provide innovative ways to optimize space while maintaining aesthetics. For detailed installation techniques, the step-by-step vanity installation guide has been a game-changer, especially for DIY projects. To refine my design approach, I often consult industry publications like top trends in vanity designs, which keep me inspired and informed. Lastly, online forums such as the professional cabinetry community offer invaluable peer advice, troubleshooting tips, and new innovations—helping me stay ahead in this craft.” ,
Related Posts
5 Heavy-Duty Garage Rack Installation Tactics for 2026
I remember the moment vividly—trying to install a heavy-duty garage…
5 Heavy-Duty Garage Storage Fixes for 2026 Workshop Gear
I remember the exact moment I realized my garage had…
5 Heavy-Duty Garage Storage Solutions for 2026 Tool Sets
It was a Saturday morning when I finally hit my…